If you’re looking for a fun craft project that you can make with the family, or just a last minute festive décor idea, this is it!

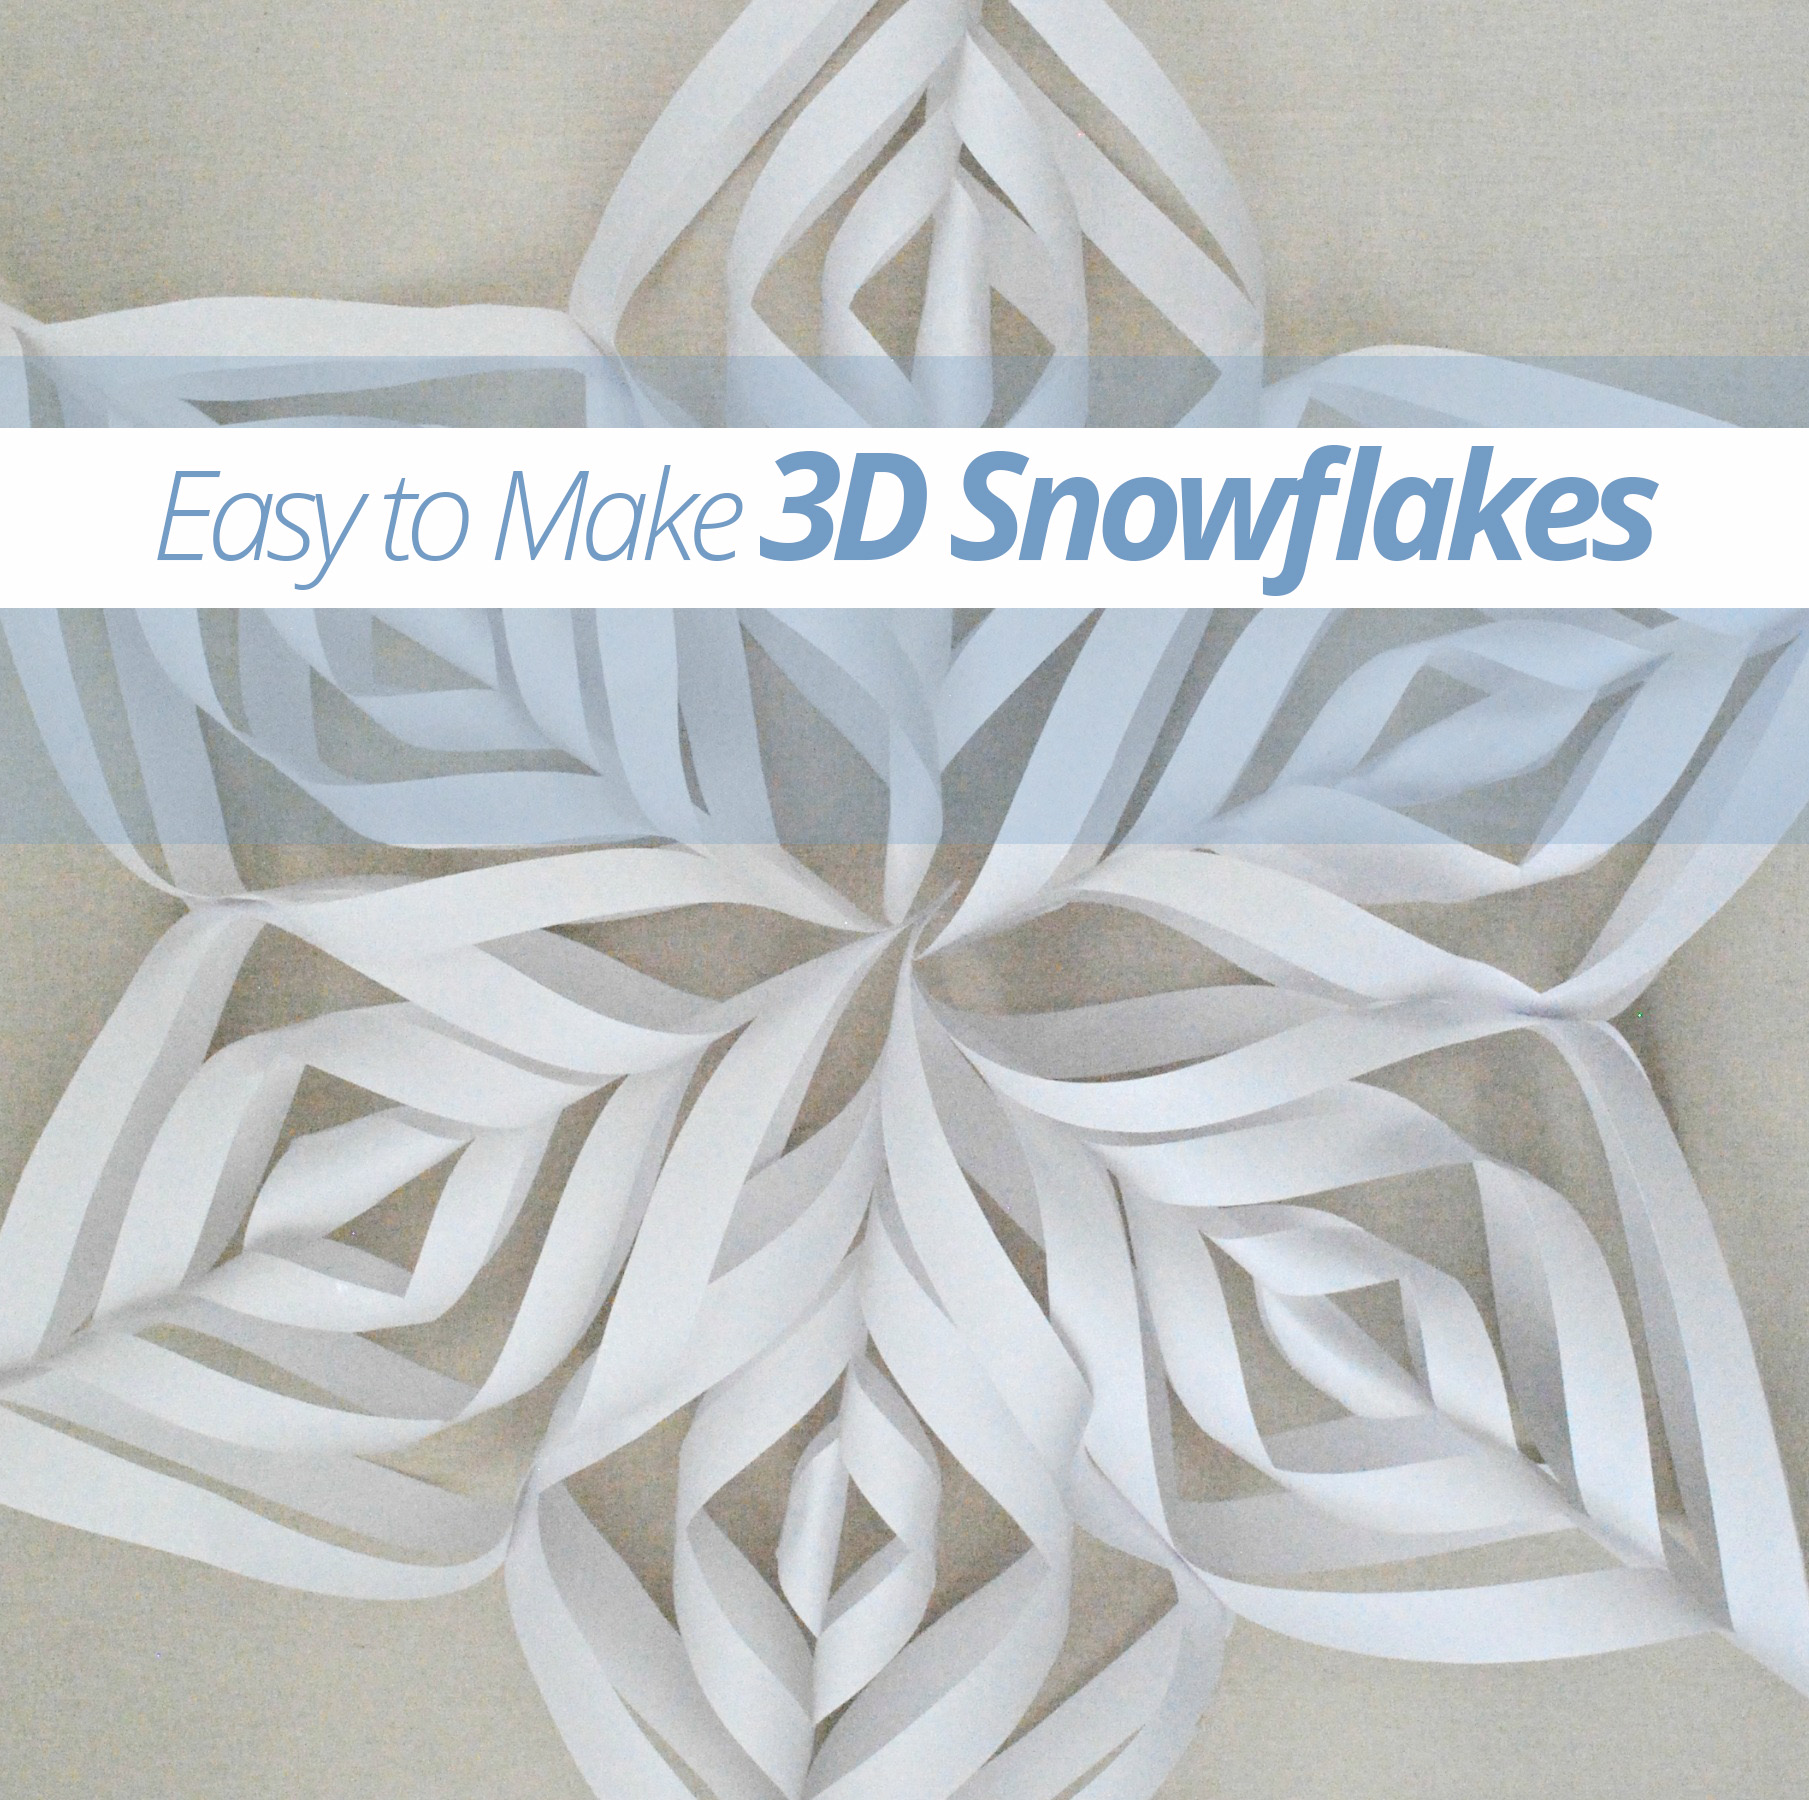
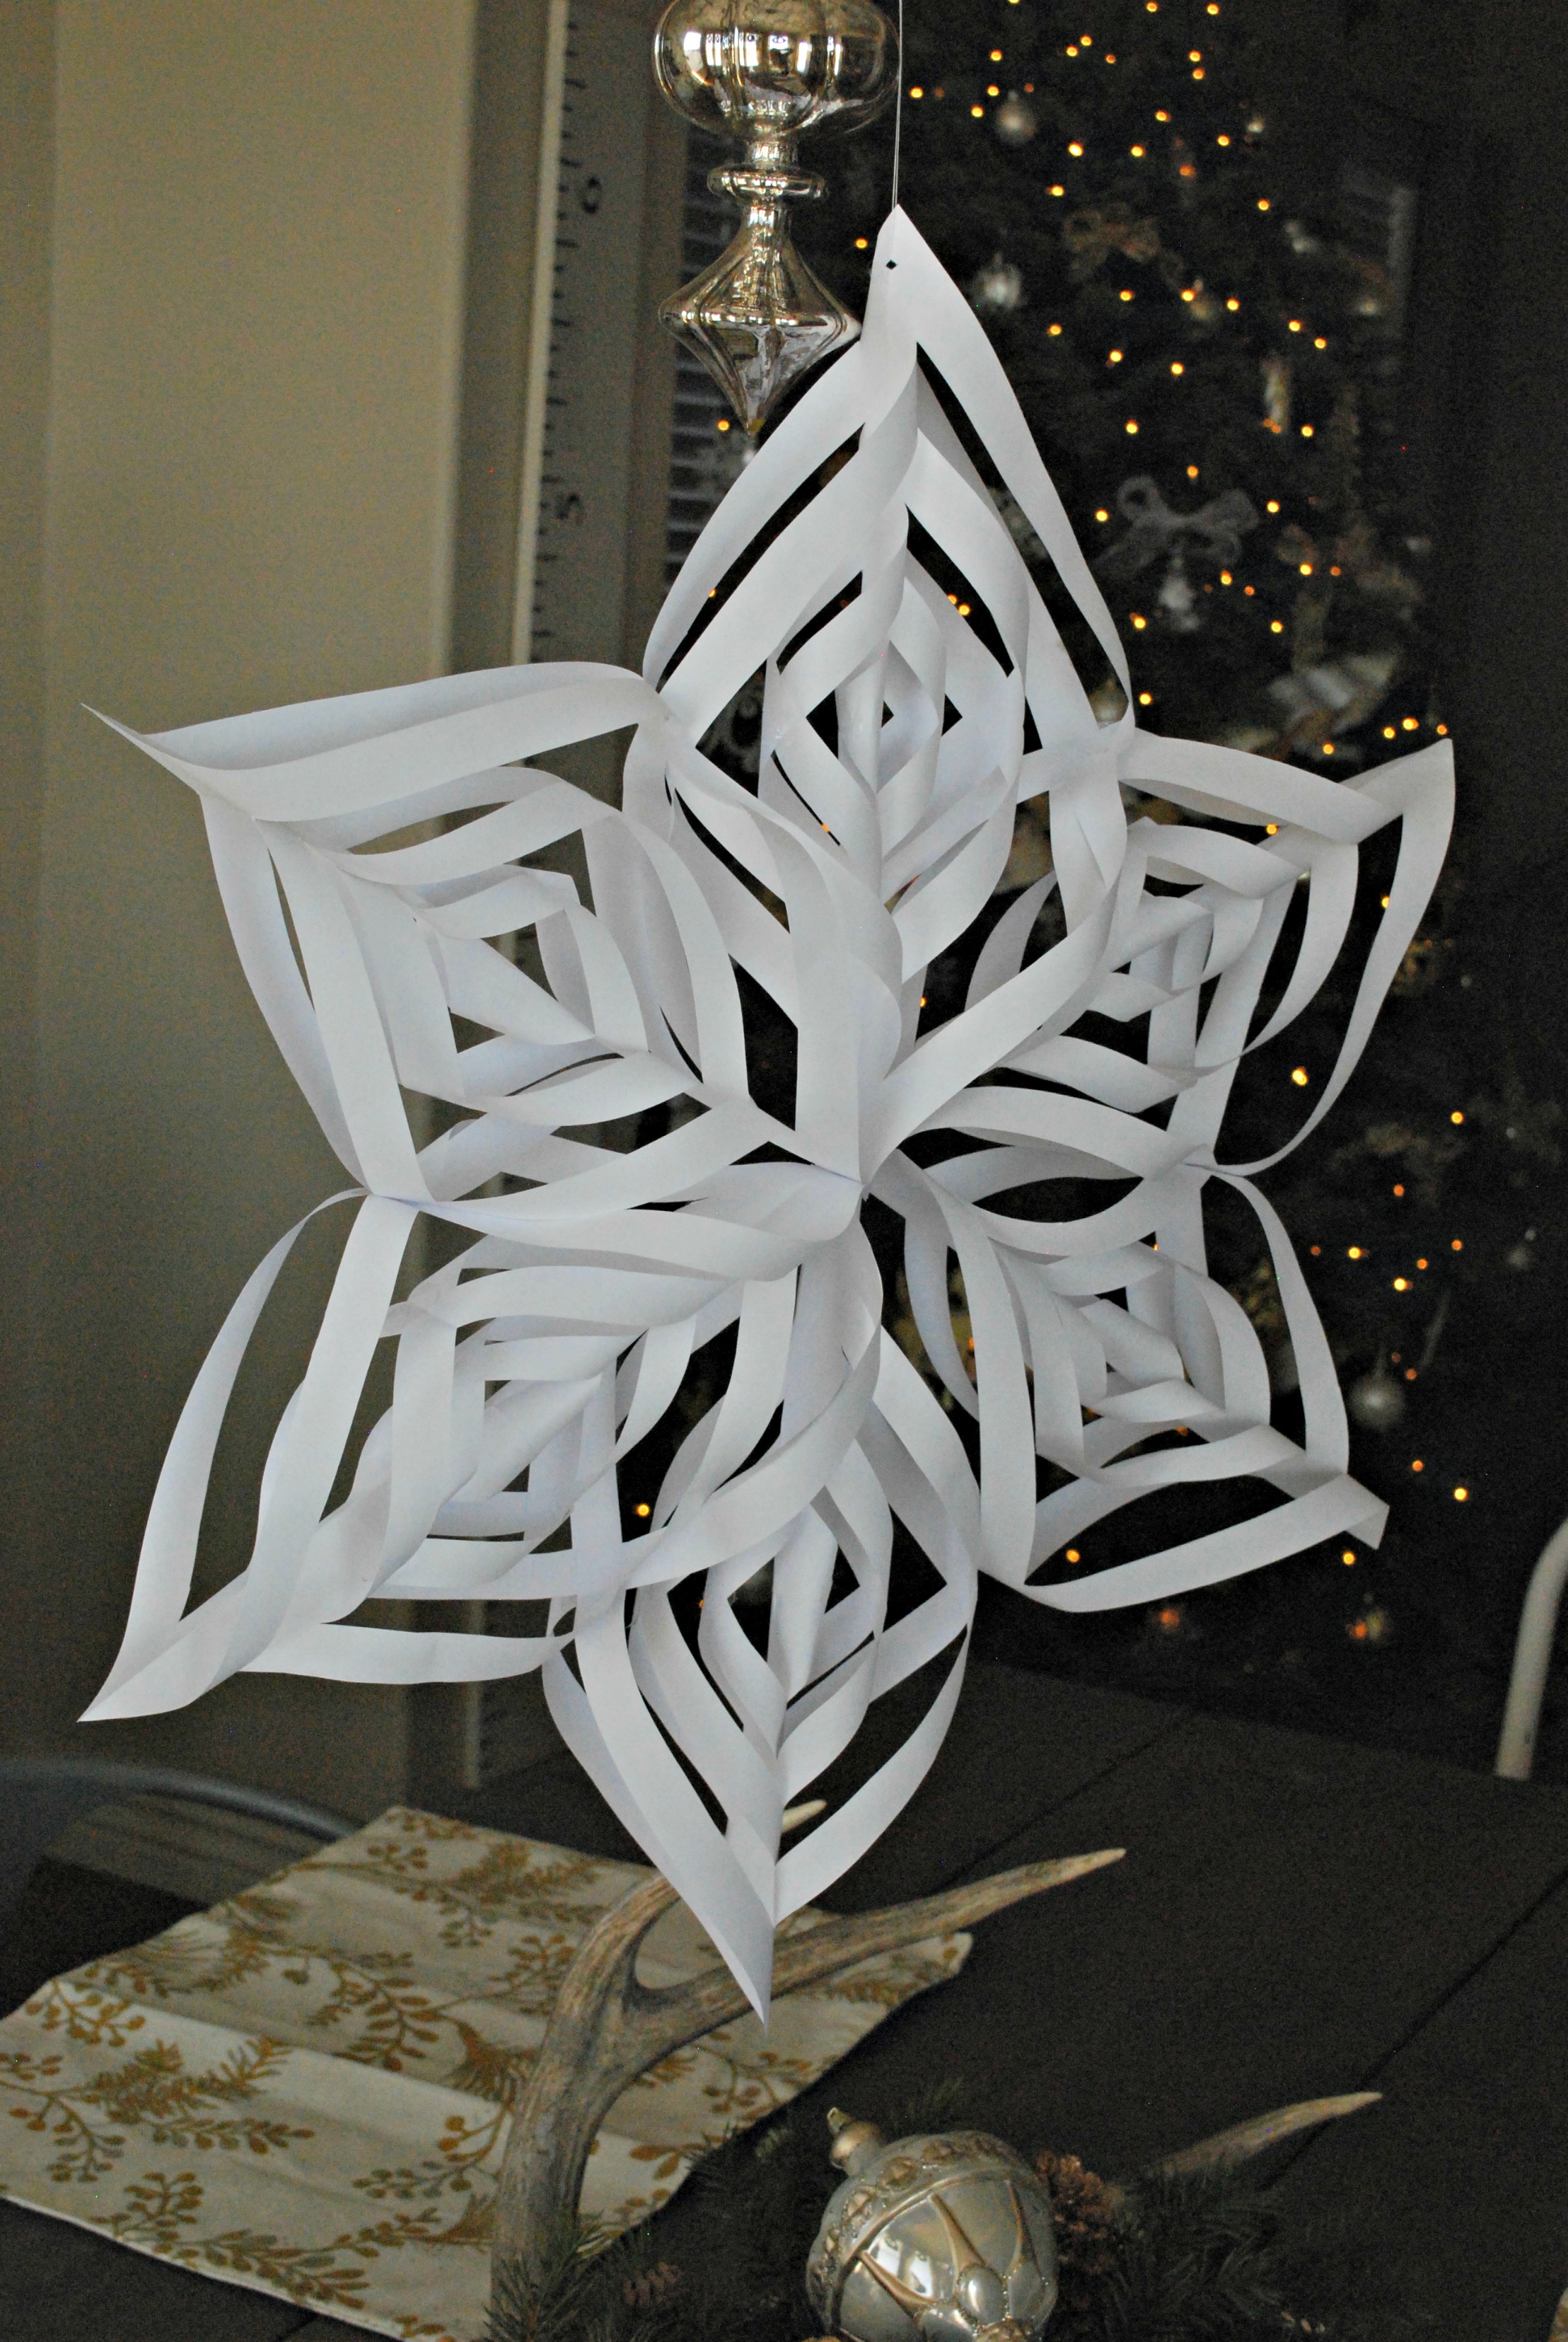
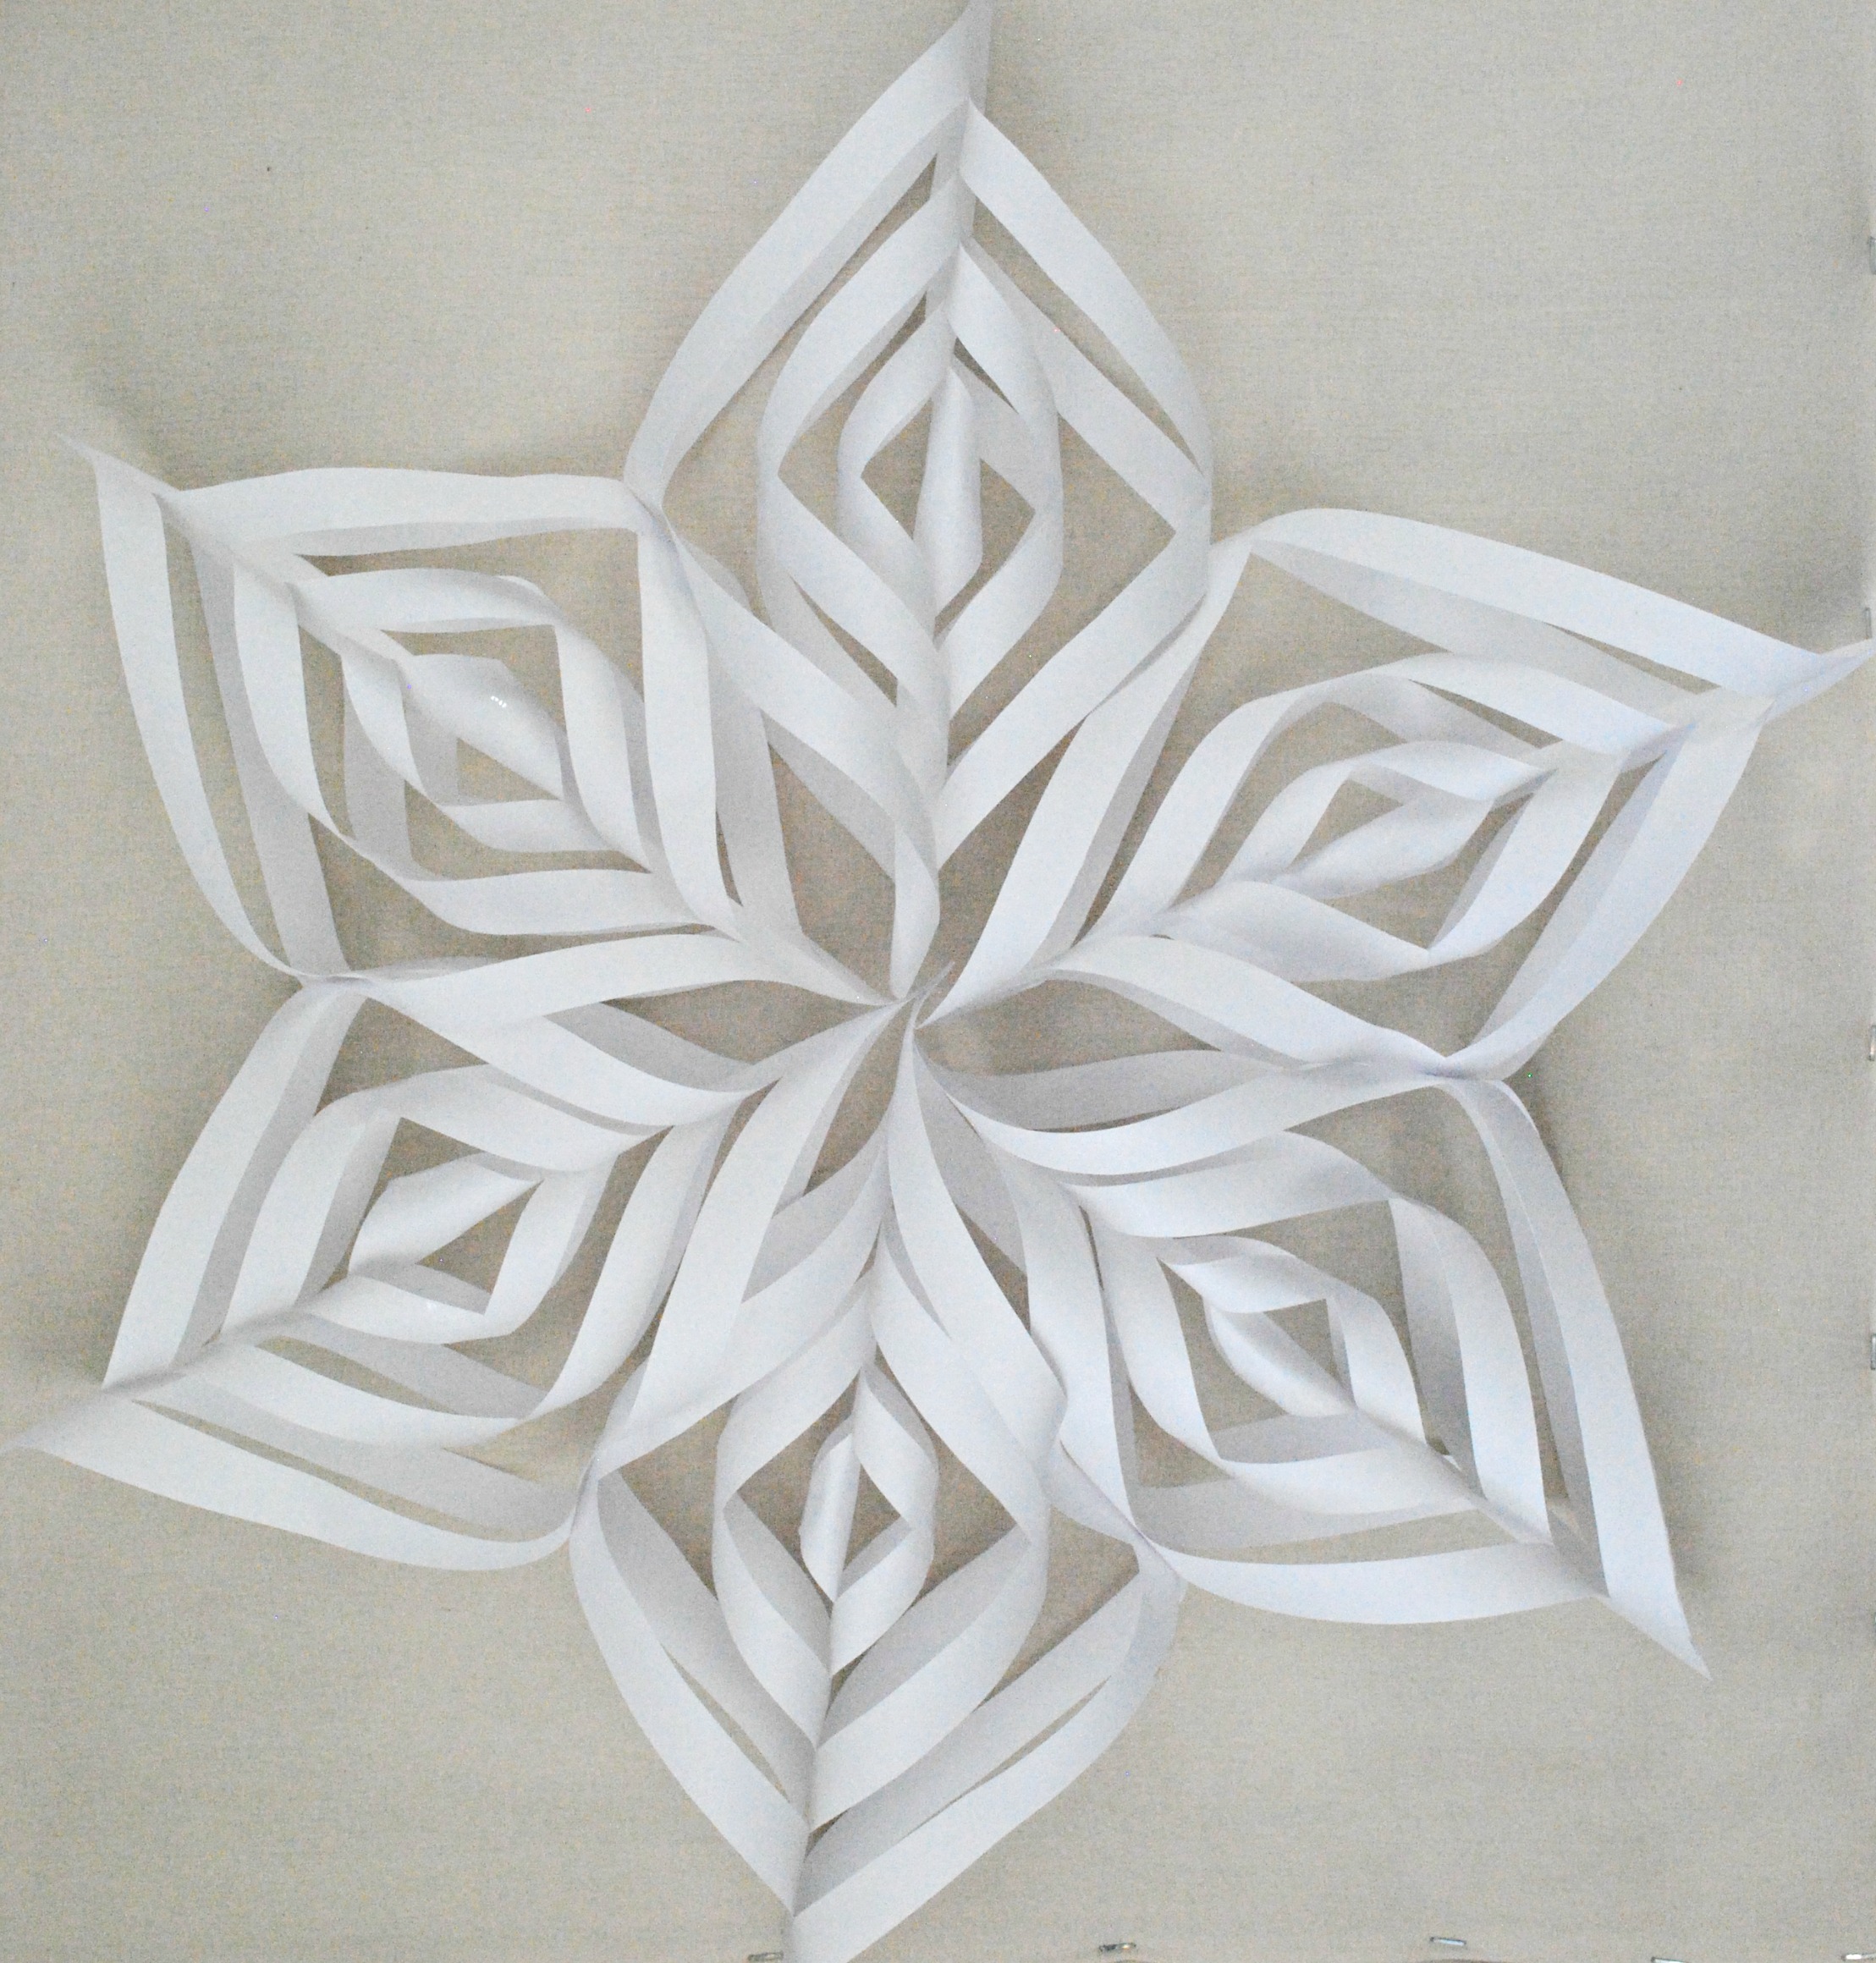
I’m going to share with you an easy way to create 3D snowflakes that can liven up any holiday décor.
What you’re going to need:
White paper
Scissors
Clear Tape
String

To make the snowflakes:
- Start by folding a regular piece of white paper down from one corner until it meets the other side of the paper.

2. Cut off the extra paper to create a square.

3. Fold the paper diagonally in half again to create a triangle.
4. With the scissors, start cutting parallel to the edge of the triangle with no folds. Cut approximately 5 parallel lines, stopping each about ½ inch before reaching the inner fold.

5. Unfold the paper.
 6.Now roll the smallest center triangles and tape the points together with a small bit of clear tape. Flip the paper over and tape the next set of triangle together and so on until you have taped all of the triangles.
 7. Repeat the process 5 more times to create six rolled sections.
 8. Tape the sections together at one end and one inner corner until you have created a snowflake.
 9. Attach string or clear fishing line to hang.
That’s all you need to do to create beautiful 3D snowflakes for your holiday home. Hang a single snowflake to create a unique statement or a bunch to create your own pretty blizzard. The possibilities are endless.
Happy Holidays!

