Are you tired of decorating your walls with factory art or framed posters from big box stores and looking for something a little different? Perhaps you want to DIY some art but you’re not exactly a talented painter. Here’s an easy way to add a personal and customized touch to your space with fabric hoop art.
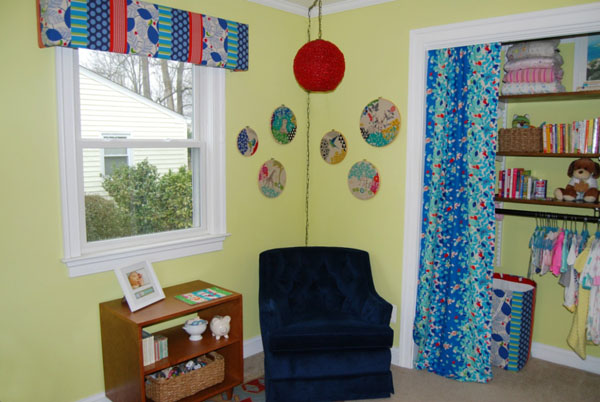
To achieve this effect, you stretch fabric pieces in wooden embroidery hoops to create a look to suit your style. First, you can choose any fabrics that complement your décor — whether it’s for a modern space, a traditional one or a more unique space, such as a kids’ room. Second, you can leave the hoops in their natural wood tone, or you can paint them a coordinating color.
The best part is that this project is totally customizable to your budget, too. The hoops cost less than $3 each and can be found on Etsy or at your local craft store.
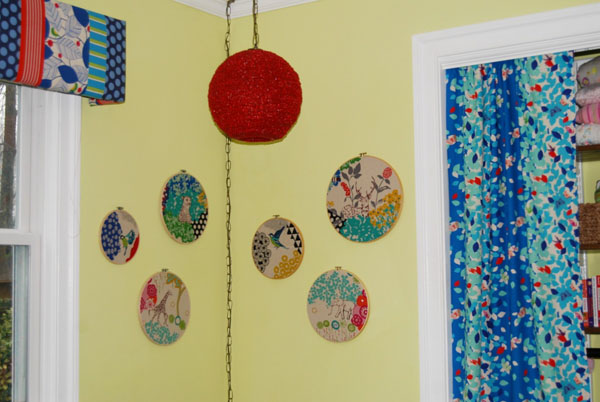
I recently put together a small collection for my baby’s nursery using a set of animal print fabrics that I absolutely love.
Supplies Needed:
- Several complementary fabrics matching your décor scheme
- Wooden embroidery hoops (assorted sizes)
- Glue gun
- Felt fabric or craft sheets
When choosing hoop sizes, keep in mind the scale of your space and the scale of your fabrics. For example, a very large scale pattern will look best in a large hoop, while a smaller pattern will shine in a smaller hoop.
How to Assemble:
Trace the hoops onto some felt fabric and cut out felt circles for each hoop. These will serve as the backings for your completed hoops.
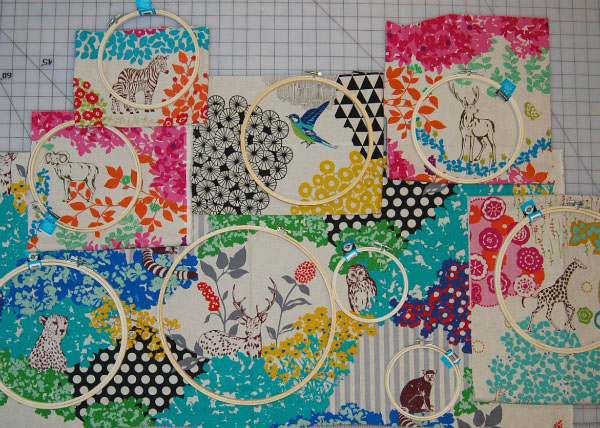
Lay out the fabrics, and place the hoops over them to figure out pattern placement.
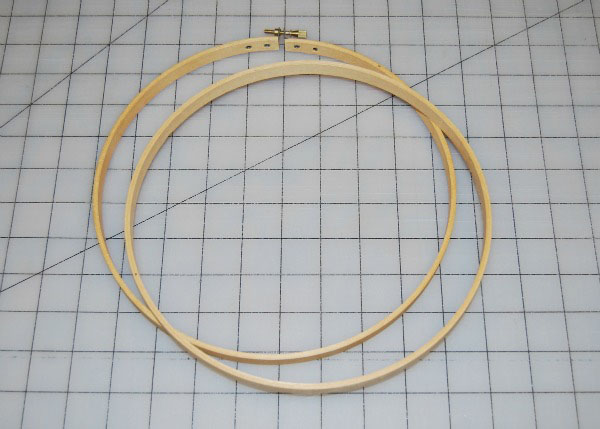
Take the hoop apart by loosening the top screw, and place the inner ring under the part of the fabric you want to frame. Place the outer hoop over the fabric, and press down so the fabric is stretched between the inner and outer hoops.
Pull around the edges of the hoop until the fabric is tight in the hoop frame, then tighten the hoop using the top screw.

Cut out the fabric around the edges of the hoop, leaving about 1/2“ excess fabric around the edges.
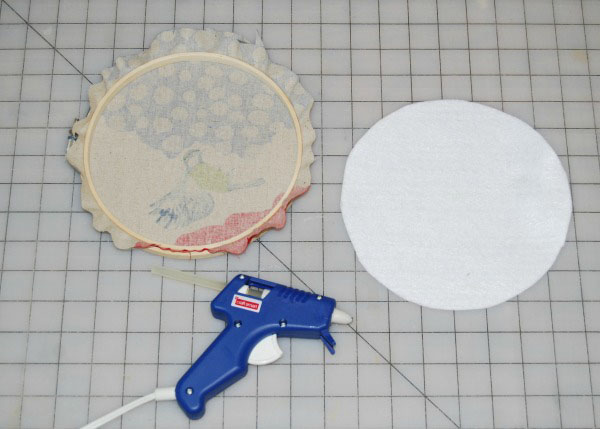
Using your glue gun, attach the round felt circle to the back of the hoop, tucking the excess fabric inside the felt circle before gluing. The felt backing will protect the wall while keeping the back of the frame nice and tidy.
There are several ways to hang the fabric hoop art. You can use push pins, small nails, removable adhesive hooks or adhesive Velcro. Because the frames are nice and light, it doesn’t take much power to hang them up.
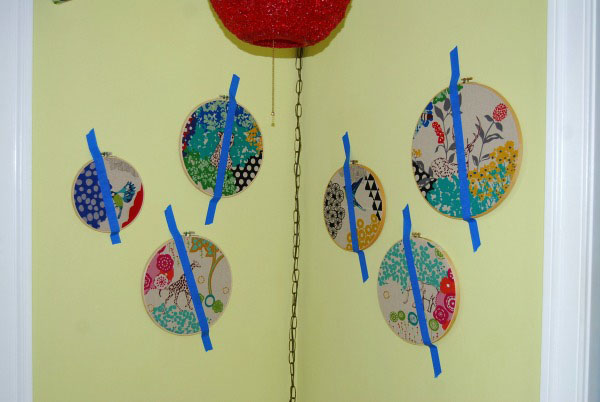
When I was planning the placement of the hoops on my wall, I taped them to the wall with painter’s tape. This way, I was able to adjust the layout several times before committing. Once I had settled on the exact layout, I then put the small nails in the wall and hung the hoops on them.
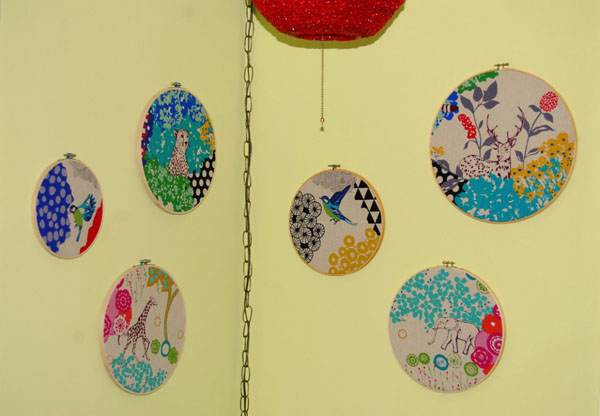
This project took less than an hour from start to finish, didn’t require fancy DIY skills and can easily be hung without damaging your apartment walls — a triple win in my book! So, what are you waiting for? Get crafting, and then check out some more DIY ideas on ForRent.com!

