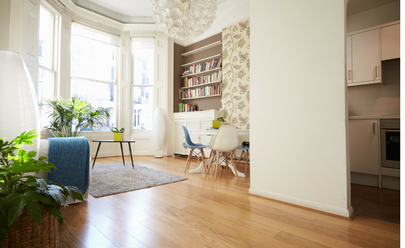
When we first moved into our apartment, I didn’t really have a dedicated crafting area. The apartment is small, only 650 sq. ft. with
one bedroom, so it’s not like there was a ton of room to spread out. We did a pretty good job making the most use of all the space that we had, but there wasn’t a lot of room to spare. So for a long time I set up a tiny craft station next to our dining room table, and every time I wanted to work on a project I covered the table in butcher paper, crafted, and then cleaned it all up before dinner time!
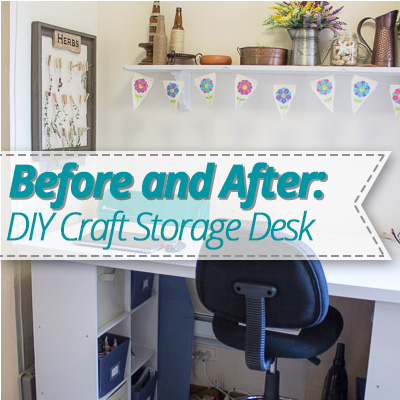
But after a while that really just didn’t work for me anymore; crafting was starting to feel like a chore because every single piece of the project had to be completed and cleaned up by dinner time. So I decided it was time to reorganize my priorities and eke out some room in the apartment so I could have a dedicated crafting space! Check out this amazing before and after of our dine-in kitchen area!

We got rid of the round dining room table and replaced it with a custom-built craft storage desk. Now, not only do I have a dedicated crafting area, but I have a TON of extra storage space for my craft supplies! Here’s how I did it!
First we bought everything we needed for the craft desk. Here’s what we used:
- a door (full-sized, solid core door without any decorative molding on it)
- paint
- painting supplies (roller, paint tray, etc.)
- cube storage shelves
- screwdriver etc. (for putting together the cube storage shelves)
- a bunch of 1-1/2″ screws
- 1-3/8″ forstner bit and drill (for drilling holes in the door for power cords and cables)
Putting the desk together was actually pretty simple! I started by sanding down the door and painting it white. While I waited for the paint to dry, I put together the cube shelves.
The cube shelves I bought were two cubes wide by three cubes tall, which made the final height of the desk about 36″ to 38″, which is taller than a normal desk. But it actually worked out perfectly for me because I prefer to stand while I’m working on a project so I can move around more easily!
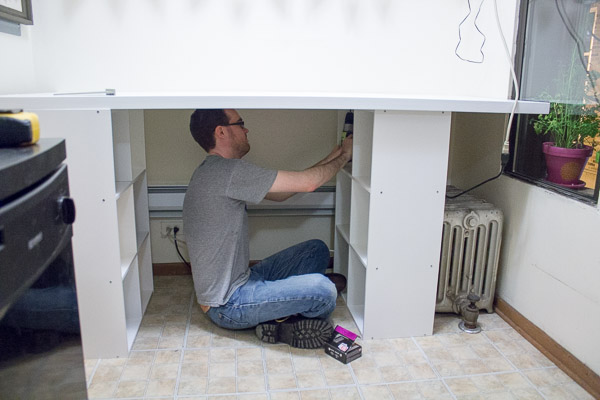
Once the painted door was dry and the shelves were put together, I cleared out the whole dine-in area and moved the cube shelves in. Solid core doors are incredibly heavy, so we made sure everything was in place before we dragged the door in!
We laid the door across the top of both shelves, and drove screws up through the top of the shelves and into the door from underneath. The door is probably heavy enough to just sit on top of your cubes without moving much, but it’s easy enough to put a few screws in, so you might as well be safe about it!
And that’s it! The desk was built! Told you it was simple. 🙂
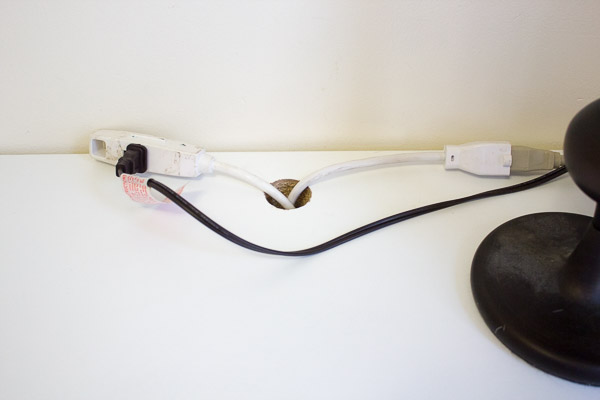
We did decide to get a little bit fancy though… Since I knew I was going to put my Cameo and laptop on the desk, I wanted to make sure there was a place to manage the power cords. That’s where the forstner bit comes in. (
A forstner bit is a big drill bit with “wings” near the tip that allow you to drill really big holes.) I drilled two large holes near the back of the desk on either side. Now my lamp and Cameo can be plugged in, plus I can pull up an extension cord to plug in the sewing machine or iron anytime I use them!
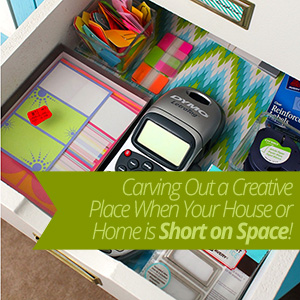
I organized my craft supplies into some fabric bins, stuck them in the cubbies on either side of the desk, and it was ready to go!
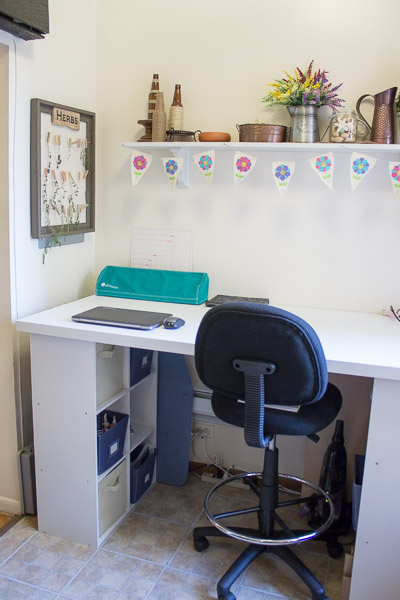
The desk is so useful, and it’s a bajillion times better than what used to be there! It’s been absolutely amazing having a dedicated craft space instead of “borrowing” space from the dining room table every day!

Do you have a creative space in your apartment?
![Jessi_at_Practically_Functional[1]](https://www.forrent.com/blog/wp-content/uploads//2014/03/Jessi_at_Practically_Functional1.png)