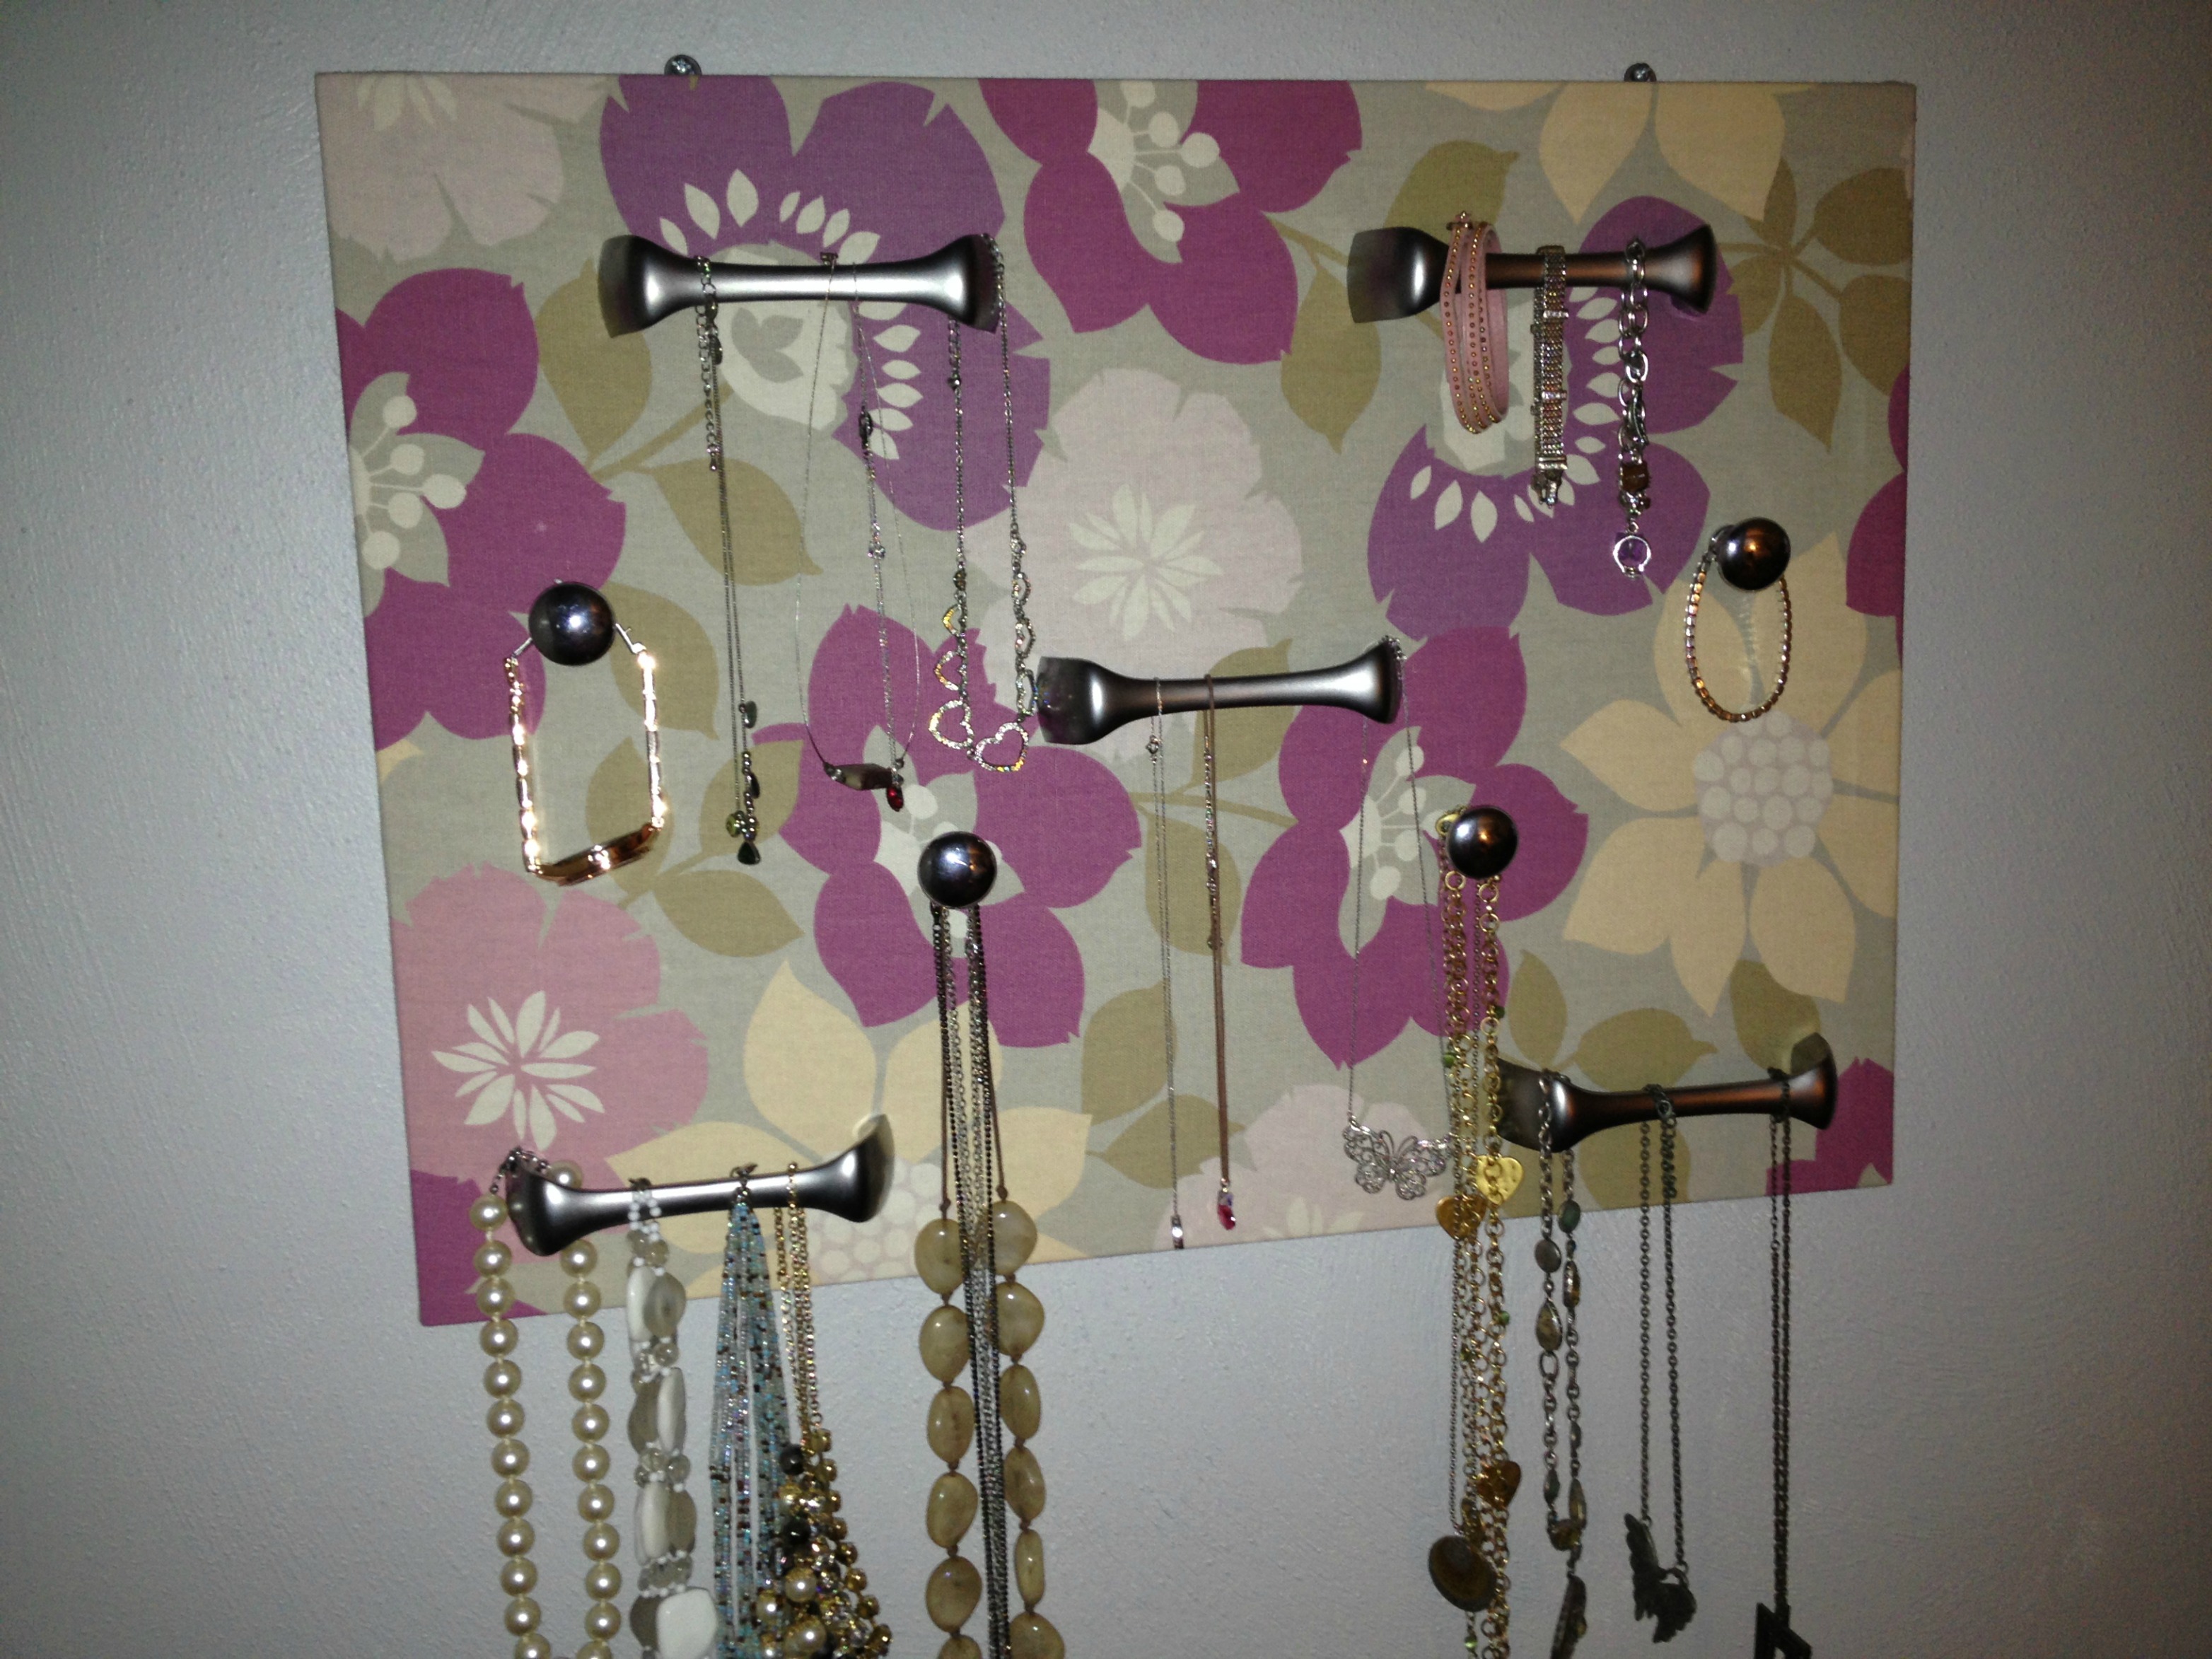
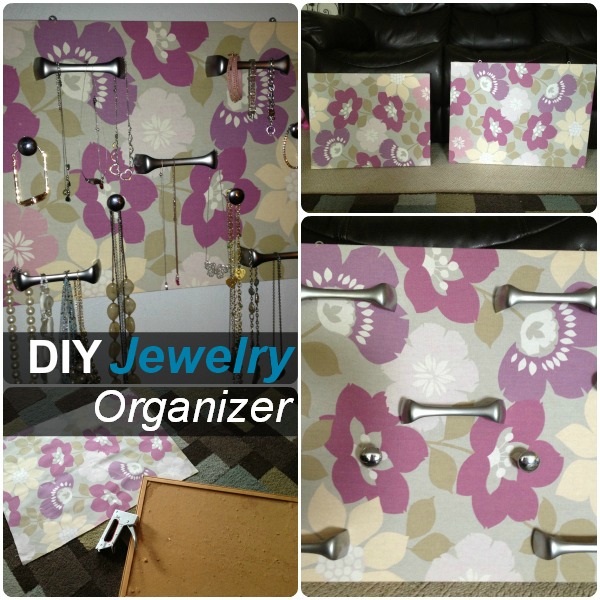
If you had to guess, how much time have you spent trying to untangle necklaces, bracelets and all sorts of jewelry? For most of us, the answer is way too much time. ForRent.com has a beautiful, easy and functional DIY project to make a custom jewelry organizer so that the dreaded tangled mess is a thing of the past.
For this project you will need:
- 1 used cork board (no need to buy a new one because the cork won’t show once complete)
- Fabric/pattern of choice (measured a few inches bigger than the dimensions of the cork board)
- Staple gun
- Cabinet handles with screws
- Power drill
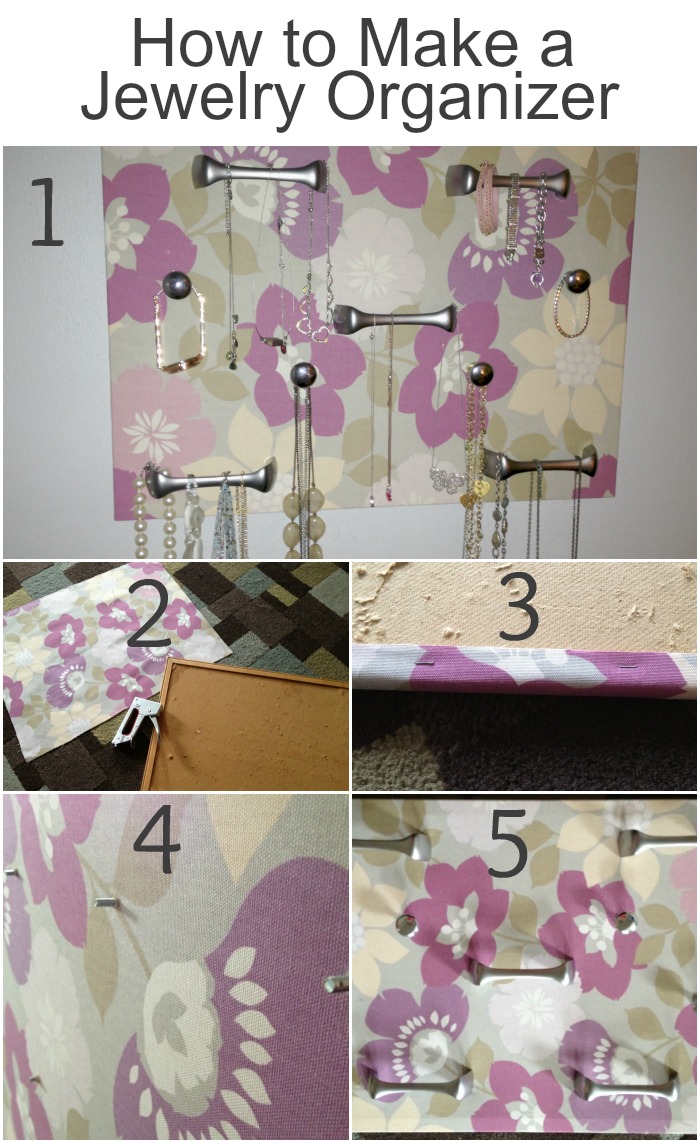
Begin by measuring your chosen fabric to the size of the cork board. Be sure to include a few extra inches so that the fabric can be pulled tight to staple it in place.
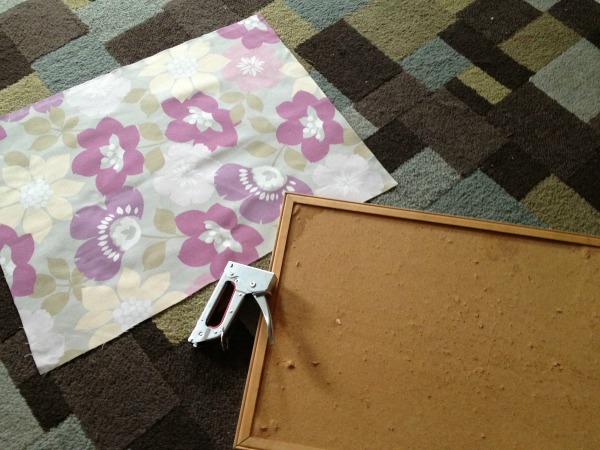
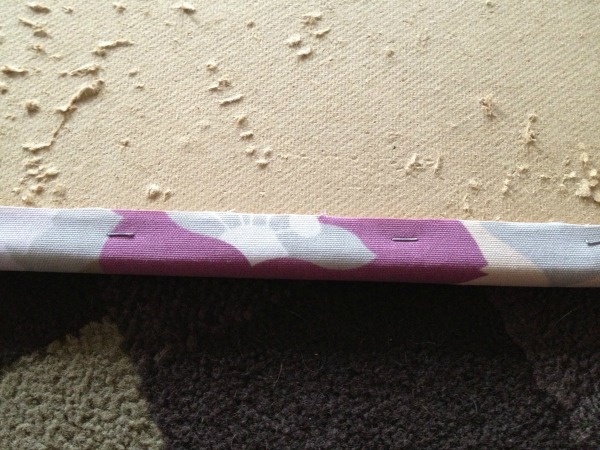
Cover your cork board with the fabric and pull tightly so there are no folds or wrinkles. Fold excess fabric over the sides of the cork board and staple in place. Cut or remove any extra fabric after you have stapled it.
Take your cabinet handles and knobs and place them on the fabric in any design that you wish. Once it is set up, mark and drill holes from the backside of the cork board to match up with the handles you just set up. Insert screws through the holes drilled from the backside of the cork board.
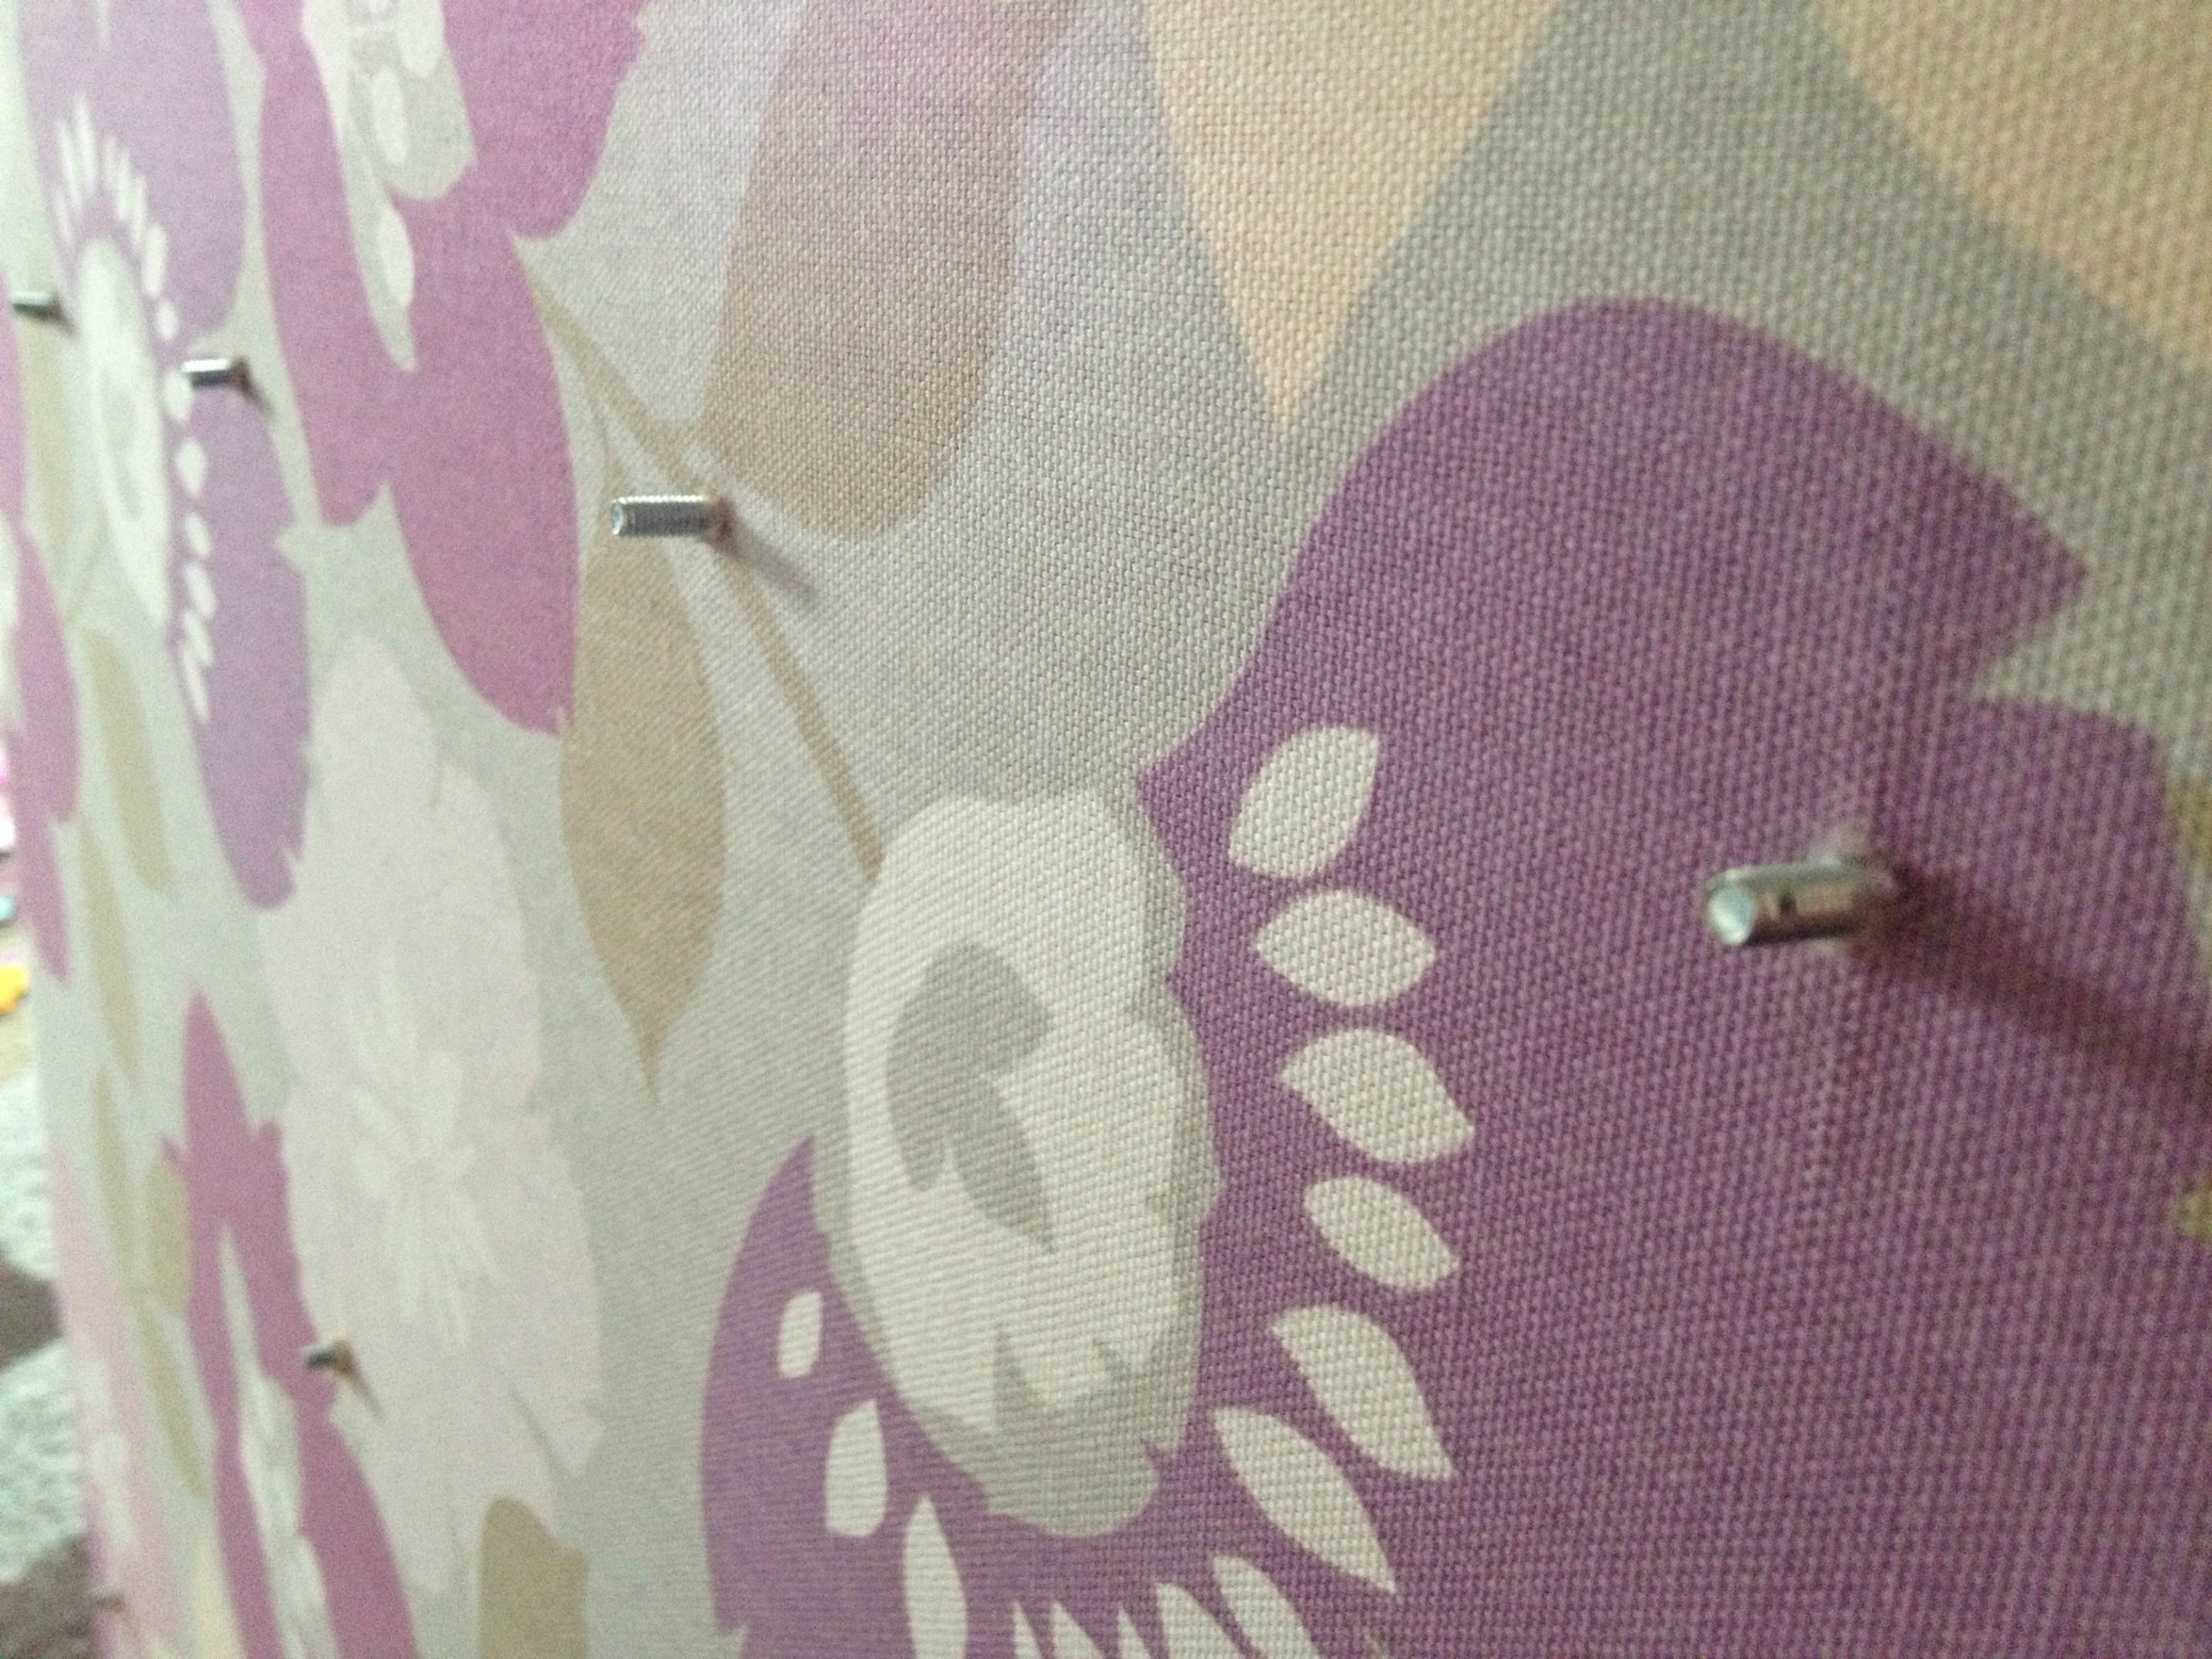
Apply handles and knobs to the screws and drill the screws in to secure the handles to the cork board.
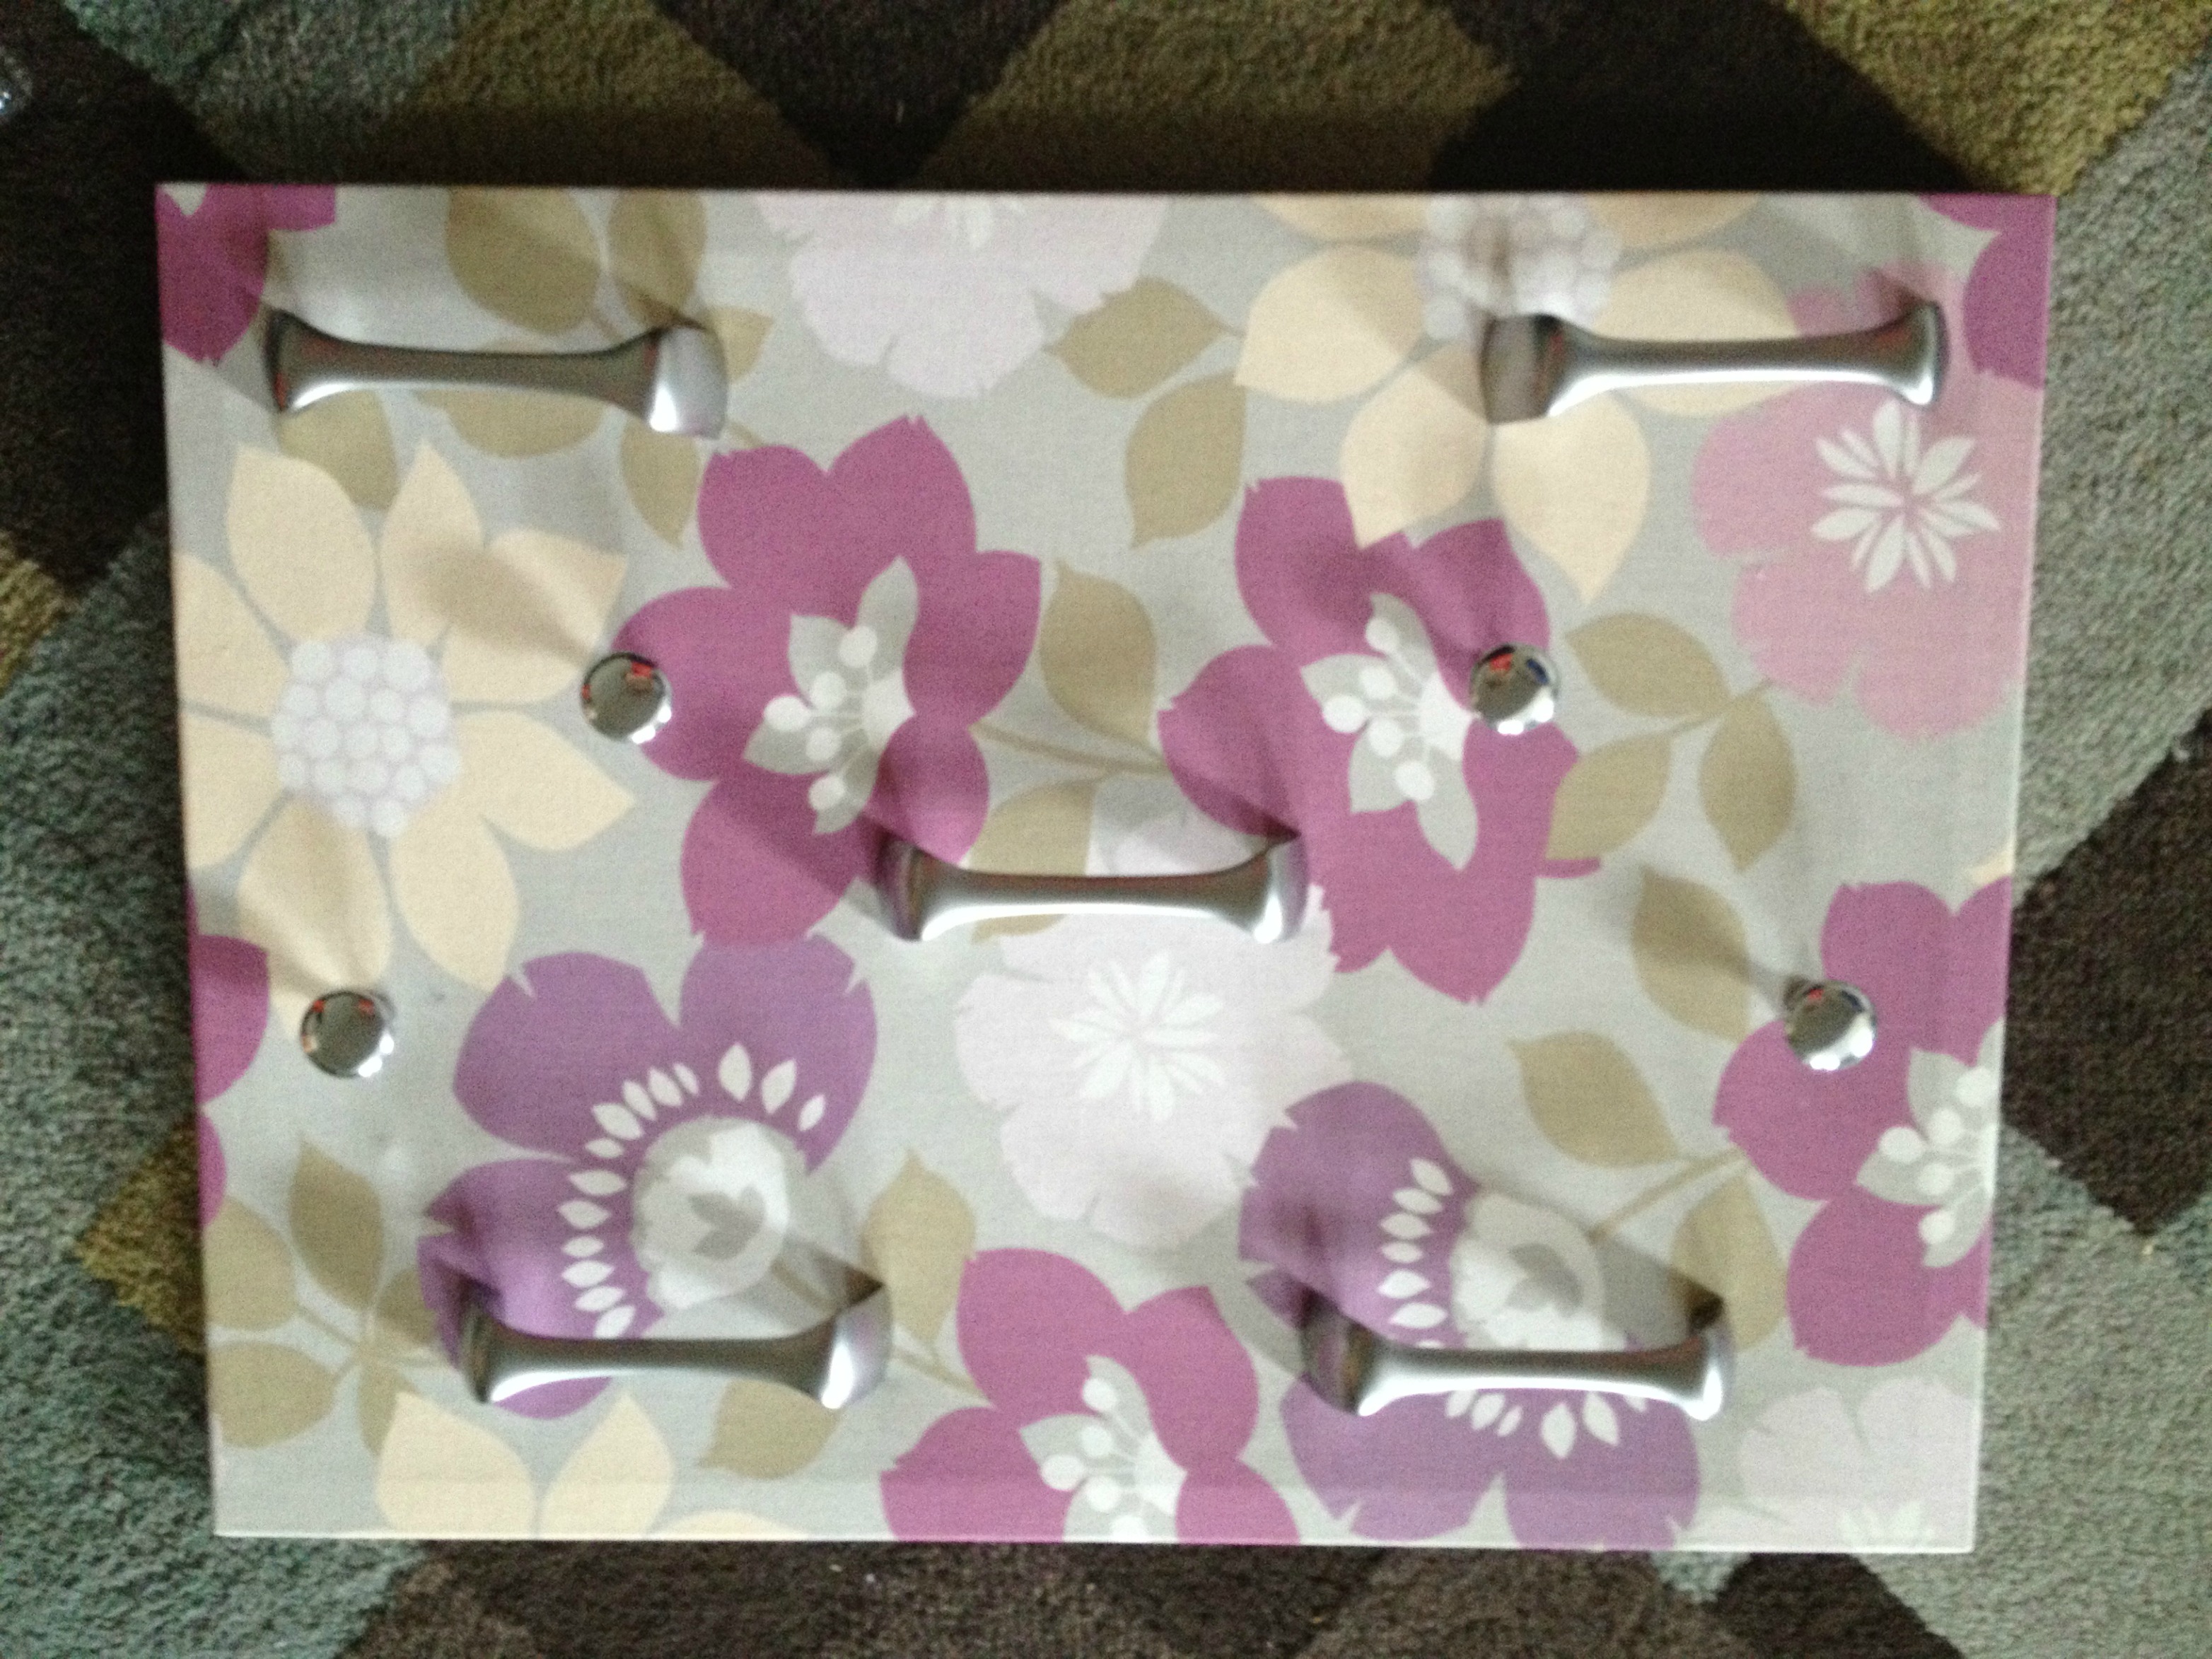
Your jewelry organizer project is now complete! Add a wall mounting option of your choice to hang up, or simply keep it on a dresser – the choice is yours. It is a unique and totally customizable DIY project that will leave all of your friends jealous, and save you tons of time in the mornings. How have you made getting ready in the morning easier?
