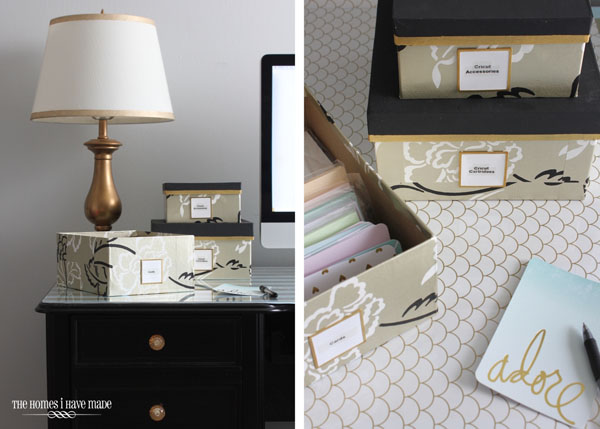
In small homes or apartments, storage space often comes at a premium. Without abundant closet or cabinet space, storing small items like craft supplies, batteries, cords, user manuals and more can often require creative thinking! Instead of stuffing everything away in cluttered drawers or unsightly plastic bins, make these gorgeous decorative boxes that double as storage and decorative accents!

Anything can be used to give some plain cardboard boxes some pizzazz! These boxes feature painted lids with gold rim detail, as well as chic metallic (pre-pasted) wallpaper! Together, they are a glamorous way to store some otherwise unsightly household items!
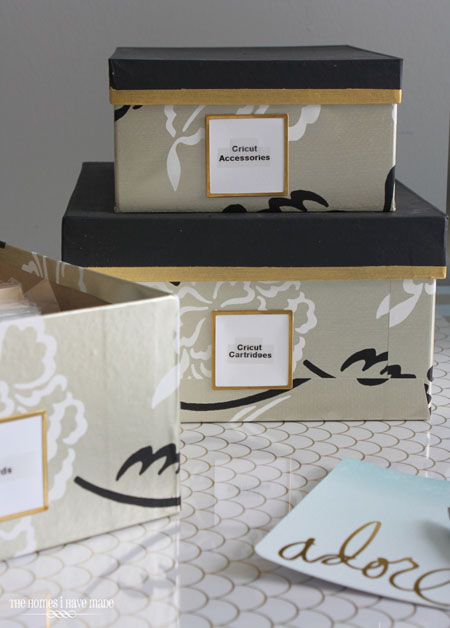
Here’s what you need to make a set of your own decorative boxes:
- Nesting cardboard boxes (sold as a set at craft stores)
- Pre-pasted wallpaper in a pattern of your choice (remnants work great for this project!)
- Acrylic craft paint in coordinating colors
- Framed labels and a label maker (optional)
- Foam core board for dividers (optional)
- Basic craft supplies: scissors, measuring tape, ruler, paint brushes, brayer (small craft roller), water, paper towels

Start by measuring the width, height and depth of your box with a tape measure.
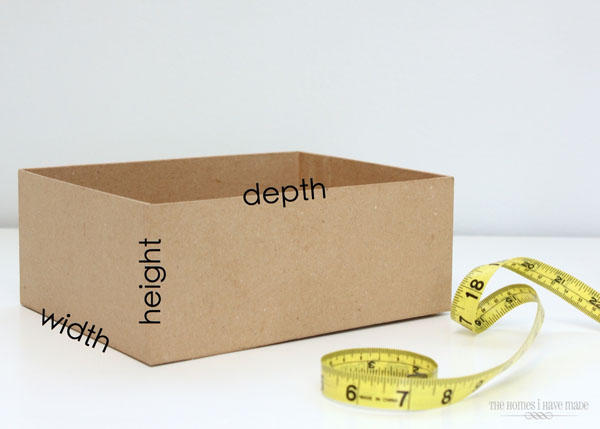
Using a ruler and scissors, cut a square of wallpaper in the following dimensions:
- Width + height + height + 2”
- Depth + height + height + 2”

If you are using pre-pasted wallpaper, move to the kitchen (or somewhere you can be messy!) and submerge the wallpaper into water (a large sink works really well here!). Remove the paper from the water and fold it in half with the wrong sides together to remove the excess water from the wallpaper, then pat the right sides dry with a towel.

One of the most wonderful things about working with wallpaper is that it’s super durable, very easy to work with and gives a very clean and professional final result. Wrapping the boxes so every edge is covered and clean takes some trial and error. First wrap in one direction, smoothing and folding the paper over the top edges to the inside and across the bottom. Trim out the paper at the corners to make for less bulky layers, and then work in the other direction. Be sure to use a brayer to smooth out bubbles and extra glue as you work. It can be pretty wet and messy, so have extra paper towels on hand and wipe away glue and water as necessary. If you mess up or a side isn’t lying quite right, simply peel back the paper while it’s still wet and try again!

Repeat with the remaining boxes, and let the glue dry and cure overnight.

To make the lids, start by painting the entire lid with your main color paint and a sponge brush. It will likely require two coats for good coverage. Once dry, tape off one quarter-inch around the edge of the box with painter’s tape and paint the lip with an accent color. When layering a metallic over a dark color, it may take up to four coats to achieve a saturated color. Once the final coat has been painted on, remove the painter’s tape while the paint is still wet to reveal a clean line.

f you would like, use some foam core board and some extra wallpaper to make dividers for inside the boxes. Start by measuring the height and width of the box and then transfer those dimensions to a piece of foam core board. You want the foam core to fit snug inside the box, so measure a little big and cut down as necessary.

Cut out the foam core rectangle with an Xacto knife and a straight edge.

Cut and wet another section of wallpaper, and wrap the foam core board, again smoothing out bubbles and excess glue with the brayer.

Pop the divider into the box and fill with whatever contents you wish!
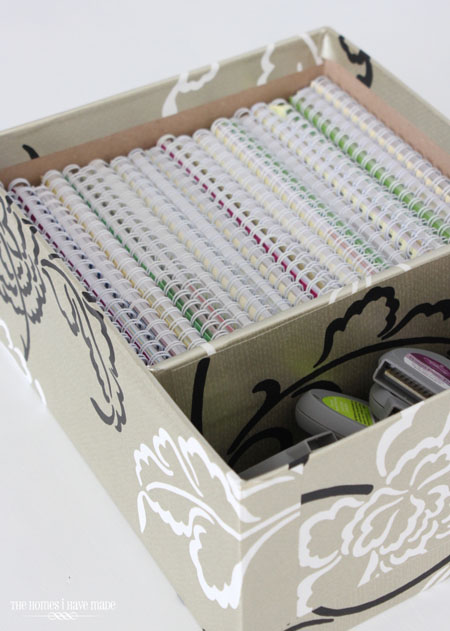
The final step is to add decorative label plates so you know what’s inside each box. These are simple scrapbooking labels with printed labels from a label maker, affixed to the boxes with craft adhesive.

Place the lids on the boxes and you’re done!
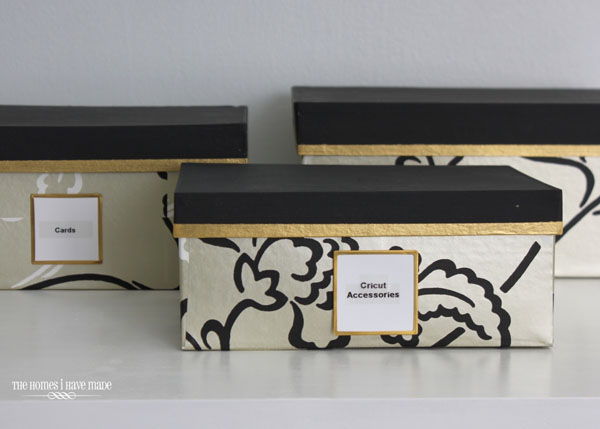

This is a really fun and relatively simple craft project that allows you to add functional storage to a space while perfectly customizing the colors and details to match your décor. The possibilities are endless, making these suitable for a variety of spaces and storage conundrums!
For more small-space storage solutions, check out more great articles on ForRent.com here!

