One of the biggest issues apartment owners face is the invasion of clutter that seems to just appear over time, making organization seem like a monumental challenge. However, in almost all cases renters can take back their apartments with four simple steps that can work in about any room. These steps are: taking everything out of the room, sort into “keep”, “donate” or “trash” piles, move “donate” and “trash” piles out of the apartment and finally, rearrange the “keep” pile back into the room.
So here we go…
 Step 1: Taking everything out of the room
Before you begin you will need to make sure you have a place to move the stuff you’re clearing out from the room you want to clean. This step is the most challenging because your clutter will get worse, don’t panic; it’s only for a short period of time.
Clutter happens because things get tossed around, broken, forgotten. Often these items will collect in piles until we go in and move them out. Now don’t forget as you are moving things out to be brainstorming how you would like to rearrange the room later in step 4.
 Step 2: Sort everything into “keep”, “donate” or “trash” piles
Now you have finished cleaning out the room and you’re looking around in astonishment as to how much stuff was in the room. Don’t be frightened and toss everything back in the room then run away, remember things get easier (and cleaner) from here on out.
Set up three designated areas to place organize your items in “keep”, “donate” and “trash.”
As you’re going though placing items into these categories it’s good to use a few rules. For your keep pile it helps to think if you have used the item in the last year or it has special meaning or use to you then keep it, otherwise place it in the “donate” or “trash” piles. Your donate pile should include items you are no longer using that can still be useful to someone else. Last, your trash pile should include all the items that do not fall into the “keep” or “donate” piles.
 Step 3: Move the “donate” and “trash” piles out of the apartment
Ok great job getting to this point, now you will really begin to see results for all your hard work.
First off we will address that trash pile. You will need trash bags for the small stuff and maybe some gloves. Now the best approach here is to place trash items in bags this will make moving it out easier (especially if you have to use stairs.) Once you are finished bagging the trash pile, you should find your apartments trash collection area and begin taking the trash out of your apartment. Important to note: make sure you are disposing of your trash in the appropriate manor as some areas have penalties, such as fines, for disposing of trash improperly. Remember, things like batteries, electronics and chemical containers will have a special method for disposal. To find out where to dispose of these items check your local city website or the product manufacturer’s website for proper disposal procedures.
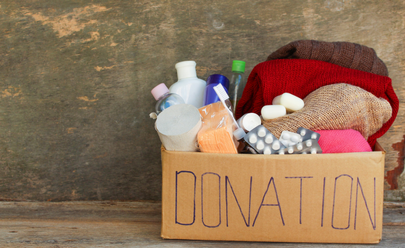
Next the donate pile. For this pile you will need to locate a local charity or non-profit organization that takes donations. Once you have located one simply pack the stuff in your car and take your items there. While you are there remember to ask for a recite because in many cases you can use the items you donated as a tax deduction.
 Step 4: Rearrange the “keep” pile back in the room
Finally, you have made it to the last step! You can really see now how your work has paid off, now time for the ‘icing on the cake” so to speak. As you move things back into your room you will need to remember to organize them in the room as you go, this may take time but it will be well worth it. For items you are not planning to use in the near future consider getting boxes to pack the items away, this will further reduce what you need move back in the room.
After you finish take a moment to look over the nice clean and organized room. Take satisfaction in the work you have done.

