One of my favorite parts of watching home makeover shows on TV is to see the reveal of the big, beautiful and luxurious bathrooms. Ample storage, natural light, pretty textures and stones as well as space to rejuvenate, pamper, and relax are all typical features of a “dream bathroom.” As a military family and seemingly perpetual apartment renters, a “dream” bathroom is a long way off for our household; time and time again, we are faced with the challenge of making a ho-hum “builder basic” bathroom function and feel “dreamy” with limited resources and no renovations. In our current house, our bathroom is teeny tiny (the smallest one we’ve ever had!). It has no windows, no medicine cabinet or wall storage, and no under-sink drawers (just standard open cabinets). When we first moved in, not only was getting ready in this poorly designed space a challenge, but keeping the bathroom orderly was nearly impossible due the lack of storage. The countertops and cabinets became clutter magnets for anything and everything!

It didn’t take long to determine that we had to come up with better storage solutions for this space. After some cleaning and purging and doing a bit of research, I DIYed and organized our bath to a super functional space thanks to the help of some hardworking storage solutions!
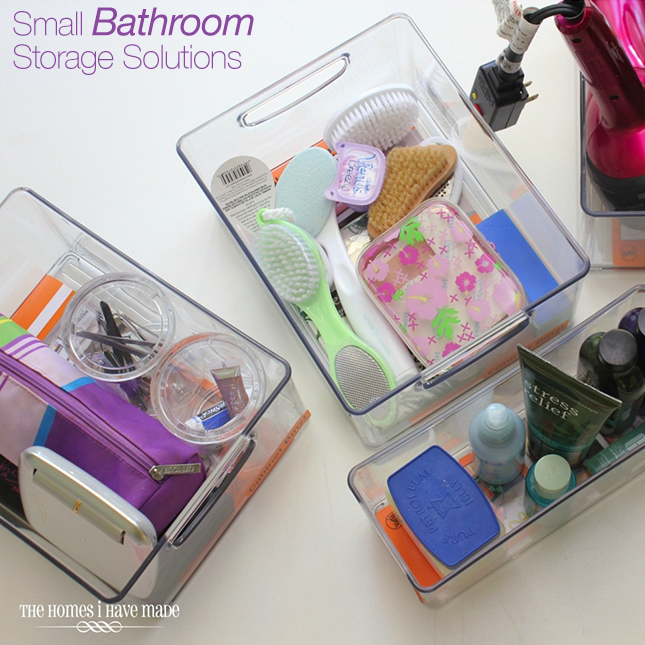
I started by cleaning everything out of the bathroom, including under the cabinets. Everything got a good vacuum and wipe down, and some fresh white shelf liner was placed in the bottom of the cabinets. I then took measurements of our cabinets and gave a lot of thought to what all needed to be stored and accessible under our sinks. After quite a bit of research and browsing various bins, baskets, shelves and drawers on the market, I finally landed on CabinetBinz. I chose these for several reasons. First, I like that they are clear, so seeing the contents inside is quick and easy. Also, I like that they are stackable and come in different sizes. I have found that the key to successfully moving from house to house (and not having to buy new every time!) is using modular storage that can be manipulated to fit different spaces. Lastly, these bins are carried by several retailers so should I ever need more down the road, I will be able to find them again!

Even with cabinet measurements in hand, I suggest buying bins in various sizes. Before you take price tags off and throw receipts away, first sort and organize everything that will go in the bins. This will help you customize your bins to store exactly what you need them to. Once you have everything sorted the way you want it, it’s time to make them pretty!

I used patterned shelf liner to line almost all my cabinets and drawers. To line these clear bins, you will need some pattern contact paper, a tape measure and a rotary cutter with ruler.

I’ve lined a lot of drawers and shelves over the years and have perfected my method for placing down the sticky paper! First, measure the inside bottom dimensions of the drawer/shelf/bin with a flexible tape measure (to get it as accurate as possible) and cut the dimensions from the shelf liner using scissors or rotary cutter. Next, peel just an inch or so of the paper backing off one edge of the shelf liner. Place the shelf liner into the drawer, align all your edges, and secure that 1″ or so of exposed sticky surface to the inside bottom of the drawer. Make sure everything is straight and centered, peel off the remaining paper backing, and smooth from the center out.

Continue lining all your drawers or bins in the same fashion!

Since my bins would be stacked, I wanted to have labels on the fronts to help me identify the contents in each one. These sticky bookplates are a quick and super sophisticated solution for labeling bins like these. Use a ruler to ensure they are centered, then just peel and stick.
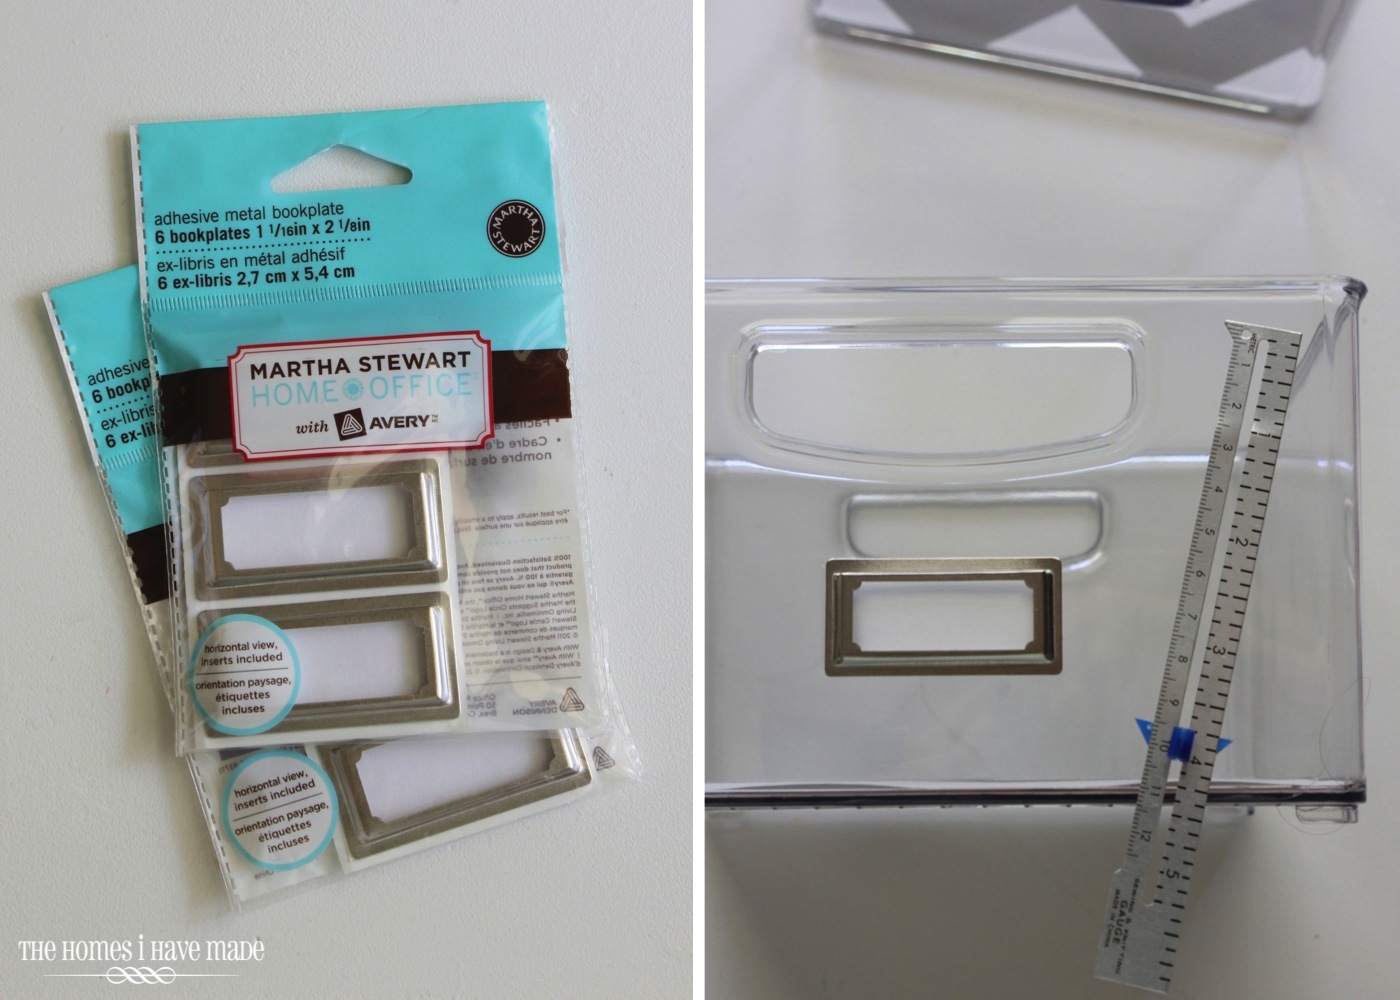
To keep things neat and clean, type up some labels on the computer to fit the bookplates. Print them on cardstock, trim them to size, and slide them right in. They are the perfect finishing detail to this organization solution!

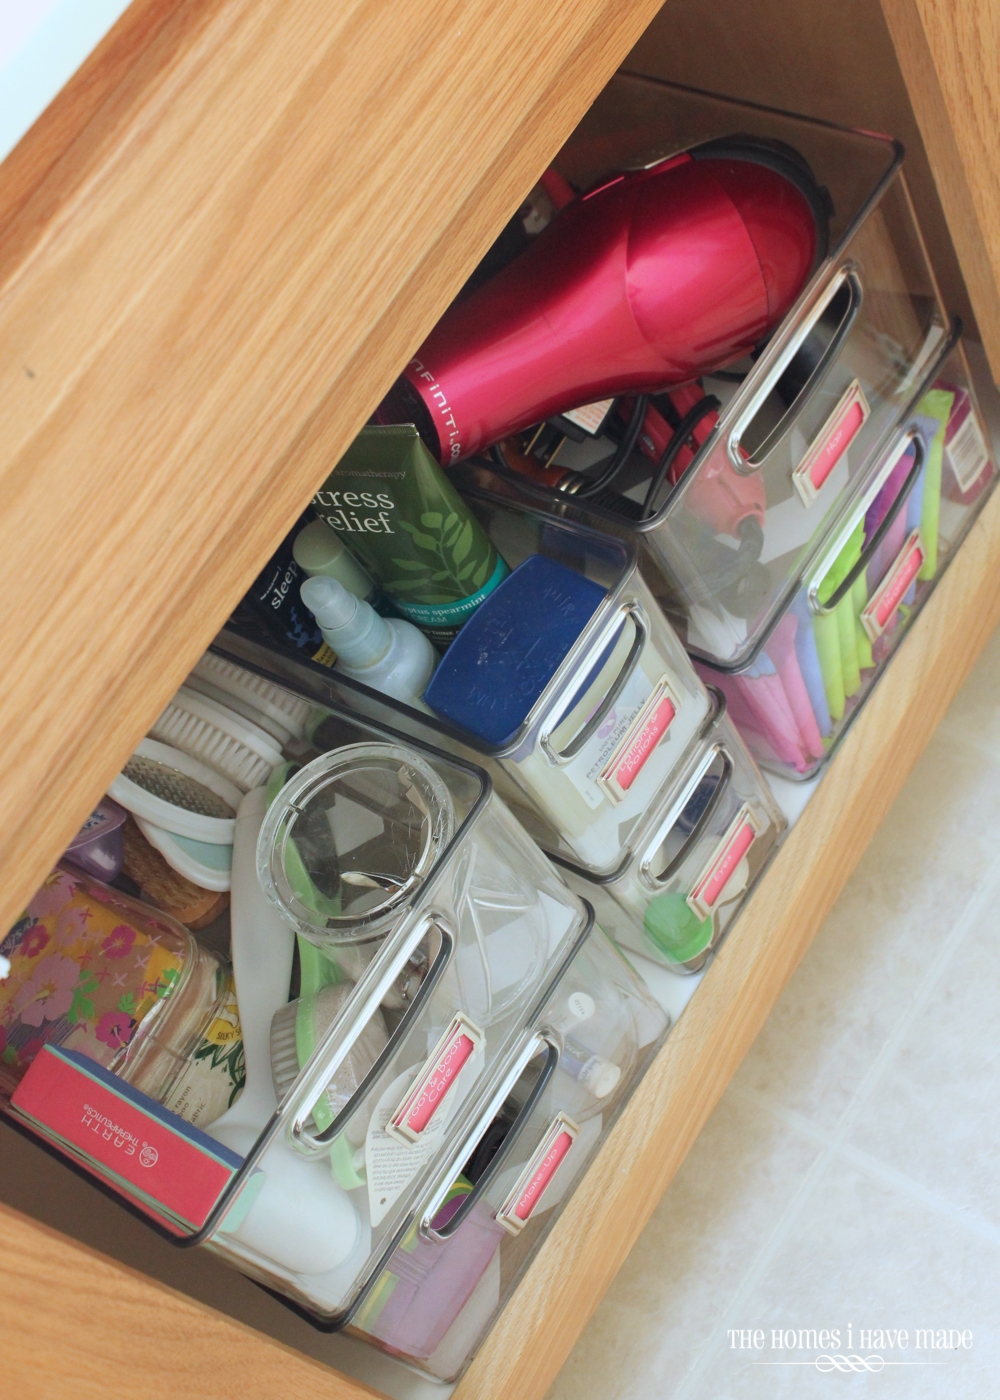
The last step is to load all the bins back up and place the bins into their newly cleaned out cabinets.
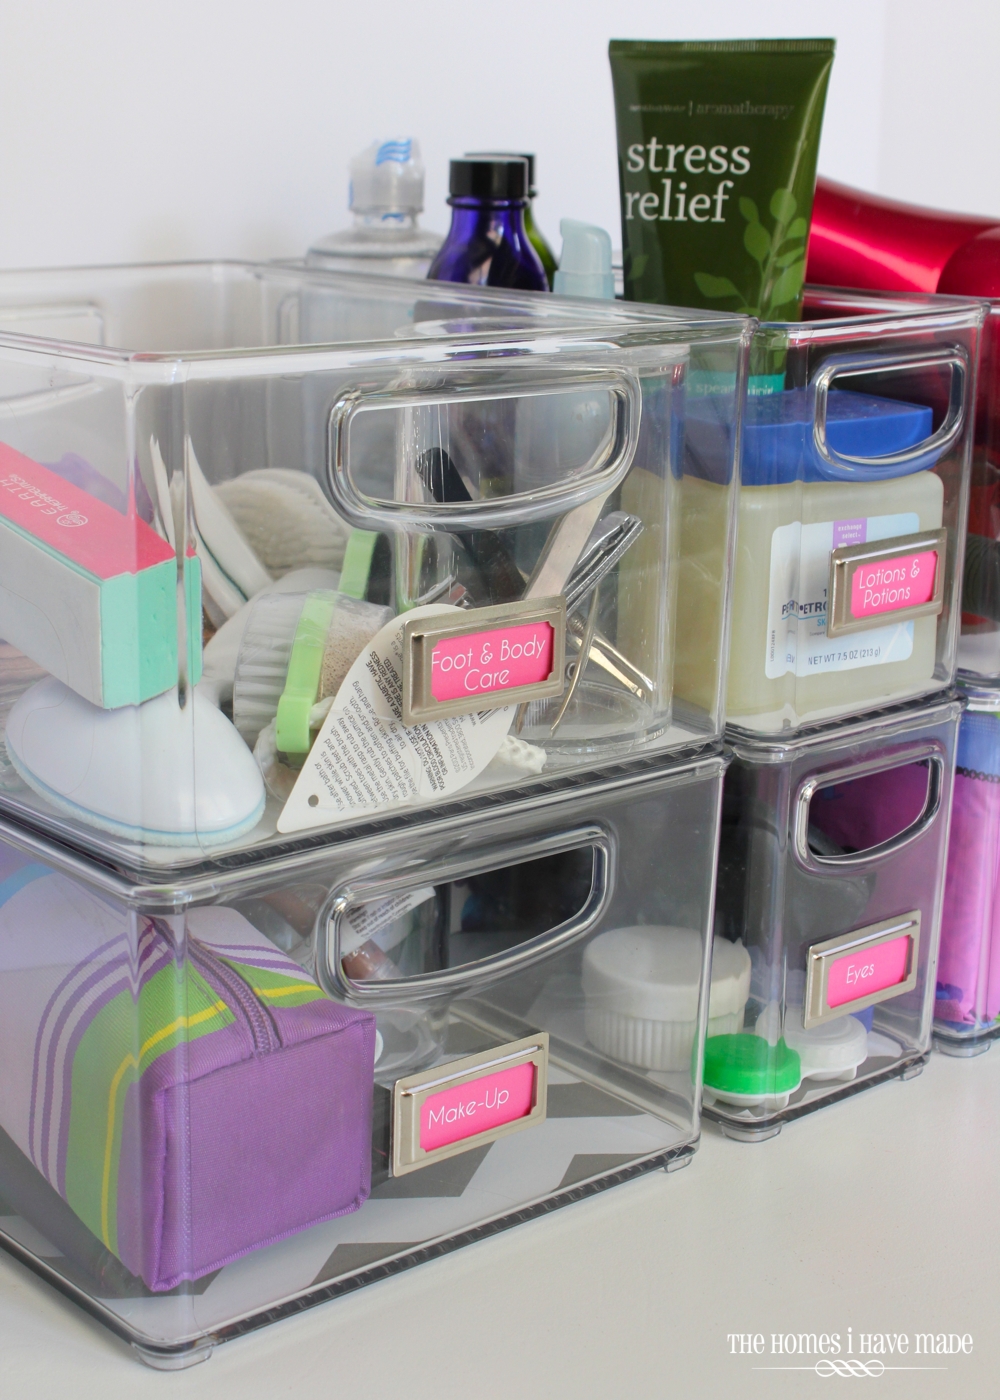

To keep the bottom bins from sliding around too much when I take the “top shelf” bins on and off, I used adhesive Velcro on the underside of the bottom bins to secure them to the cabinet. Now, instead of a big mess when I open my cabinet, I am greeted with this.
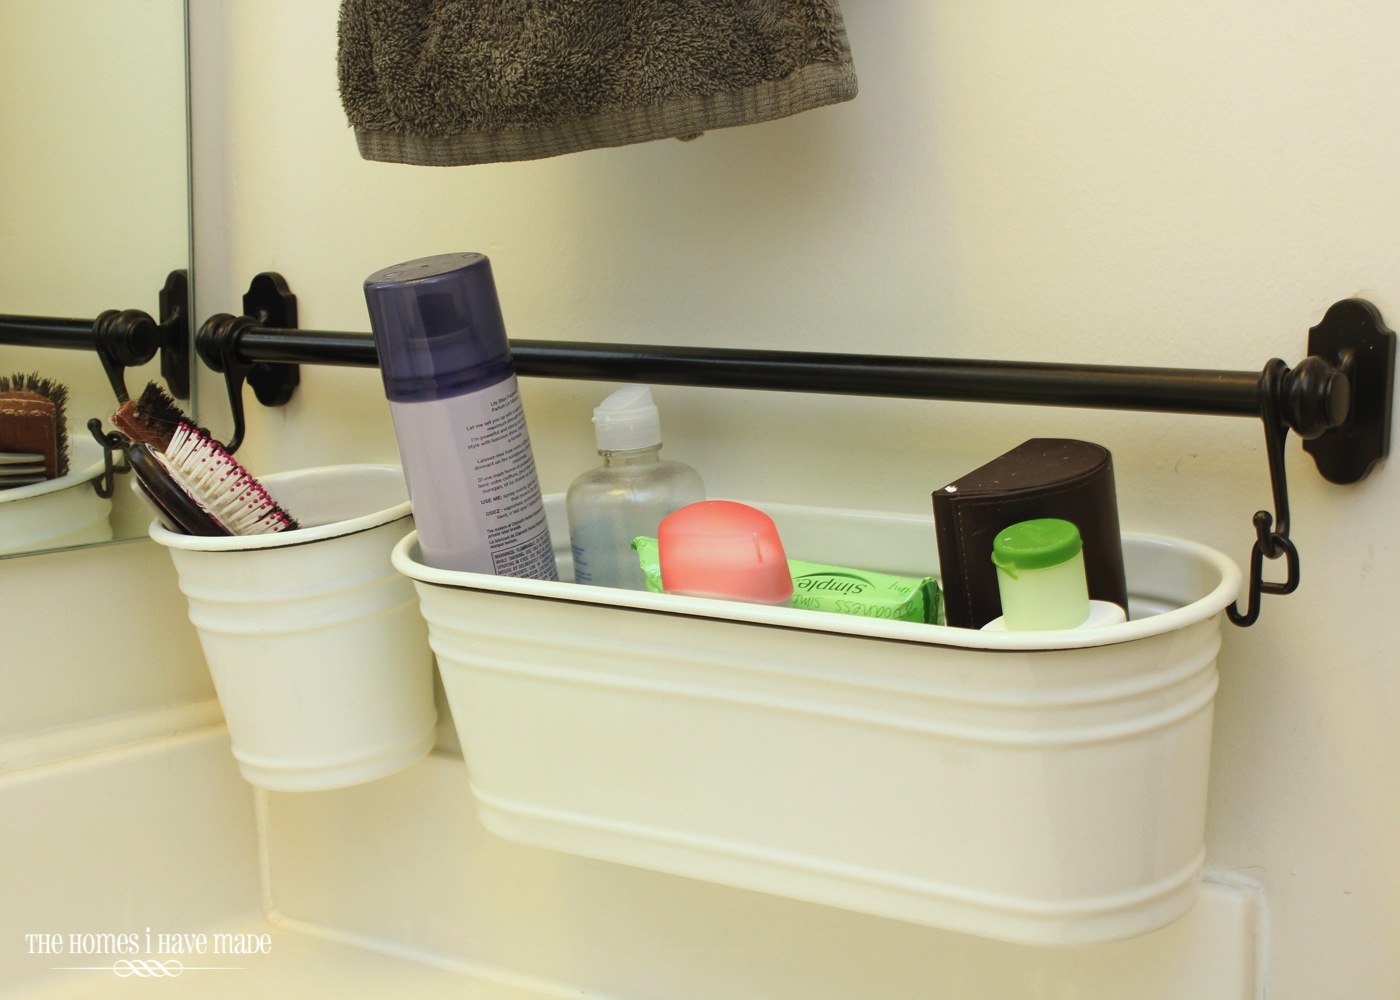
These under cabinet storage bins have been a great solution for all the items we don’t need and use all the time. However, there are still some toiletries and everyday items that we still needed quick and easy access to. Instead of cluttering our very minimal counter space with more containers or shelves, we mounted these hanging bins down each side of the counter. Now things like face soaps, lotions, hairbrushes, toothbrushes, etc. are easily accessible but off the counter top (making cleaning a breeze!)
No matter what area in your house is a little too small, I have found that corralling items with trays, baskets and bins is the key to making the space optimally functional. The trick is finding the perfect storage containers. Do your research to find bins, baskets or trays that hold exactly what you need them to (so there’s no spillover!) and fit perfectly in the space you have!

It’s far from a luxury or “dream” bathroom space. However, thanks to a few very hardworking storage solutions, this bathroom functions just as we need it to. Everything is organized, accessible and pleasing to the eye. At this phase in our life, we really can’t ask for more than that!

Making the Most of Your Builder-Basic Bathroom!
Apartment Living

Recommended Articles
Apartment Living
7 Min. Read
How to Create a Beautiful Patio or Balcony Space
Renting an apartment often means letting go of the luxury of a big, private yard. However, just because you’re in an apartment doesn’t mean you can’t have your own outdoor space. Many modern condos…
Apartment Living
7 Min. Read
The Pros and Cons of Renting a House
There are many reasons why you might choose to rent a house. Whether you want more yard space for your pet, privacy from neighbors, or the simple luxury of getting packages delivered to your…
Apartment Living
8 Min. Read
How to Create the Perfect Reading Nook in Your Rental Home
Creating a reading nook is a great way to make your space feel like home. Even if you’re not the biggest bookworm, dedicating a spot to unwind, relax, and mentally escape from day-to-day life…
Apartment Living
10 Min. Read
6 Best Smart Devices for Your Rental
Just because you live in an apartment doesn’t mean you can’t have a “smart home.” Even with limited square footage or strict lease parameters, there are plenty of smart devices that can elevate your…