Wi-Fi, the wonderful technology that lets us connect to that vast World Wide Web without also being connected to the wall. Of course you want it to be fast and easy. But if you also want it to be secure, then you’ll have to make sure your system is setup properly.
Even if you’ve rented a utilities-included apartment, you’re likely setting up your Internet service yourself. So here’s a step-by-step guide to setting up secure Wi-Fi in your apartment.

Paste this Image on Your Site!
Simply copy and paste the code below and you can share this infographic on your site:
[fdembed]
Choosing a Router
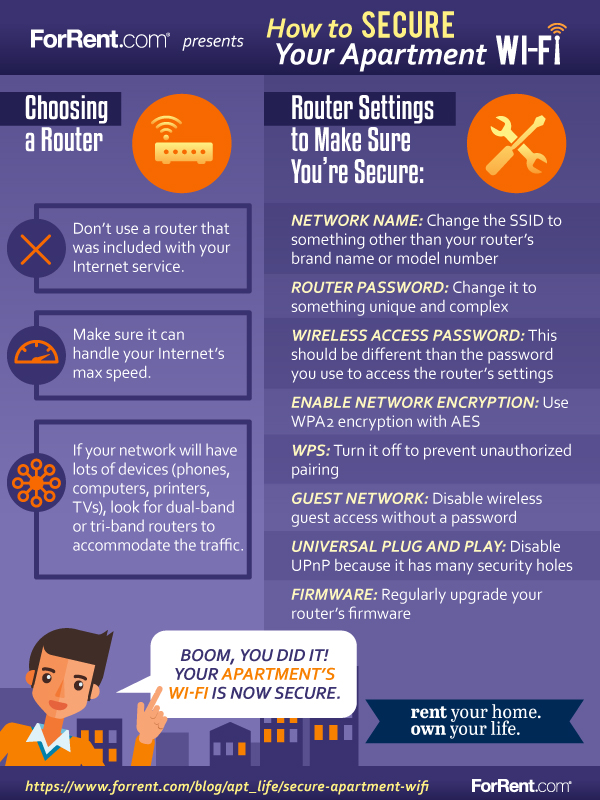
A router is the first line of defense in protecting your digital world. To start, don’t use a router that was included with your Internet service because these devices have limited security.
When buying your router, be sure to choose one that has WPA2 encryption, and make sure it has the capacity to handle your Internet’s max speed. Note that if your network will have lots of devices (phones, computers, printers, TVs), look for dual-band or tri-band routers to accommodate the traffic. The typical cost of a router will be between $100 and $250.
Access Your Router’s Settings
After you’ve purchased your router, you’ll need to adjust its settings to maximize security.
To access the settings, first hardwire an ethernet cable from your router to your computer. (Don’t worry; it’s just for setup.)
Then open your web browser and type the IP address of your router. It’s often “192.168.1.1”. Otherwise you can find it via ipconfig or Network Connection Details on a PC, or System Preferences on a Mac. Look for the “Default Gateway” field.
When prompted, enter the router’s username and password to log into the router. A new router will be set to factory defaults, so check your paperwork or Google the login defaults for your brand of router.
What Router Settings to Adjust
Now that you’ve gained access to the router, you can adjust the device’s settings to have maximum security for your system and all of your devices. Below is a list of settings you should review:
Change the Network Name (SSID): The default is usually your router’s brand name or model number, and leaving it like this makes it easier for a hacker to identify your vulnerabilities.
Change the Router Password: You definitely don’t want to keep the router’s factory default access password. Make sure the password is unique and complex, and never let your browser remember this username and password.
Set the Wireless Access Password: This is the password you’ll enter when connecting to your Wi-Fi. It should be different than the password you use to access the router’s settings. Be sure to use a strong and complex password.
Enable Network Encryption: Use WPA2 encryption and set the encryption type to AES. Turn on HTTPS access to the router interface.
Activate the Firewall: Double check that the router’s firewall is automatically activated.
Limit Unauthorized Access: Disable wireless guest access and keep everything password protected. Turn off WPS to prevent unauthorized pairing. Also, disable UPnP (Universal Plug and Play) because it has many security holes.
Upgrade Your Router’s Firmware: Just as you would install a software update on your computer, you’ll need to update the firmware on your router. There’s no auto-update (yet), so schedule this task on your calendar and do it regularly.
Adjust the Range of the Wireless Signal: If you’re living in a small studio apartment and have a high-range router, reduce your signal range to a more reasonable radius so passers-by and neighbors don’t have easy access.
Before logging out, make sure all your passwords are written down! Now log out, unplug your wired connection to the router and connect wirelessly. Boom, you did it! Your apartment’s Wi-Fi is now secure.
