
When you’re living in an apartment and can’t or don’t want to paint, you can be left staring at expanses of blank walls in every single room. While art can be hung in a variety of renter-friendly ways to add style and personality, sometimes a collection of frames just isn’t enough of a visual punch to break up all the beige. But with just a simple stack of colored paper and some tape, you can easily create a major wow moment in any space in your home that can come down when you move out!
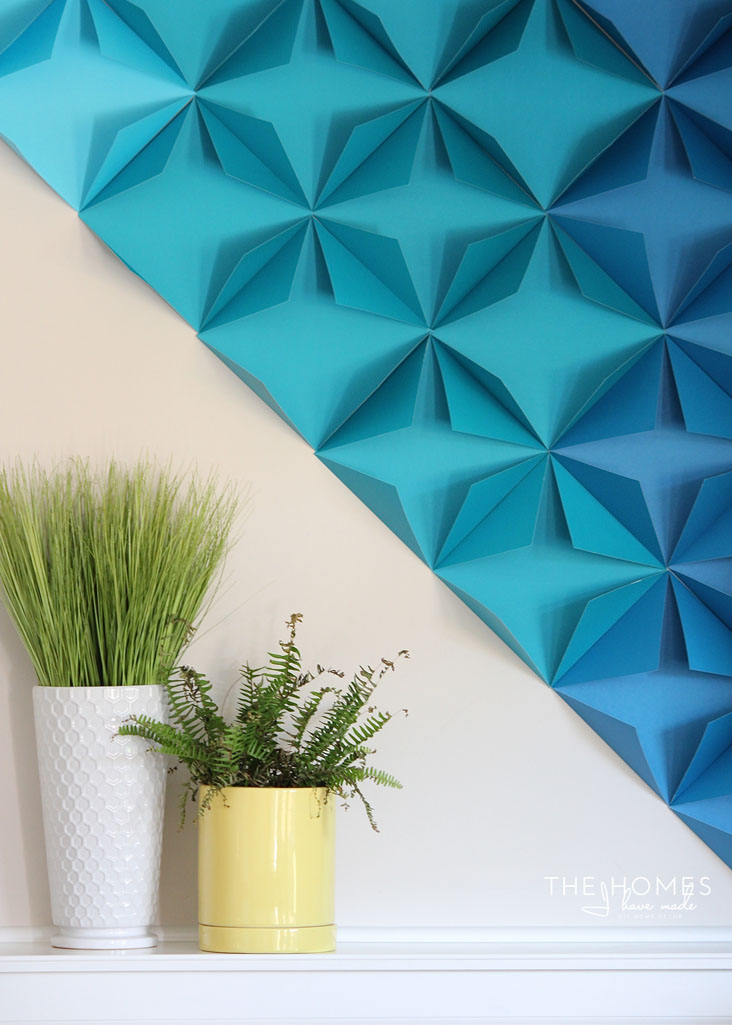
If you look closely, you’ll see that this stunning wall art installation is achieved by simply folding square pieces of paper and lining them up in a color-coordinated design. This project has no rules! You can figure it out as you go, and it is super easy to fix if you mess up or change your mind. By changing the colors, sizes, layout and folds, you can customize this idea to suit your style, décor and space.
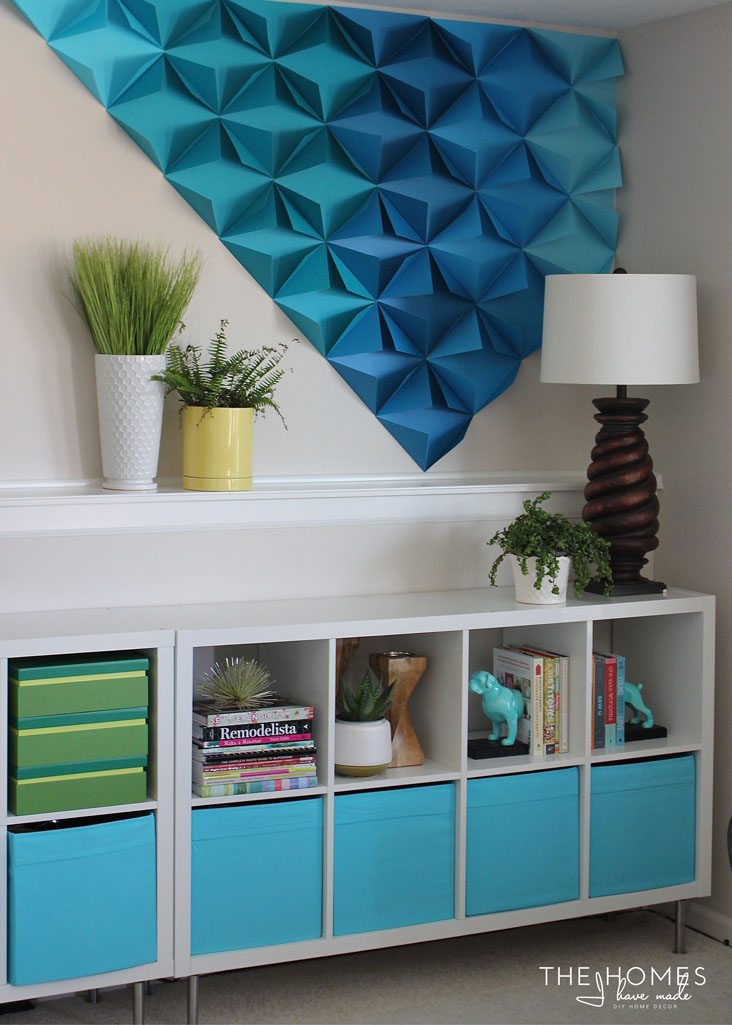
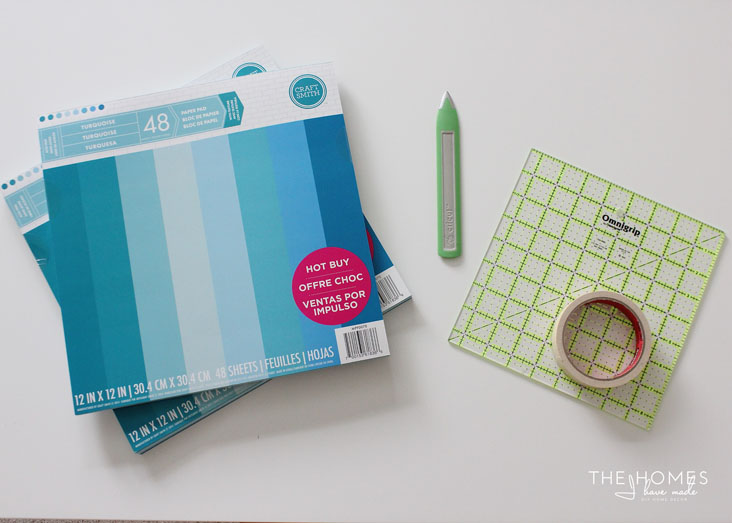
This project is very inexpensive and can be completed in just an hour or so (depending on how large and complex you make your design). Here’s what you need:
Square sheets of sturdy cardstock in any size and color you wish
Scoring tool
Ruler
Masking tape
Level (as necessary)
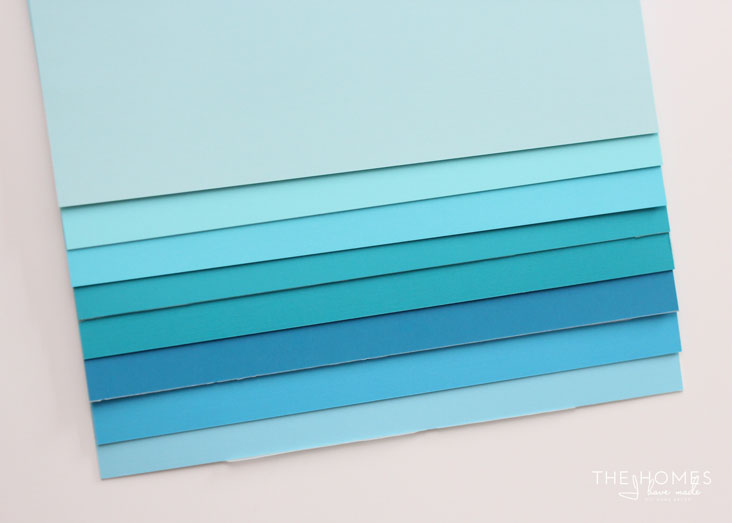
If you’re trying to achieve an ombré effect, select shades of paper along a color gradient. I used a set of ombré blues found in a single pad of 12×12 cardstock.
Using a straight edge and a scoring tool, score a diagonal line so that when folded, the corner reaches the center of the square. You may have to measure and play a bit before determining the exact measurements.
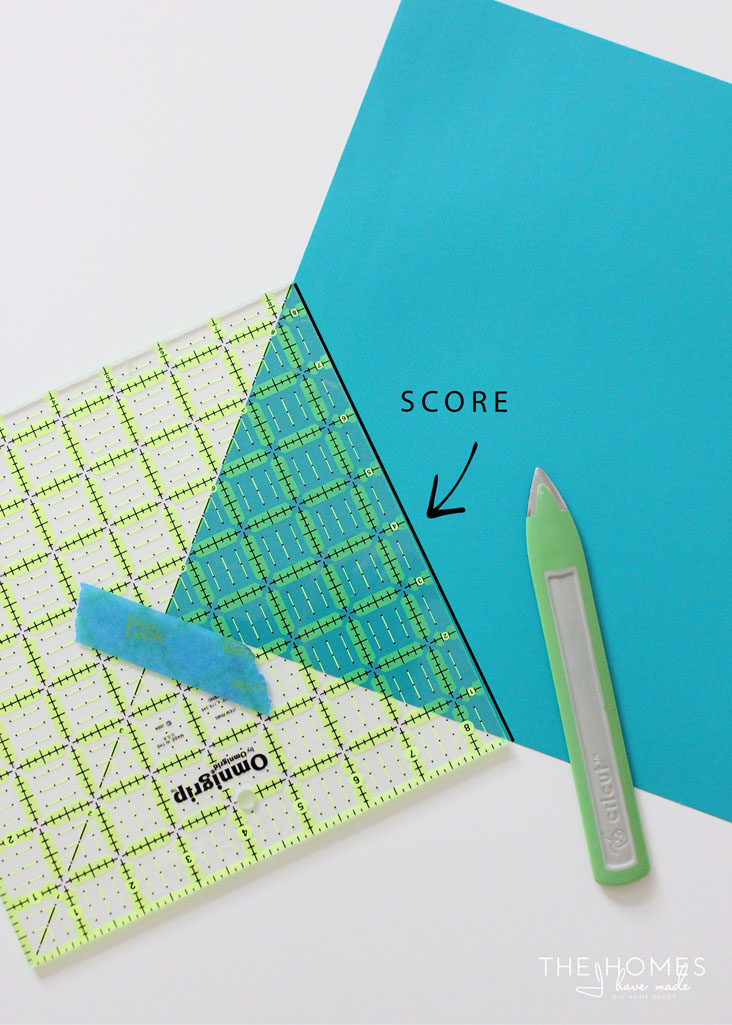
Repeat scoring on all four sides to create a square.
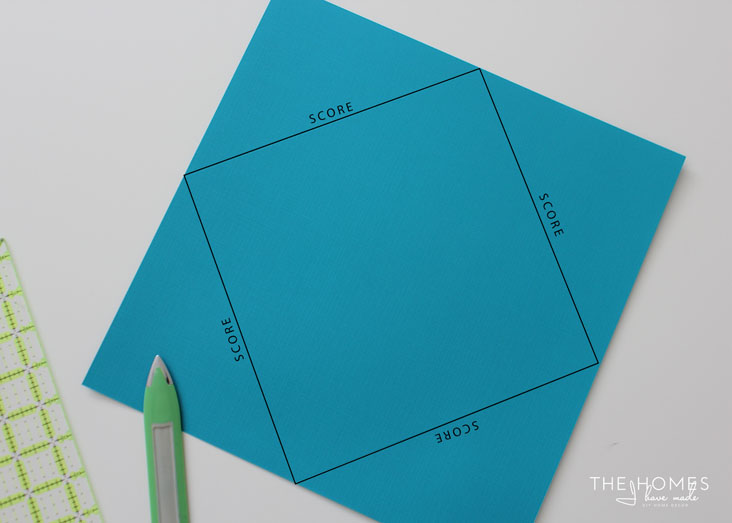
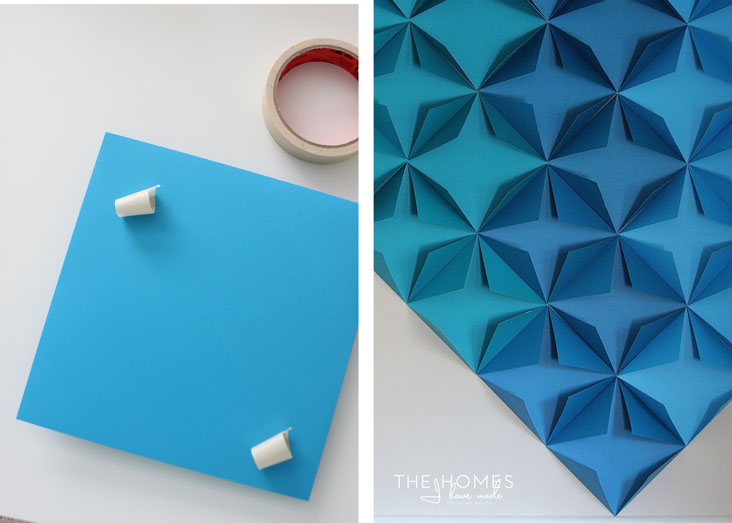
Once scored, fold each corner toward the center of the square on the fold line. Crease the folds well so they hold their shape once on the wall.
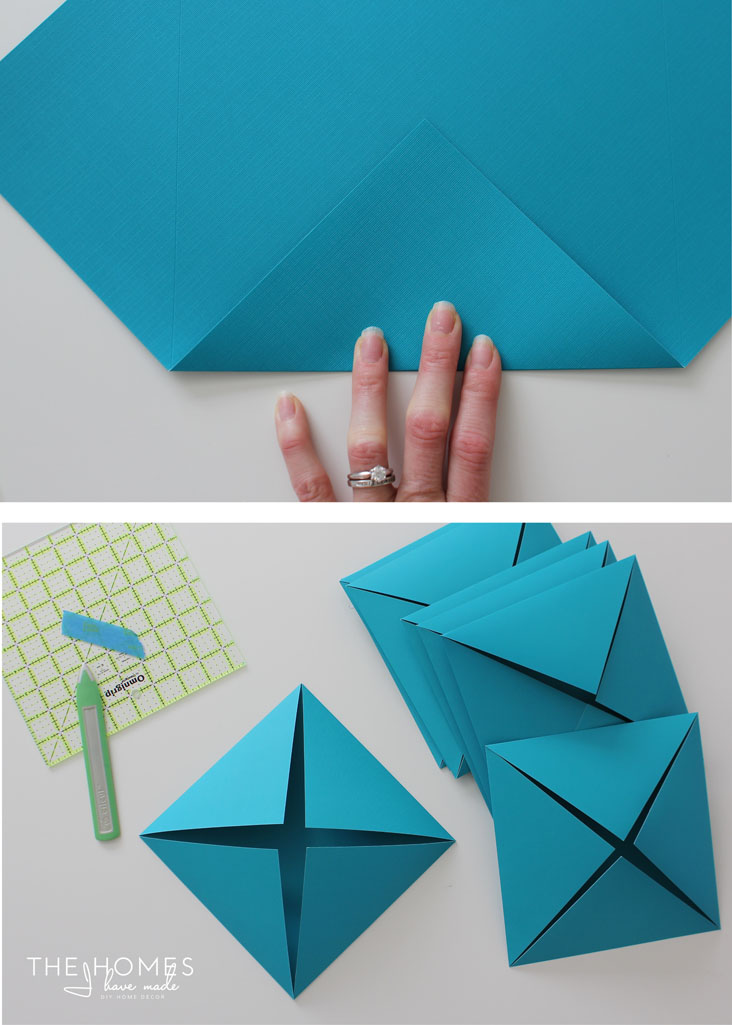
Continue scoring and folding in each color of paper until you have enough squares to fill your space and/or complete your design. (Note: I originally planned a much larger design, requiring two stacks of cardstock and lots of squares. After much experimenting, I ended up using only 28 sheets in my final arrangement.)
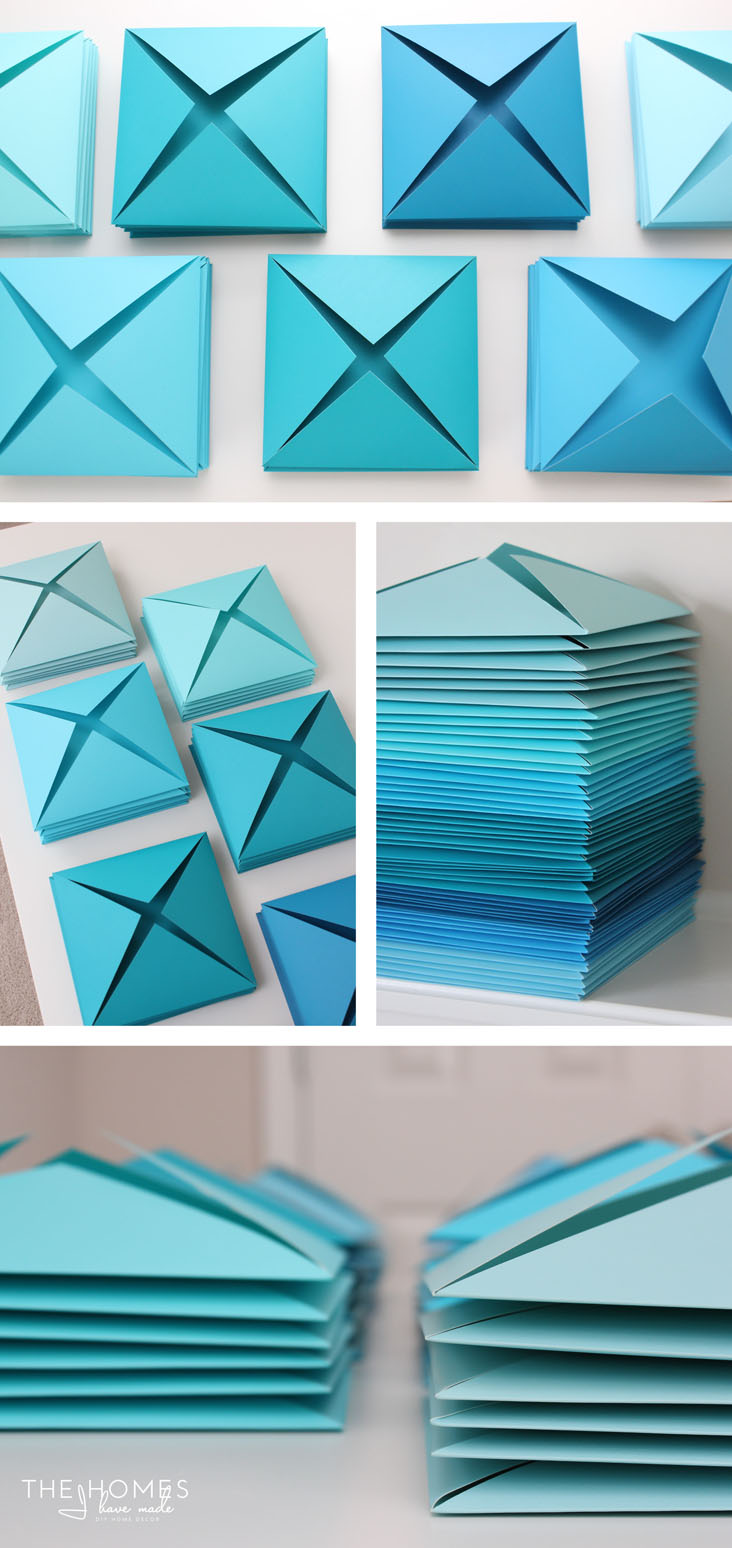
The last step is to simply secure each square to the wall with a few pieces of masking tape in whatever design you wish. Use a level to place your first square, and then build off it for the remaining squares by lining up the edges. Don’t hesitate to play with different shapes, patterns and blank spaces to achieve various looks!
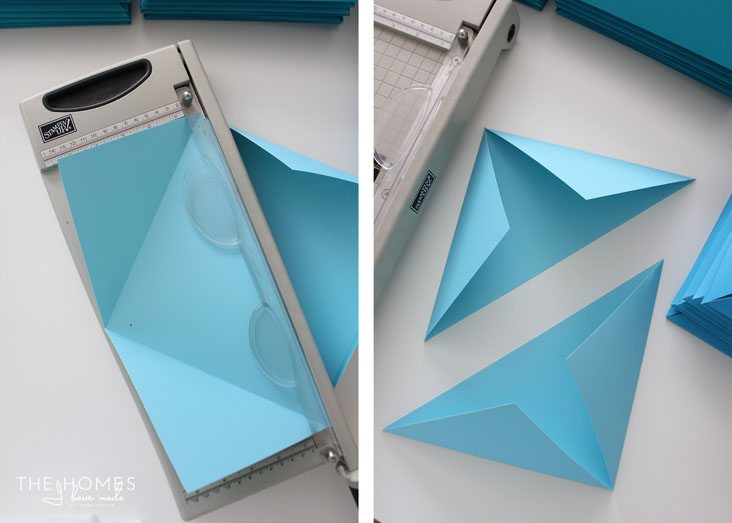
If your design hugs a corner, ceiling, floor or edge, trim the squares down to triangles with a paper cutter to fill in the gaps.
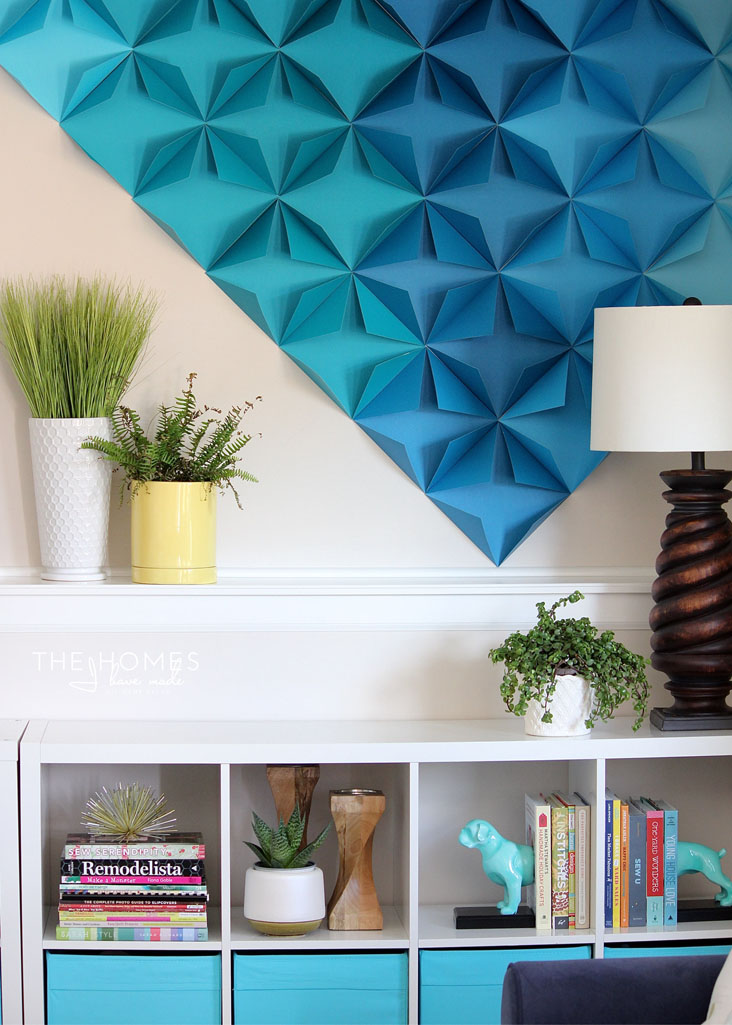
This project really is a fun, simple and effective way to add a major punch of color or interest to an otherwise boring space. Paper is an inexpensive medium that can be found in an array of textures, colors and patterns, and masking tape works perfectly to hold everything in place (my arrangement has been up for weeks and hasn’t budged!) yet comes clean off the walls without pulling paint or leaving residue behind!
For a room’s focal point or quirky accent, give this easy DIY a try. Grab a stack of paper and a ruler, put your favorite re-runs on the TV, and fold your little heart out. Then tape the squares to the wall in whatever formation you think looks best, and sit back to enjoy the view! Who knew it was so easy to make your walls look so colorful and interesting!
Need other renter-friendly wall ideas? Check out these seven renter-friendly ways to cover your walls, our dollar store wall art ideas and some creative ways to use vinyl in your spaces!
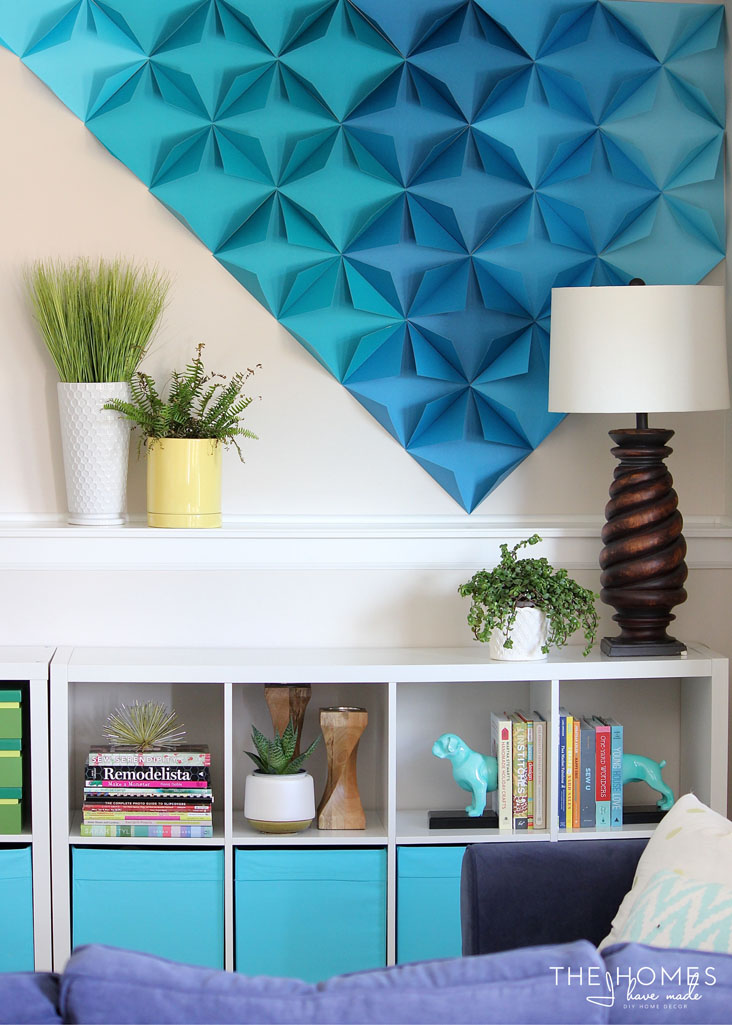
Renter-Friendly 3D Paper Wall Art
Home Decor
Recommended Articles
Home Decor
4 Min. Read
7 Ways to Decorate a Rental for the Holidays
Now that the holiday season is knocking, you might be itching to transform your rental into a festive oasis. But those nails you use to hang your stockings and the lights around your windows…
Apartment Living
2 Min. Read
20 Sweet and Sensible Decorating Ideas
You don’t have to be an interior decorator to make your apartment look fashionable and inviting. Just a few easy updates will give your apartment a fresh, new look – and it won’t cost…
Home Decor
3 Min. Read
Tips on Decorating Your Apartment for Christmas
The holidays are finally here, renters! If you pride yourself on your festive home decor, we're with you! And we're here to help. From colorful glassware to holiday blankets, here are seven decorating tips…
Home Decor
3 Min. Read
How Many Lights Should Go on a Christmas Tree?
Those beautiful Christmas trees you're seeing across social media and magazine covers really set the mood for the holiday. Yet when it comes to decorating our own, they never quite turn out the same.…
