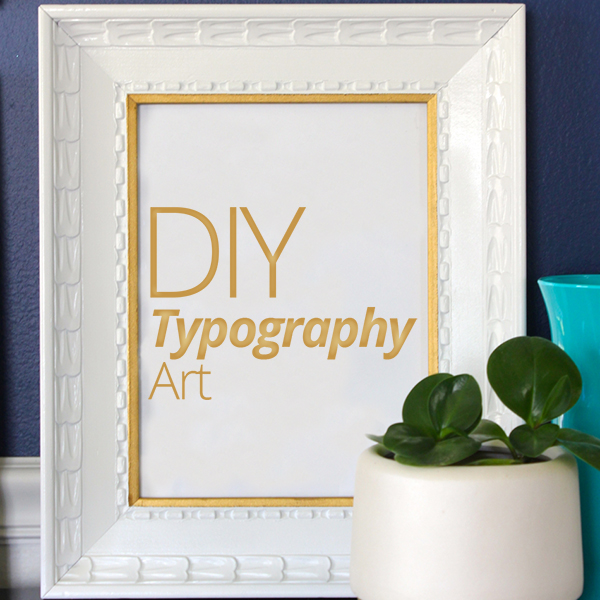
One of my favorite ways to fill up my walls on-trend and on budget is to DIY my own artwork. However, an artist I am not; so I often get creative with something each of us knows and uses all the time: numbers and letters! Typography, which is simply “artfully arranged type,” is a fun, modern and oh-so-simple way to add personal and meaningful art to your apartment walls. And the best part? These projects tend to be quick, cheap, easy, and most of all, movable when it’s time to relocate and redecorate!
![Typography_Artwork-002[2]](https://www.forrent.com/blog/wp-content/uploads//2014/05/Typography_Artwork-0022.jpg)
Not only do I love typography projects for their simplicity, but I love having artwork on my walls that reflect who I am, portray what I believe, and tell a story about where I’ve been or what I’ve been through. As you set off to make your own artwork, think about phrases, numbers, letters, words or images that have meaning to you. Scour the Internet, Pinterest, religious texts, favorite books, or song lyrics for inspiration! As you create your items, sprinkle them throughout your house where they have the most meaning or group them together in a gallery-type collection.
![Typography_Artwork-003[2]](https://www.forrent.com/blog/wp-content/uploads//2014/05/Typography_Artwork-0032.jpg)
Using different mediums and techniques will give your collection a “collected over time” feel. The sky really is the limit here, as almost anything can be painted, cut, pasted, layered, twisted or printed into a meaningful word or phrase. Today, I’m going to show you three simple projects for bringing typography into your home!

Stenciled Monogram. Initials and monograms are one of the easiest places to start if you’re short on inspiration. Letters can work in almost every décor style, just pick a color and medium that best suits your space! Here, I combined a monogram with a stenciling technique to create a unique art piece for my home.
To make your own, you will need: painter’s canvas or canvas paper (shown here), craft paint (white and a color of your choice), contact paper, pencil, scissors, computer/printer, stencil, small foam roller, small foam brush, and frame.
Start by painting your canvas white with a foam brush. Next, find a font on your computer you love and print out your letter as large as you need to fill your frame. Cut out your letter and then trace its outline onto a sheet of contact paper. Then, cut out the letter from the contact paper.


Peel off the paper backing from the contact paper and center the letter onto your canvas. Smooth down all the edges and make sure the contact paper is lying flat on the canvas. Next, layer your stencil over the contact paper, and using as little paint as possible, carefully roll paint over the stencil and onto the canvas. Repeat as many times as necessary to get the vibrancy you desire. Once dry, peel off the contact paper from the canvas to reveal your stenciled patterned letter!

Printed Coordinates. One of the quickest ways to make art for your walls is to design it on a computer, print it out, pop it in a frame, and hang it up! Even if you aren’t super computer savvy, you don’t need a graphic design degree to pull this one off!
To make your own, you will need: computer with design or word processing software, frame, and access to an office supply store or large-scale printer.

Start by picking numbers that have some meaning to you. These happen to be the longitude and latitude degrees for the four different places we have lived. Once you’ve decided on your numbers, use computer software to play around with fonts and spacing until you have an image that looks artistic. My image is designed to fit inside a 9″x15″ frame, not a size I can print at home. Office supply stores print large black and white engineering-style prints for as little as $0.97! Once your image is printed, trim the paper to fit into your frame and hang it on the wall or layer it on a shelf. High style and big impact for pennies!

Die-Cut Phrase. Framed phrases are another go-to art solution for me. Not only are they good motivation or affirmations when needed, but they can quickly tell others a lot about you! Instead of doing another print or painted art piece, I used one more technique for added dimension and interest.
To make your own, you will need: a die-cut machine (like a Cricut or a Cameo), white cardstock, metallic gold contact paper (or vinyl/paper of your choice), adhesive, and frame.

Start by designing a phrase in the design software that accompanies your die-cut machine. I utilized different sizes of the same text to give the final cut some added interest. Be mindful to design the final image to fit inside your selected frame. Once the design is complete, cut the phrase out of white cardstock and then layer the white cardstock (with the cutout phrase) over a sheet of metallic gold contact paper. Use adhesive to hold loose pieces (like the centers of the “o”s) in place. Once loaded into a frame, this quick and simple paper project looks like printed artwork!
To round out my art display, I added one more frame with a dose of whimsy. Here, unique wrapping paper, cut down to size and inserted into a coordinating frame, adds color and texture that coordinates with the other pieces.


All told, these projects took me just an afternoon to complete and used mostly supplies I had around the house. Even if you have to buy a few basic supplies, these typography projects really are a simple and inexpensive way to give your walls some style and personality without a huge time investment!

For more tips and tricks, visit the DIY and Decorating section of the ForRent.com blog and visit Megan’s blog, The Homes I Have Made!

