Our friend Megan, from The Homes I Have Made, stopped by the ForRent.com blog to show you how to cut down on clutter with an awesome mason jar project!
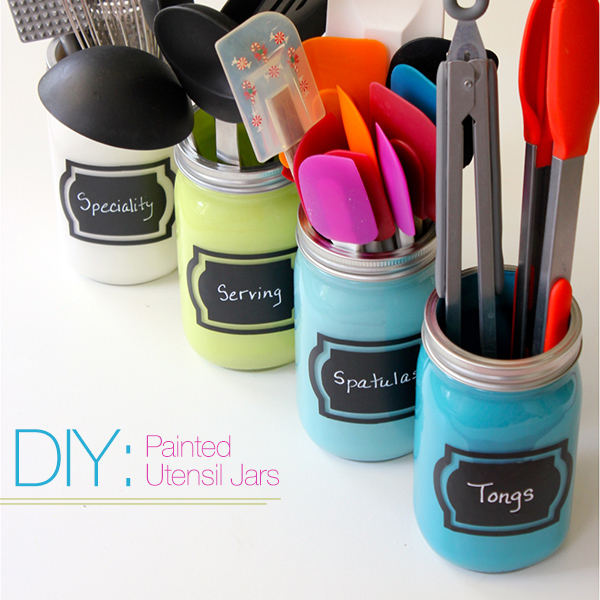
The kitchen in any house or apartment is often one of the most used spaces in the entire home. So when kitchen storage is awkward or lacking, it can make preparing snacks and meals unenjoyable and downright frustrating! Inadequate drawer space is one problem I have encountered in almost every home we have lived in—either there are not enough or they are too small! After months of fighting my utensil drawer every time I opened it, I decided to DIY a simple solution to corral all my cooking utensils. Not only is my drawer less cluttered, but now I have fun and functional new kitchen accessories!
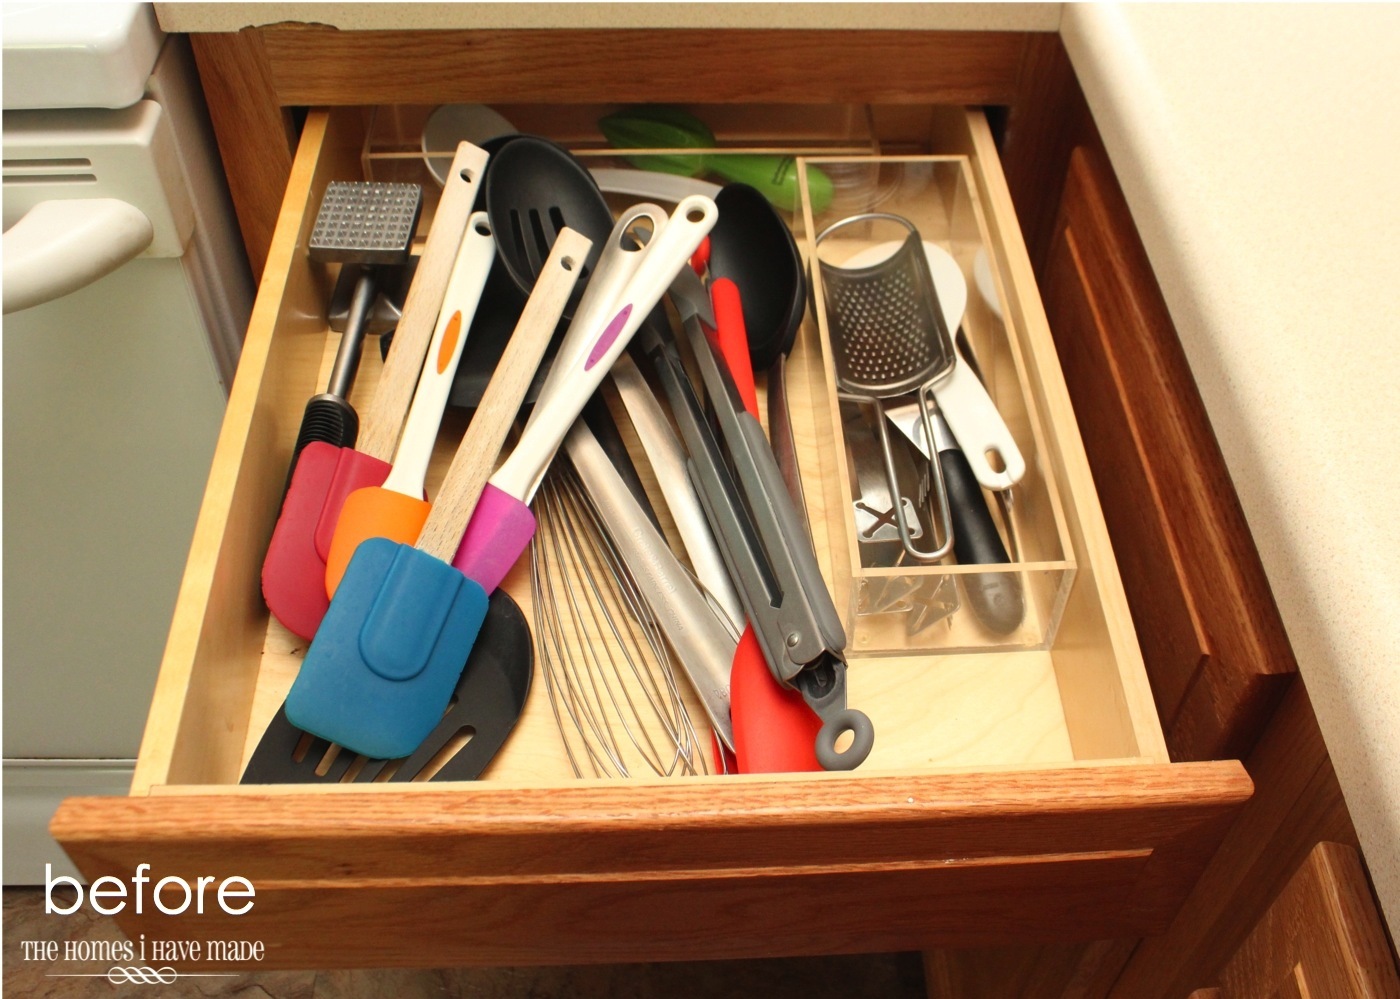
Here is my overcrowded drawer before I started. Lack of additional drawers prevented me from spreading everything out, and the width and depth meant something was always poking out when I tried to open or close the drawer!
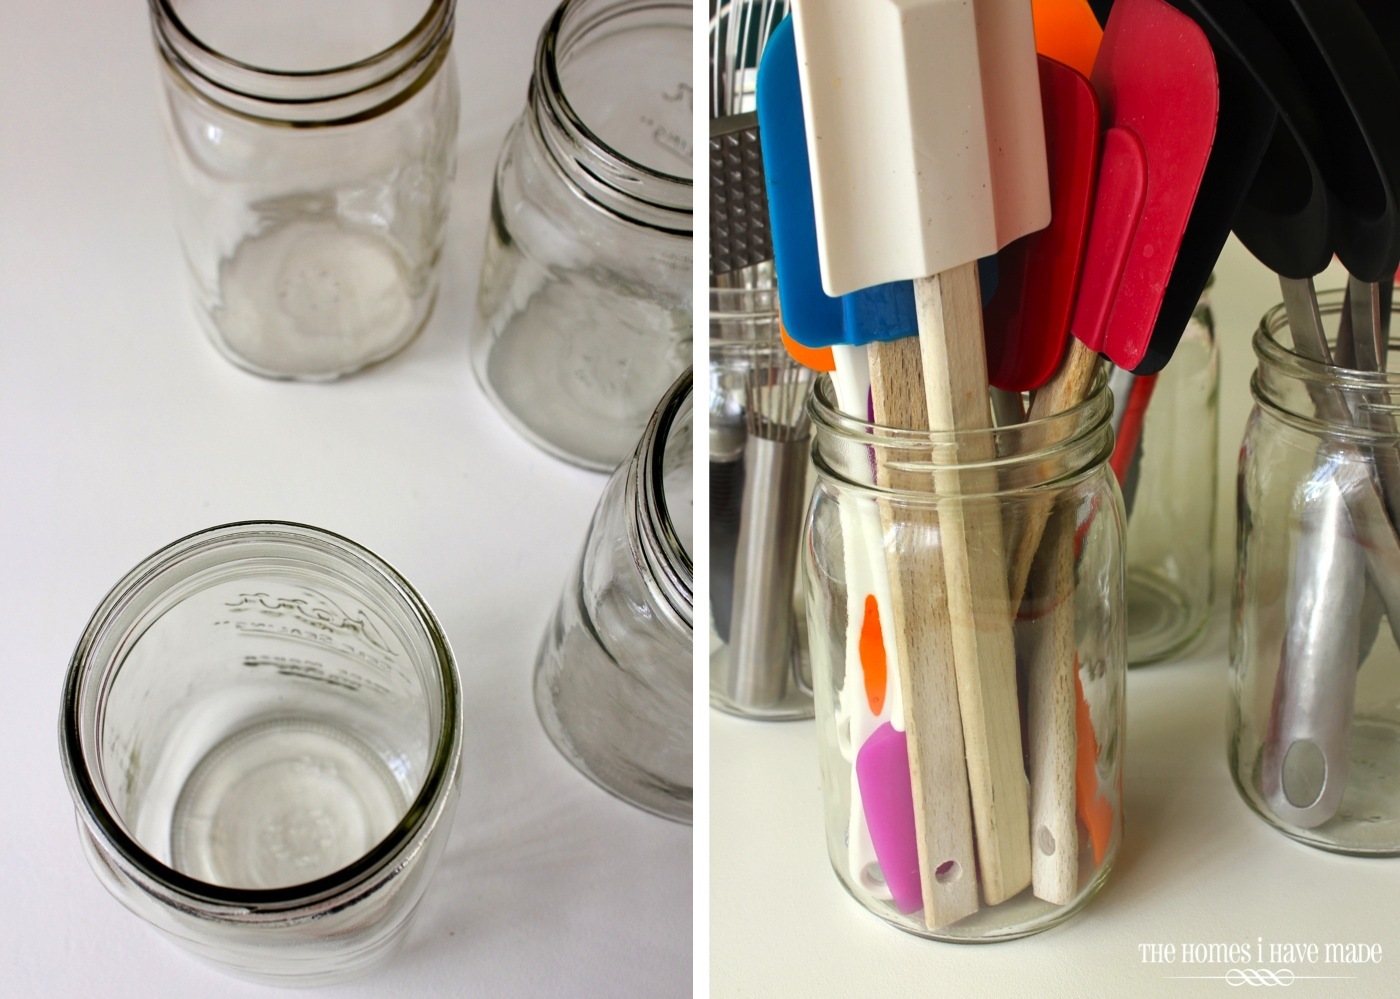
I found the perfect glass jars for this project at Michaels. Not only are they flat and marking-free on three of the four sides, but their openings are nice and big, so all my utensils fit and I can get them in and out really easily!
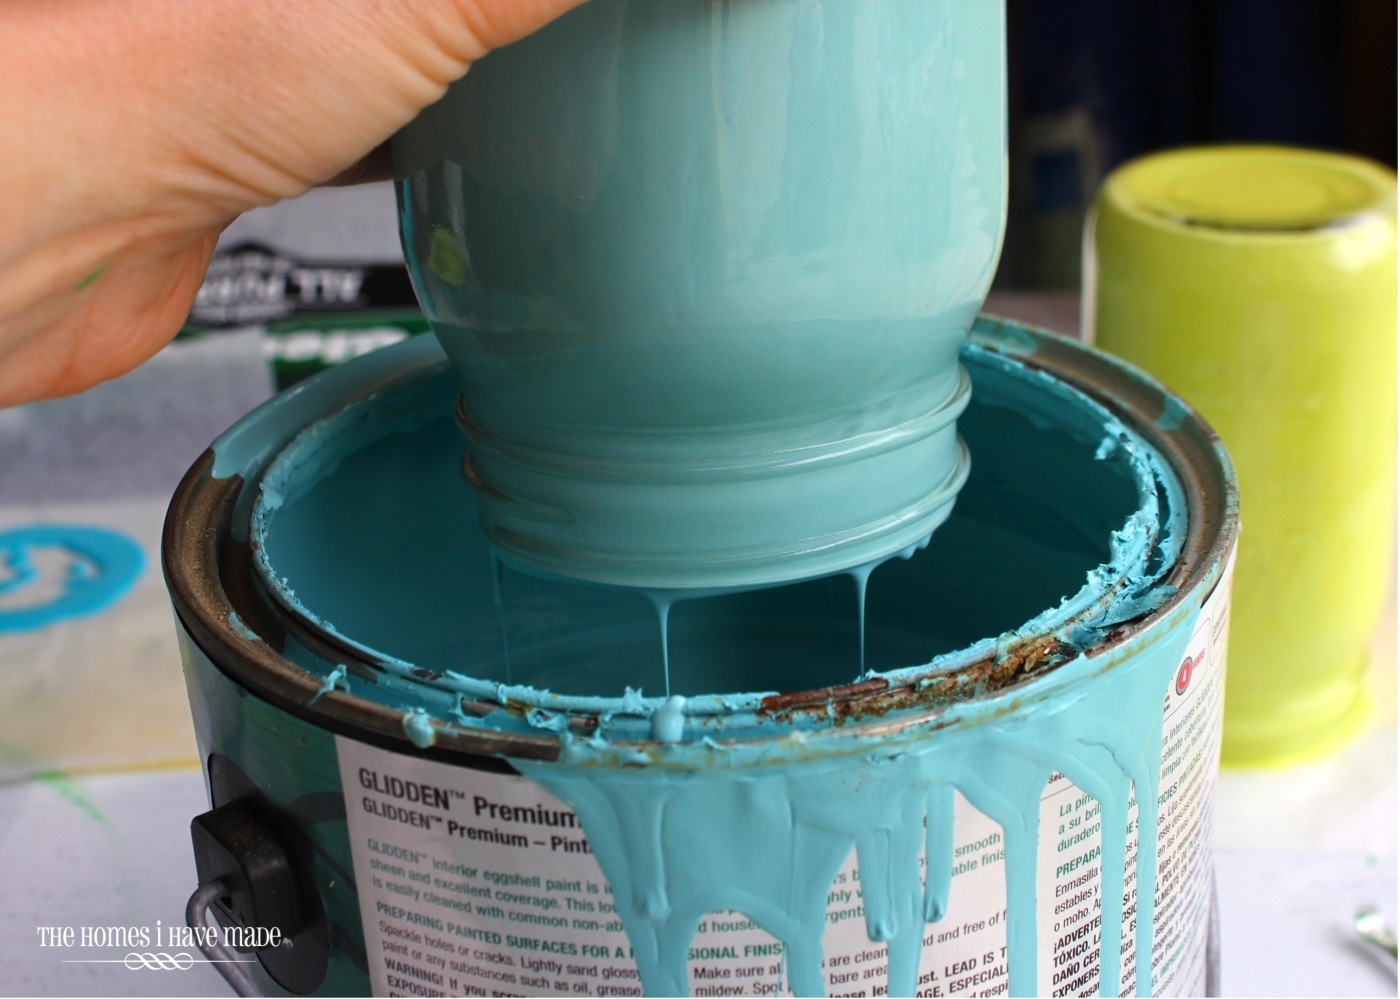
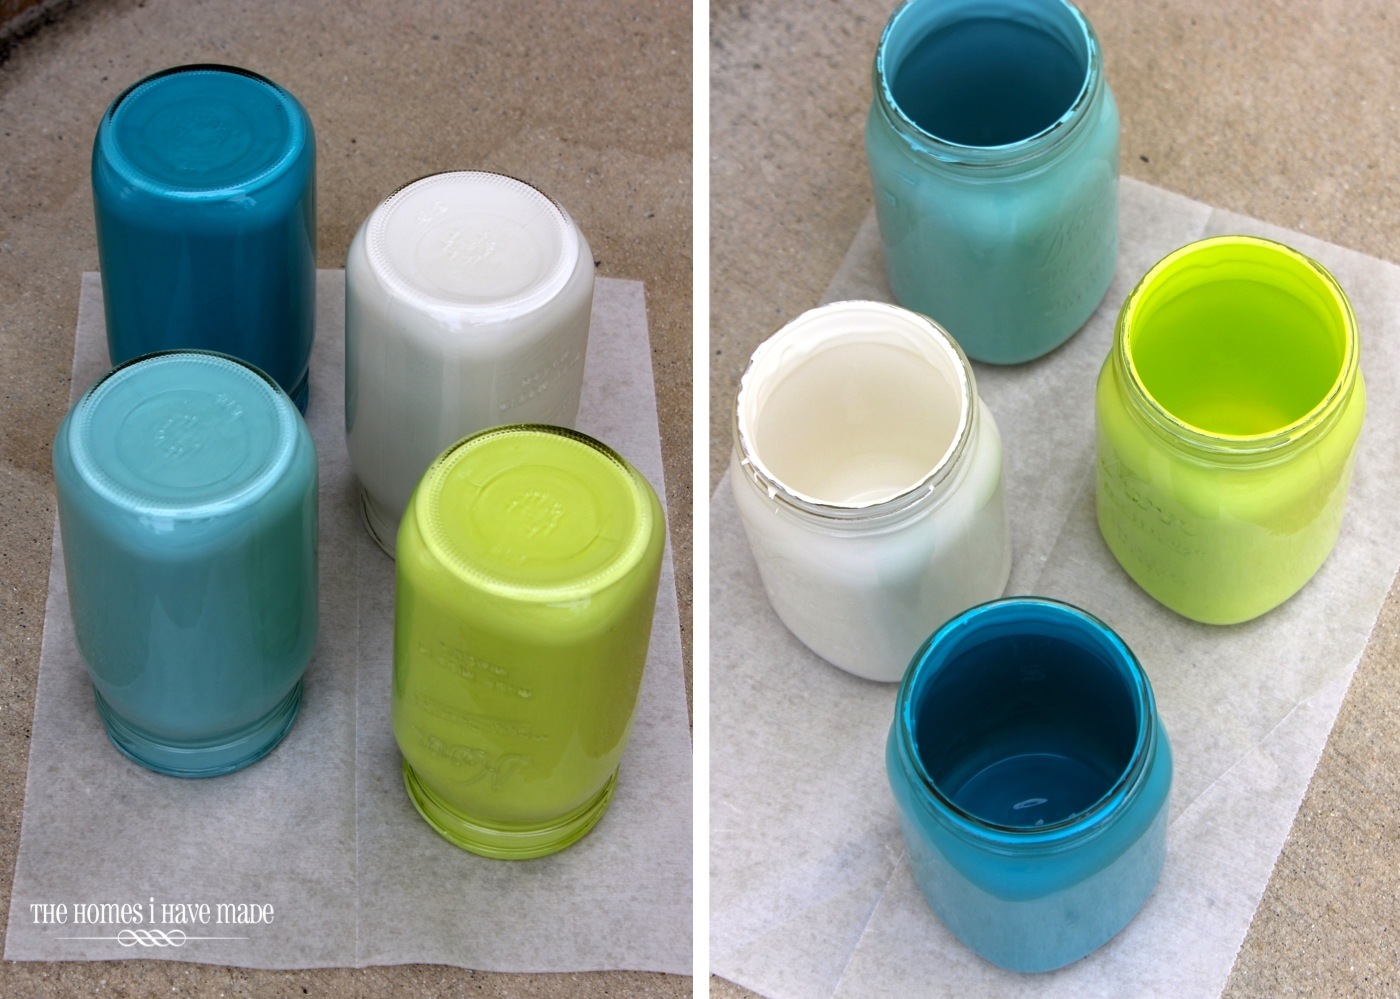
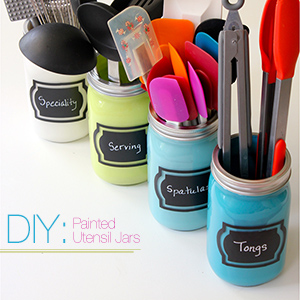
What’s great about this project is that the jars are really simple to make, require very few supplies, and can be customized to match your kitchen color scheme! Start by removing the lids and cleaning out the jars (outside and in) with soap and warm water. Next, grab an assortment of paints in your desired color scheme. I simply used some leftover paints I had from other projects in our house. To coat the inside of the jar, fill the jar about a quarter full with paint and slowly and carefully swirl the paint around the jar. Once the entire inside is coated, hold the jar over your paint bucket and allow as much paint to drip out as possible. Repeat with all of your jars and all of your paint colors.

Even after you’ve let a majority of the paint drip back out into the bucket, place your jars top-side-down onto a sheet of wax paper for about an hour. This will allow all the excess to continue to coat the sides and eventually drip out. After an hour or so, flip the jars right-side-up and let them dry/cure overnight.
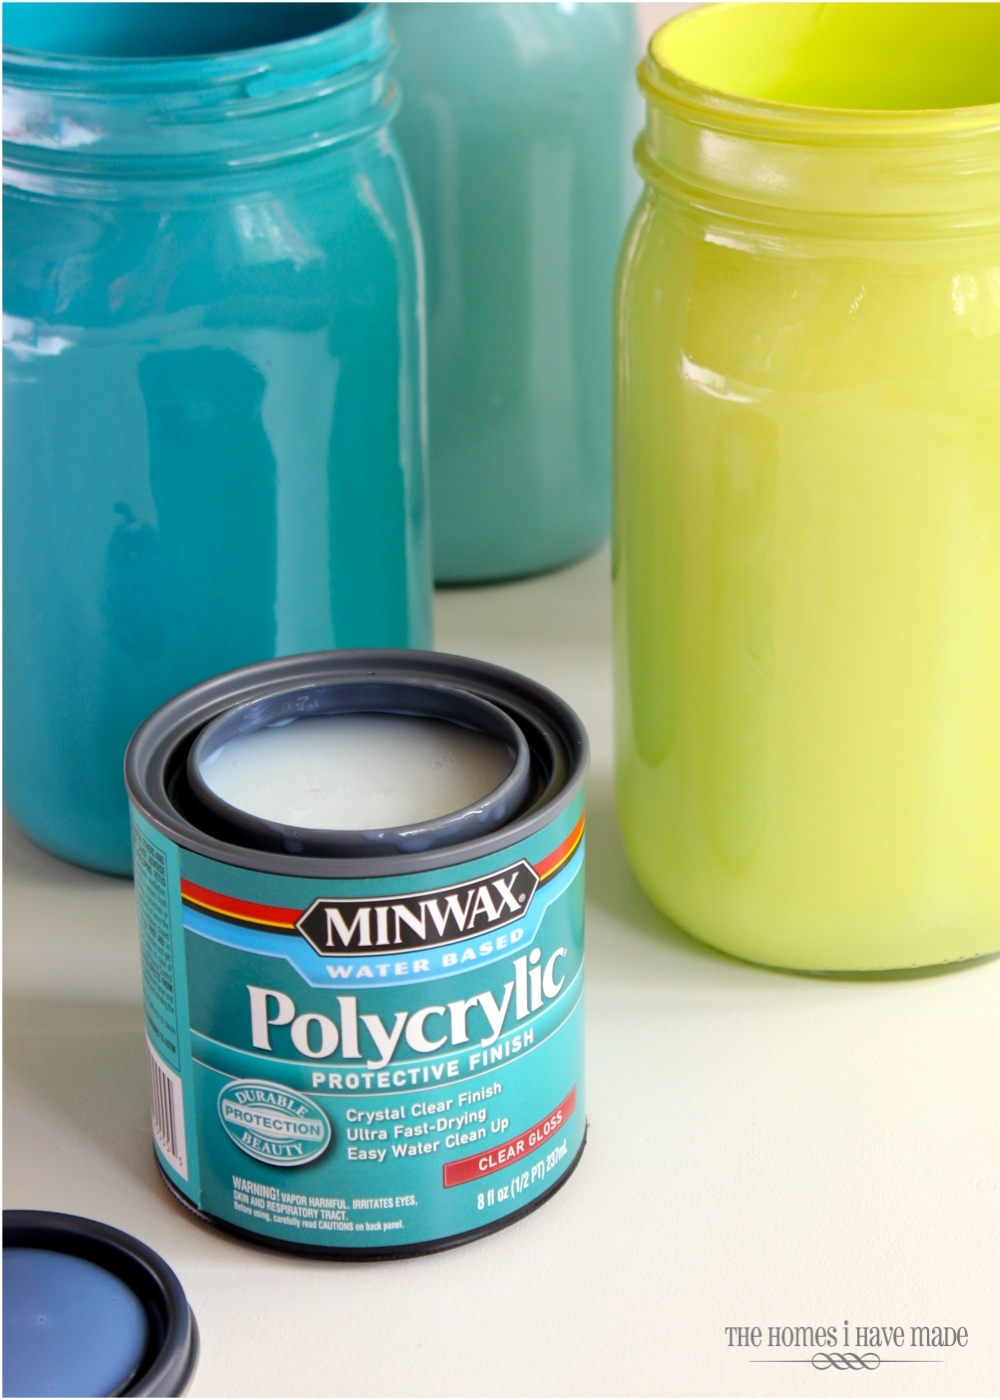
Because I used latex paint and I knew these jars would get a lot of wear and tear from kitchen utensils, I decided to give the insides of the jars a protective polyurethane coating by repeating the exact process described above using Minwax Water-Based Polycrylic. If you choose to do this step, be sure to let the excess drip out (again, for about an hour or so), and then let them cure right-side-up overnight.
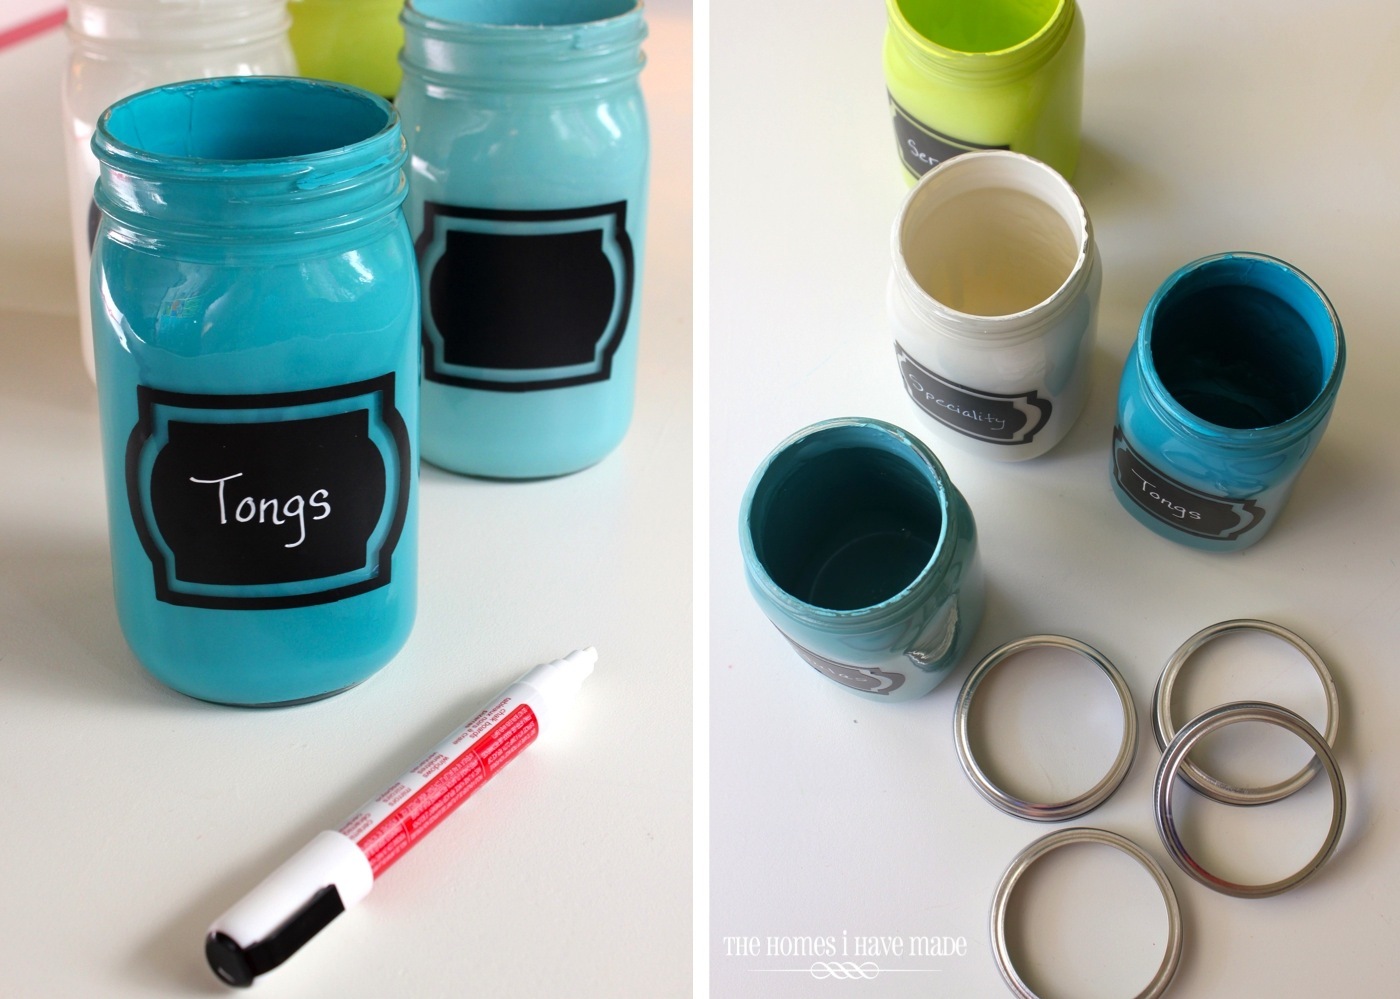
If labeling isn’t your thing, you can stop here—load up your jars and you’re ready to go! However, I love the extra detail, and it’s a quick final step! You can add labels in a variety of ways: pre-cut labels from a craft or office store; chalkboard or dry-erase paint; vinyl; or this example, black matte contact paper. These labels were cut using a Cricut Machine, but label shapes are easy to free-hand or trace if you don’t have access to an e-cutter. Simply cut out your desired shape and apply the labels to the flat sides of the jars. Take care to place the label at the same height on each jar so they line up when the jars are placed next to each other.

Use a chalk marker to label your jars. I love that these markers leave a clean, smudge-free line that doesn’t rub off but can be wiped away with a damp cloth. Next, add the metal rings back onto the jars to create a clean and durable rim. I have other silver accents in my kitchen, so I opted to leave these as is, but you could also spray paint the rims in a contrasting or metallic color if you wish!
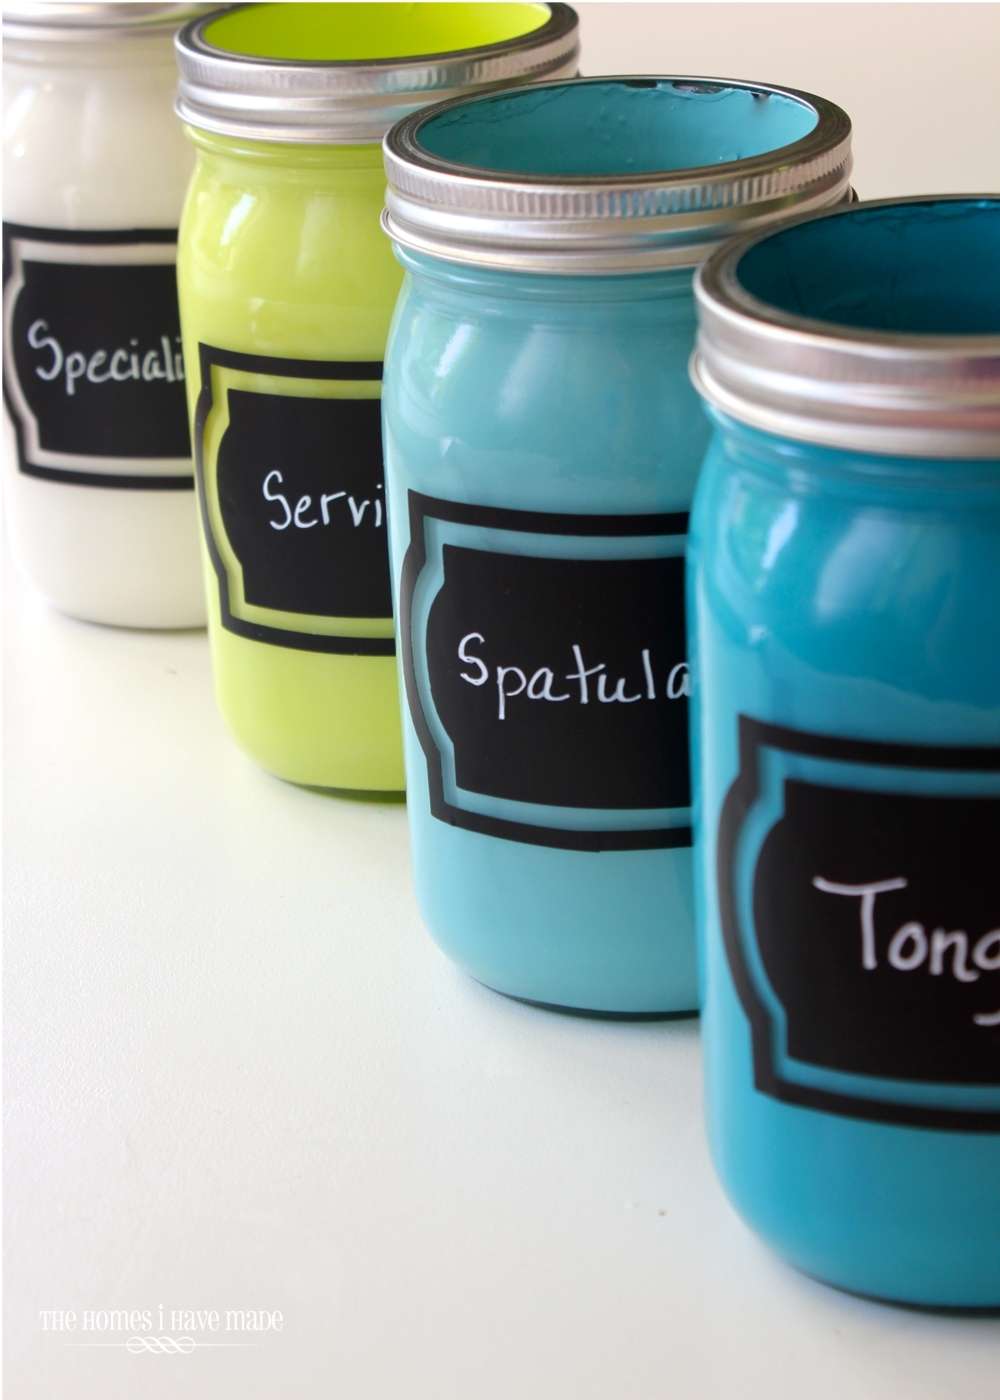
I love these jars’ color and versatility! Right now, they hold all my cooking utensils; but whenever I have a party, I can dump the utensils, wipe away the labels, and load them up with silverware, flowers, or other party necessities! These would also be great in a playroom or craft room to hold markers, colored pencils, paint brushes, etc.!
![Utensil_Jars-012[1]](https://www.forrent.com/blog/wp-content/uploads//2014/05/Utensil_Jars-0121.jpg)
![Utensil_Jars-013[1]](https://www.forrent.com/blog/wp-content/uploads//2014/05/Utensil_Jars-0131.jpg)
To keep my jars corralled on the countertop, I placed them in a long narrow wire basket. I love the look of them all together, but these jars could also be placed around the kitchen – close to where they are needed most!
![Utensil_Jars-014[1]](https://www.forrent.com/blog/wp-content/uploads//2014/05/Utensil_Jars-0141.jpg)
Most of all, I love that my kitchen drawers are a lot less cluttered and all my utensils are organized and easy to grab. Although, the cute jars adorning my kitchen counters are certainly an added bonus! If your drawers or cabinets are giving you a headache, give a little thought to how else you can store your trouble items. Baskets, jars, canisters, ledges, dividers, or added shelving can all help you make the best of a less-than-ideal storage situation!
![Utensil_Jars-015[1]](https://www.forrent.com/blog/wp-content/uploads//2014/05/Utensil_Jars-0151.jpg)
Decrease Drawer Clutter with Painted Utensil Jars
DIY
Recommended Articles
Apartment Living
2 Min. Read
How to Plant Succulents in Your Apartment
If you’ve been thinking of using plants for decoration in your apartment, may we suggest succulents? What are succulents, you ask? Only the hottest new trend in the plant world, of course! But if…
DIY
3 Min. Read
No-Fail Tips for Styling a Bookcase
Do you have a bookcase or shelving unit in your apartment that just never seems to look “right”? Well, you’re in luck today because I’m walking you through my no-fail tips for styling a…
DIY
6 Min. Read
DIY Skills Every Apartment Dweller Should Know
One of the best things about being a renter is that you don’t have to do repairs on your home! Even though you can rely on your landlord or friendly maintenance worker to take…
DIY
5 Min. Read
Should I Paint My Rental?
Of all the “tools” in a renter’s “toolbox,” paint is a favorite. Not only is it relatively inexpensive and usually reversible, but it is truly one of the most effective ways to change the…
