The winter holidays are a time to fill our homes and lives with traditions, and the things that hold special meaning for us and our families. Sometimes, however, filling our homes with such meaningful holiday cheer can be a costly — and timely — endeavor. But it doesn’t have to be! With some basic, inexpensive craft supplies, and your very own Instagram feed, you can easily decorate a Christmas tree (or your home!) with all your favorite people, places, and memories from the past year!

Each of these DIY ornament projects come together in mere minutes; but for all of them, you will need printouts of your favorite photos. Whether you have your Instagram feed printed by a company or print them yourself on your home printer, pick your best ones and cut (or have them cut) down to approximately 3” squares. You can use color photos, black-and-white, or both — it’s purely your preference!

With your photos printed, it’s time to get crafting!
Struggling to get your apartment holiday ready? Be sure to check out our 6 smart tips for the perfectly-decorated apartment!
Insta-Frame Ornaments
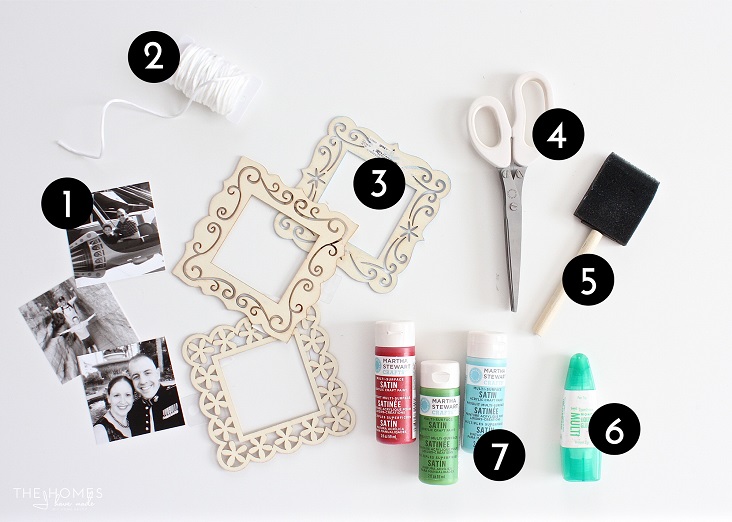
To make some simple frame ornaments for your favorite Insta shots, here is what you need:
-Photos, cut to 3” squares
-Ribbon or string
-Wooden die-cut frames (these are from Michaels Craft Stores)
-Scissors
-Sponge or paint brush
-Paper adhesive
-Acrylic paint in the colors of your choice

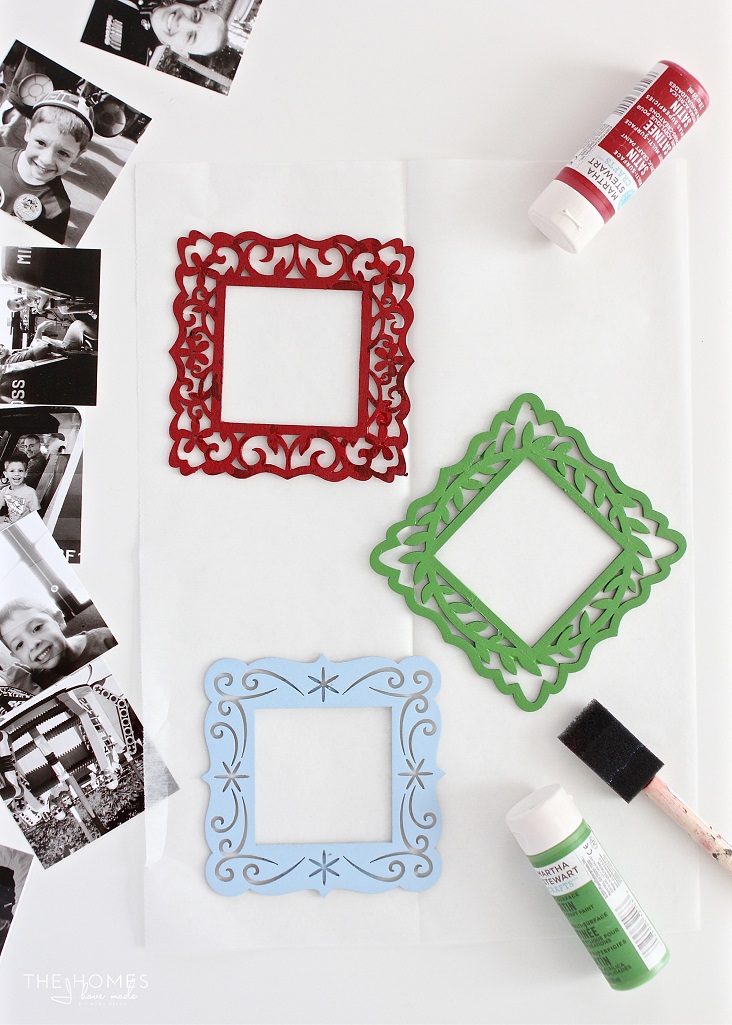
Protect your work surface with some wax paper, and then paint each of your frames with some acrylic paint using a sponge brush. Be sure to get each and every edge colored!

Once dry, put a line of paper adhesive along the back interior perimeter of the frame and secure your photos to each frame.

Cut an 8” length of string with a scissors and thread it through one of the openings on the frame. Knot it at the ends to make a loop for hanging.

Repeat with all the other frames using a variety of colors and pictures to create a fun display for your tree or mantel!

Photo Medallion Ornaments
To make these whimsical photo medallion ornaments, you will need:
-Photos, at least 2” big
-Ribbon or string
-Holiday paper or cardstock, 8.5×11” is ideal
-Scissors
-Hot glue gun and glue sticks
-2” circle hole punch (or larger)
-Scoring tool
-Ruler

Place the paper in landscape layout. Using a ruler and scoring tool, score lines across the length of the paper at ½” intervals.

So that you only use one sheet of paper for each ornament, be sure to score every ½” all the way across the paper, but only down 6”.

With the scoring done across the entire 11” of paper, use a scissors or paper trimmer to cut the scored portion of the paper into three 2” wide strips.

On the final 2.5” strip of un-scored cardstock, use the 2” circle punch to punch out two circles and set them aside.

Next, take each of the 2” strips and fold them along the score lines as you would a paper fan (below left). Next, use a hot glue gun to attach all three strips together into one long strip (below right).

Using more hot glue, secure the two ends of the paper strip together to form a circle as shown below.

This next step can be tricky, but with practice you’ll be whipping these out in no time. Scrunch up the paper folds as you push the ends toward the middle of the circle. Once the paper is laying flat, with the fan going around in a circle, quickly use A LOT of hot glue and one of the paper circles to hold the folds in place. Once cooled, flip the whole thing over and secure the second paper circle to the back with more hot glue.
Note – Don’t let go of each side before the glue fully cools or else the medallion will pull apart. Once the hot glue is fully cured, the paper will stay nicely and tightly folded up to create the images you see!

Next, use the circle hole punch to cut out a circle from your selected photo and secure it to the front of the medallion using more glue. You can get creative here by layering papers or using different sized/shaped punches!!

Finally, cut an 8” string and fold it in half. Using more hot glue, secure it between folds on the back of the medallion ornament.

Once cooled, your photo medallion ornaments are ready for hanging!

3D Photo Ornaments
Three photos come together to make one simple ornament in this project. Here is what you need to make one:
-Scissors
-Paper adhesive
-Ribbon or string
-3 photos, cut to 3” squares
-Ruler
-Scoring tool

Start by using the ruler and scoring tool to make a line down the center of each photo. If your photos are 3” wide, make a line at the 1.5” mark. Repeat on the other two photos.

Next, gently fold the photos on the score line; don’t worry about making a nice crease.

Using the paper adhesive, glue two photos together along one folded side, as shown below:

Cut an 8” piece of string and fold it in half. Before gluing on the third photo, place the string ends into the middle and secure it with extra glue if necessary. Glue on the final photo to complete the ornament!

These are a fun way to show off several pictures at once. Be sure to hang them on the ends of tree branches so they can spin freely!

Using photos to decorate your tree (or home!) for the holidays is a great way to reflect on the memories and events of the past year. And when combined with basic, inexpensive craft supplies, they also become a budget-friendly way to deck your halls! While this idea is great for home, don’t hesitate to try it at work, with friends, or as party favors to add the perfect personal touch to your holiday festivities!

[tweetthis]Say Merry #Christmas to your friends with these #DIY #Instagram ornaments. Perfectly personal! [/tweetthis]
Are you in need of more budget-friendly holiday decor ideas? Check out these simple cone trees for your mantel!

