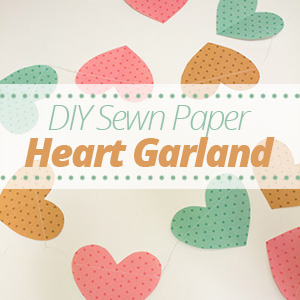
Have you started to decorate for Valentine’s Day yet? This sewn paper heart garland is a really fun project that only takes about twenty minutes to put together, so if you’re looking for quick and easy Valentine’s Day decor, this tutorial is perfect for you!

DIY Sewn Paper Heart Garland
Here’s what you need:
- colored or patterned paper
- scissors
- a sewing machine (or a needle and thread if you want to sew it by hand)
Start by cutting out a bunch of hearts from your paper. The easiest way to do this is to fold a section of paper in half and draw half a heart on the folded edge. Then cut out along the lines, through both halves of the folded paper, and when you unfold the paper you’ll have a perfectly symmetrical heart!

Once all your hearts are cut out, grab your sewing machine. Pull out about six inches of thread and leave it as a tail, then slowly sew across the middle of one paper heart. Paper is thinner than fabric, so make sure the tension on your machine is set pretty low, and set the stitch length to something pretty long, so you don’t have too many holes all in a row. (Otherwise your paper hearts may tear.)
Just go slow and you’ll be fine!

When you get to the end of the heart, just keep sewing; don’t lift the foot or cut the thread. Gently pull the heart out behind the sewing machine and keep sewing so that you get about two inches of “sewn thread” before you start sewing onto the next heart.

Keep sewing across one heart at a time, and then “sewing nothing” for about two inches until you have sewn all of your hearts into a long garland. Lift up the foot and cut the thread, leaving another six inch tail on this end. And now you have an adorable paper heart garland!

Hang it on your mantle, or over a door frame, and enjoy!

Have you started decorating for Valentine’s Day yet?


