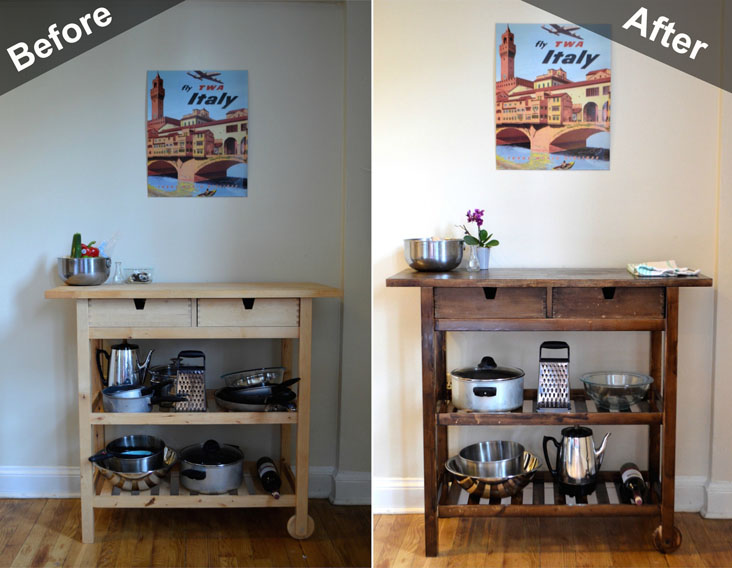
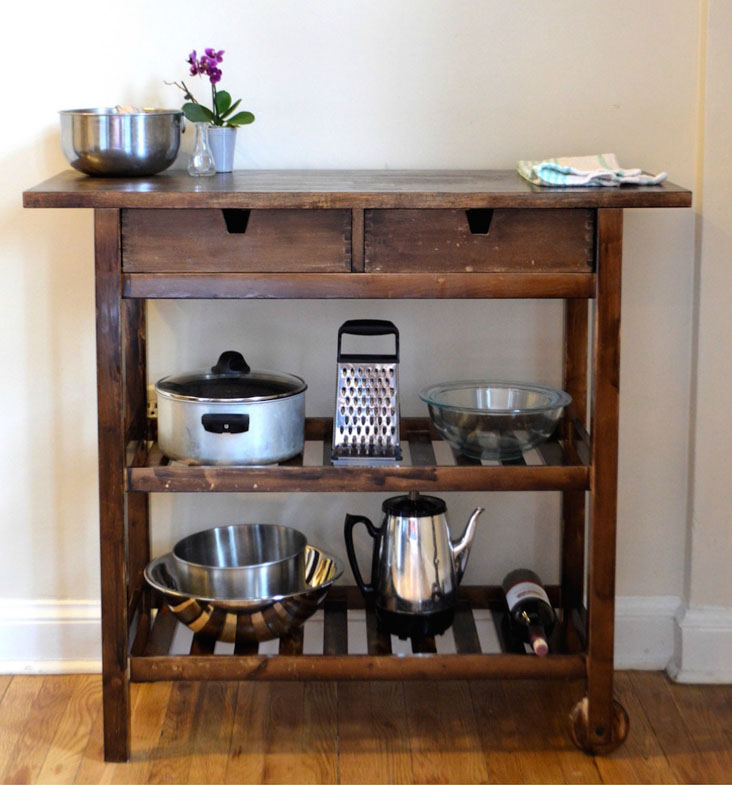
Renters often turn to IKEA for smaller-scale furniture that won’t break the bank — which means IKEA shelves and desks are pretty much ubiquitous in apartments. An easy way to stand out from the crowd? Stain your untreated wooden IKEA furniture a deeper shade. In this DIY project, I stained my IKEA FÖRHÖJA kitchen cart a richer walnut shade for a more sophisticated, finished look. You can use this process on any of your IKEA wooden pieces — but make sure they’re made of actual wood and not just a wood veneer.
Supplies:
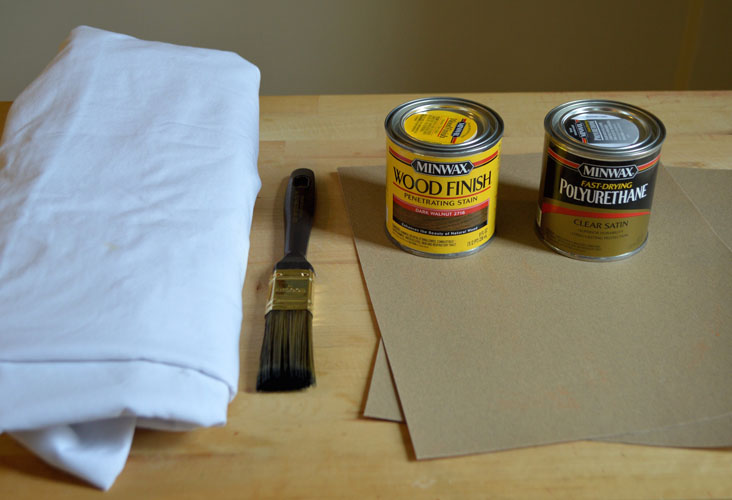
For this project, you’ll need:
Wood stain (I used Minwax Wood Finish Penetrating Stain in Dark Walnut)
Polyurethane (I used Minwax Fast-Drying Polyurethane in Clear Satin)
220-grit sandpaper
A natural-bristle paintbrush
Lint-free cloths
An old sheet or drop cloth to protect your floors
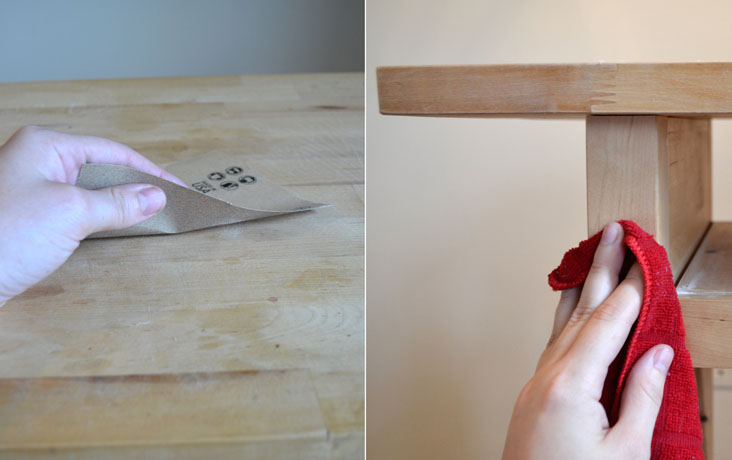
To start, set up your work area. Place a drop cloth underneath the piece of furniture to protect your wooden floors or carpet from any drips. Then, you’ll want to lightly sand the surface of your furniture; this will help the stain penetrate the wood. Once you’re done sanding, wipe off all the sanding dust and make sure your furniture’s surface is nice and clean.
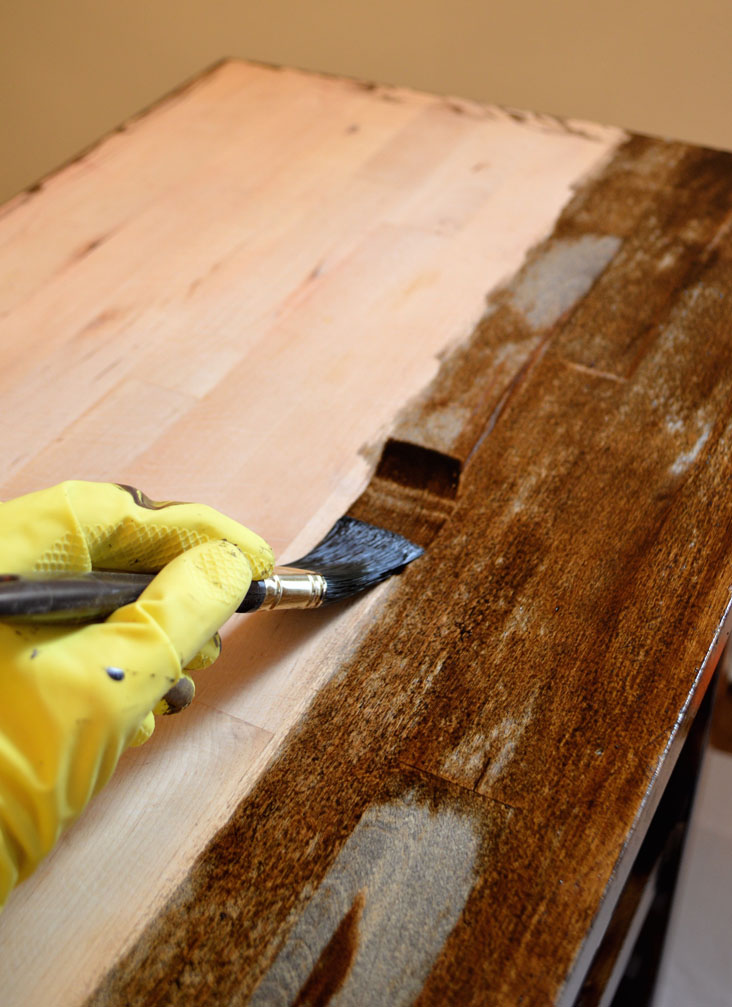
Next, start staining. Make sure you stir your can of wood stain gently — but don’t shake it! Then, apply a thin layer of stain using your paintbrush (I recommend wearing some gloves for this part; wood stain is super hard to wash off your hands). You’ll want to apply the stain in strokes that go in the same direction as the wood grain for a more natural-looking finish. Let the stain sit for about 5 to 15 minutes, then wipe it off with your lint-free cloth. The longer you leave the stain on, the darker your piece will be. You don’t want to leave any wet spots on the furniture surface because then the stain will dry to a yucky, sticky finish.
Now, we wait. My Minwax wood stain recommended I let the stain dry for at least eight hours, but it actually took longer. Depending on the humidity and circulation of the room you’re working in, your piece could take a whole day or two to dry.
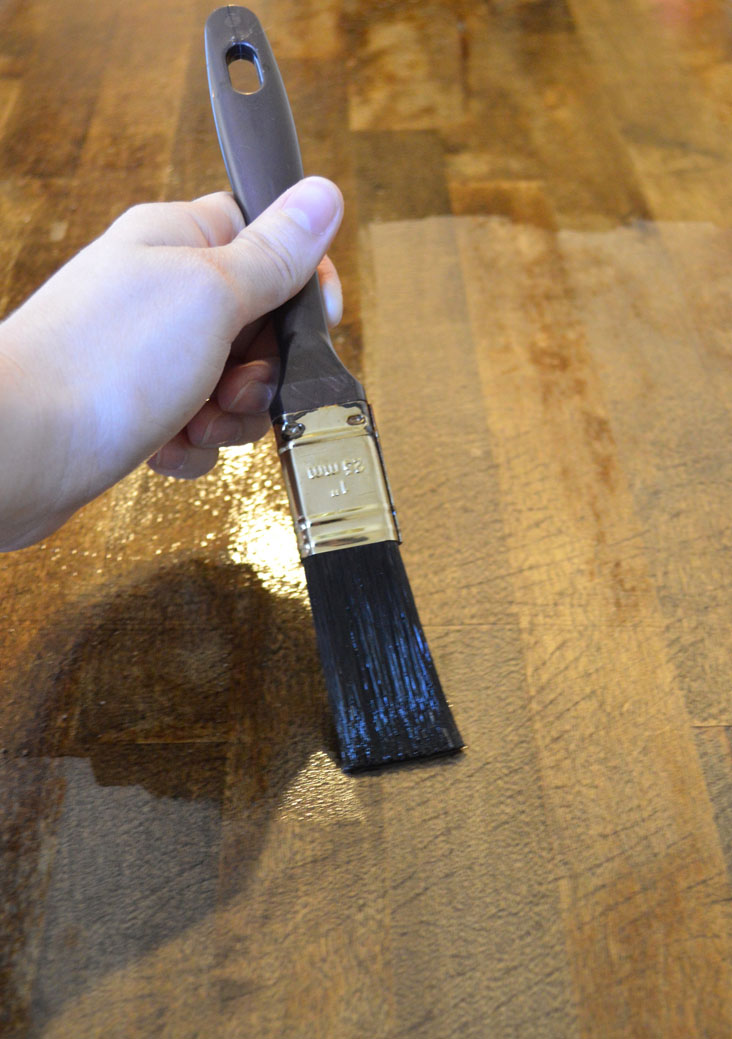
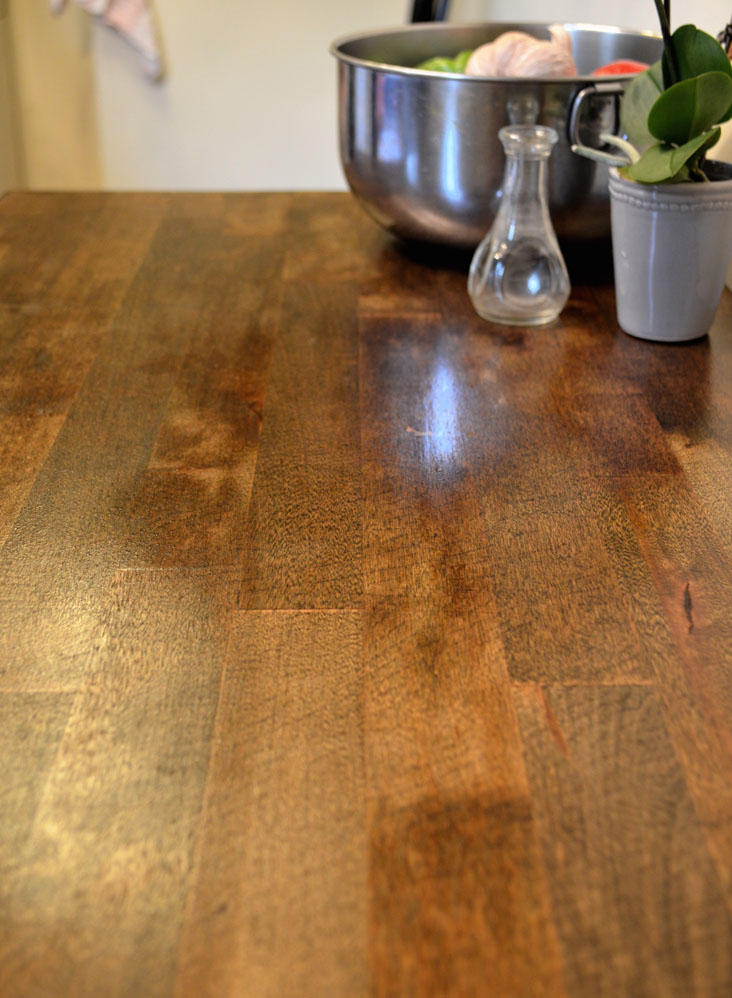
Once your piece of furniture is dry, it’s time to apply the polyurethane as a protective finish. You don’t want to skip this step if your piece of furniture is in a high-traffic area of your apartment, like the kitchen. I chose a satin finish, which is a little more matte, but if you want your piece to be shiny, you can choose a gloss finish. Stir the jar of polyurethane gently (again, don’t shake it!) and then apply it with your clean paintbrush in thin, even strokes. Let your piece dry for about three to four hours, then check on it. Do you see lots of air bubbles or irregularities in the surface? Then you’ll want to lightly sand the surface, dust it off and apply another coat of polyurethane for a super smooth finish. Let your piece dry for at least 12 hours.
And voilà! Now you have a classy piece of IKEA furniture that’s as unique as you are.
Got some wood stain left over? Try your hand at this easy wood stain side table DIY from the ForRent.com blog.
What piece of IKEA furniture are you planning to jazz up with this DIY? Tell us in the comments below!
IKEA Hack: How to Stain Your Furniture for a Polished Look
DIY
Recommended Articles
Apartment Living
2 Min. Read
How to Plant Succulents in Your Apartment
If you’ve been thinking of using plants for decoration in your apartment, may we suggest succulents? What are succulents, you ask? Only the hottest new trend in the plant world, of course! But if…
DIY
3 Min. Read
No-Fail Tips for Styling a Bookcase
Do you have a bookcase or shelving unit in your apartment that just never seems to look “right”? Well, you’re in luck today because I’m walking you through my no-fail tips for styling a…
DIY
6 Min. Read
DIY Skills Every Apartment Dweller Should Know
One of the best things about being a renter is that you don’t have to do repairs on your home! Even though you can rely on your landlord or friendly maintenance worker to take…
DIY
5 Min. Read
Should I Paint My Rental?
Of all the “tools” in a renter’s “toolbox,” paint is a favorite. Not only is it relatively inexpensive and usually reversible, but it is truly one of the most effective ways to change the…
