Your entryway is the first impression friends and family have when they visit your home. It sets the tone for what they can expect when they enter your space. Unfortunately, it’s also a part of your home that is sometimes forgotten. If you’re like me, you focus so much on the interior that the front door is sometimes forgotten.
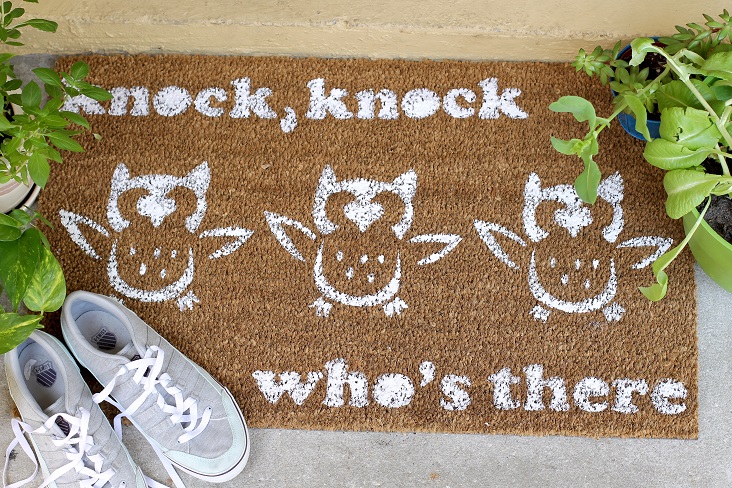
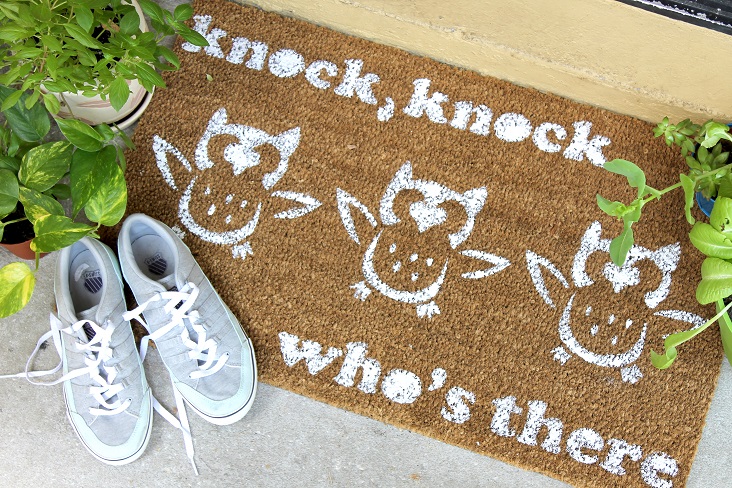
Lately, my husband and I have been focusing on the exterior of our home. I’ve added new potted plants near the front door to add a nice, cozy and lively welcome. This new custom owl doormat also is sure to bring a smile to my guests as they step up to the door.
[tweetthis]This adorable custom DIY owl doormat is sure to welcome any guests that come to visit![/tweetthis]
I wanted the doormat to be whimsical and cheerful. As a child, I loved knock, knock jokes! I was known to read joke books over and over so I could memorize them and amuse my brothers. So I thought it’d be so fun to add one of my childhood memories to this project.
What’s cool about this easy-to-make project is that this doormat is a perfect way to add your personality to your space (even a DIY beginner can do it). Are you snarky, silly or classic? Paint a saying that fits your style. Not into owls but love dogs? Paint a dog on your mat instead. Just Google “stencil template” with your animal of choice and you’ll find a bevy of options.
When choosing a paint color, go lighter. I played with darker colors and they didn’t pop like the white did. So I chose to go all white with the paint, but of course you can paint whatever color goes with your theme and color palette.
Materials:
-Natural doormat
-Craft paint
-Paintbrush
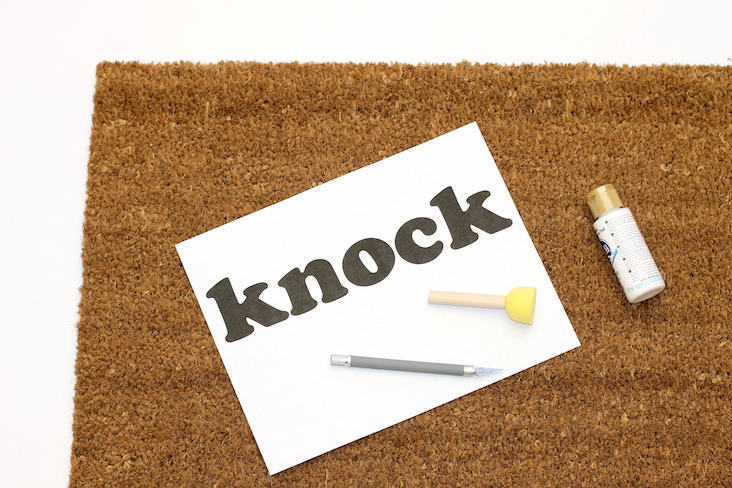
-Sayings printed out from your home computer (I used Cooper Black font, size 230)
–Printed-out owl template
-Craft knife
-Straight pins (not shown in photo)
Instructions:

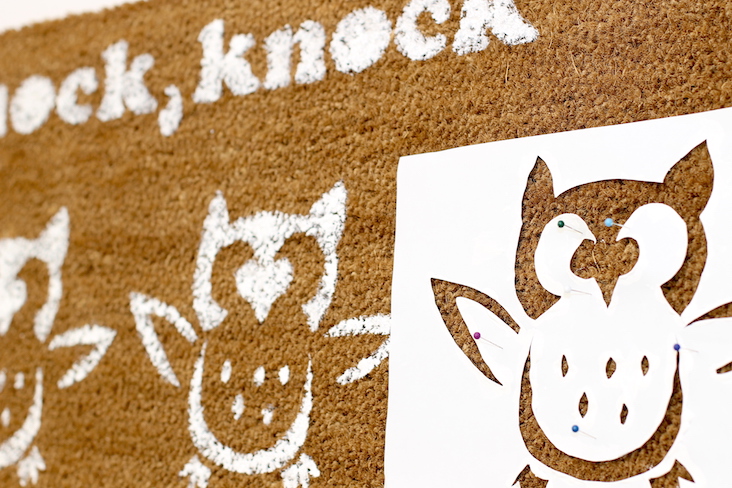
Step 1: Use the craft knife to cut out the printed sayings and owl. I used a cutting board as a backdrop for this part of the project.
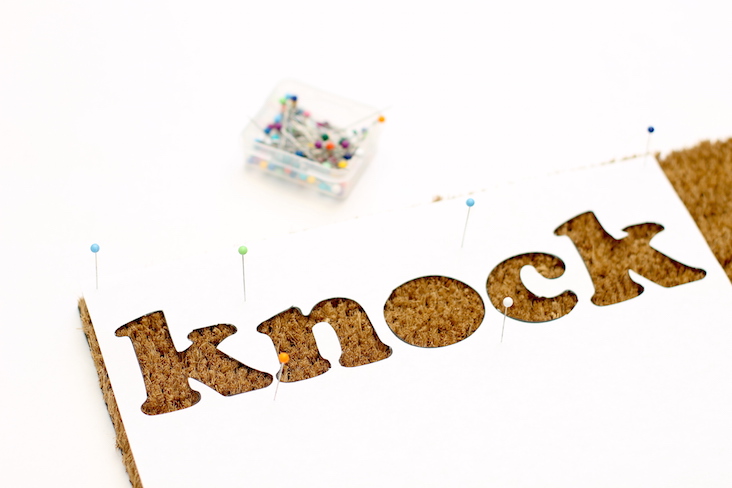
Step 2: Pin the words onto the doormat with the straight pins.
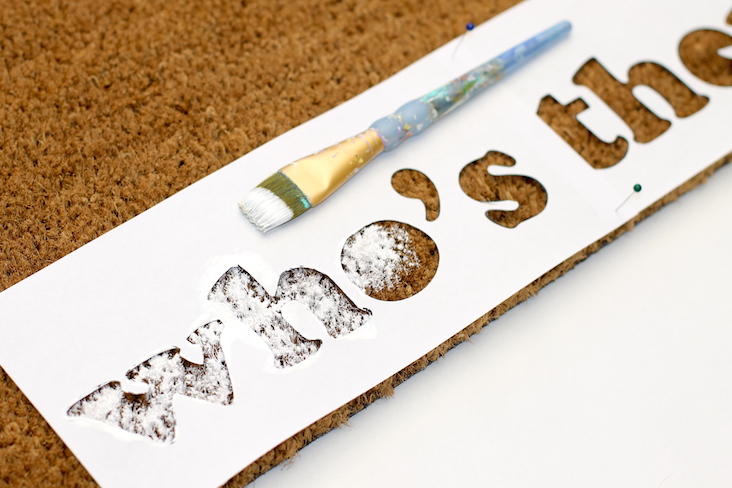
Step 3: Paint inside the stencils. Originally, I thought a stencil foam brush would work. I was wrong. I realized a traditional brush was better suited for the texture of the doormat.

Step 4: Place your owl stencil in the center of the doormat.
Step 5: Paint three owls and let dry.
Looking for more ways to customize your outdoor space? Check out this article!
Personalize Your Entryway With a DIY Doormat
DIY

Recommended Articles
Apartment Living
2 Min. Read
How to Plant Succulents in Your Apartment
If you’ve been thinking of using plants for decoration in your apartment, may we suggest succulents? What are succulents, you ask? Only the hottest new trend in the plant world, of course! But if…
DIY
3 Min. Read
No-Fail Tips for Styling a Bookcase
Do you have a bookcase or shelving unit in your apartment that just never seems to look “right”? Well, you’re in luck today because I’m walking you through my no-fail tips for styling a…
DIY
6 Min. Read
DIY Skills Every Apartment Dweller Should Know
One of the best things about being a renter is that you don’t have to do repairs on your home! Even though you can rely on your landlord or friendly maintenance worker to take…
DIY
5 Min. Read
Should I Paint My Rental?
Of all the “tools” in a renter’s “toolbox,” paint is a favorite. Not only is it relatively inexpensive and usually reversible, but it is truly one of the most effective ways to change the…